
Dave the Diver Not Launching: How to Fix
Before diving and exploring the ocean, you must find a way to launch the game. It's easy. Let us show you! 🚀
Many gamers complain that Dave the Diver won’t launch on their PC, and since you are reading this, it’s safe to assume you are one of them. Today we will present you with the complete list of common causes and step-by-step solutions you can apply to force Dave the Diver to launch.
Are you experiencing stability issues while trying to explore the deep sea? Learn how to fix crashes in Dave the Diver.
Why won’t Dave the Diver launch?
Dave the Diver won’t launch due to poor system specifications, compatibility issues, corrupted game files, pilled-up Steam cache files, an outdated GPU driver, missing Visual C++ dependencies, Windows Firewall problems, or an obsolete version of Windows.
How to fix Dave the Diver won’t launch?
Get started with some checks and fixes:
- Check the system requirements: Head to the Dave the Diver system requirements page and compare the minimum requirements to your PCs.
- Run in compatibility mode: Right-click on the game executable (.exe) file and select Properties. In the Compatibility tab, enable Run this program in the compatibility mode for Windows 8 and hit OK.
- Verify game files: Dave the Diver comes on Steam which has an excellent game file verification system to help you find and repair corrupted game files.
Proceed with the solutions listed below.
- Clear Steam cache
- Update the GPU driver
- Install Visual C++ dependencies
- Allow the game through the Firewall
1. Clear Steam cache
Steam stores cache files on your PC to launch quicker and run games more smoother. If these files are not entirely saved or corrupted, it is best to clear them.
- Open File Explorer using the Windows Key + E shortcut.
- Paste the path to the Steam directory and hit Enter.
The default one is C:\Program Files (x86)\Steam
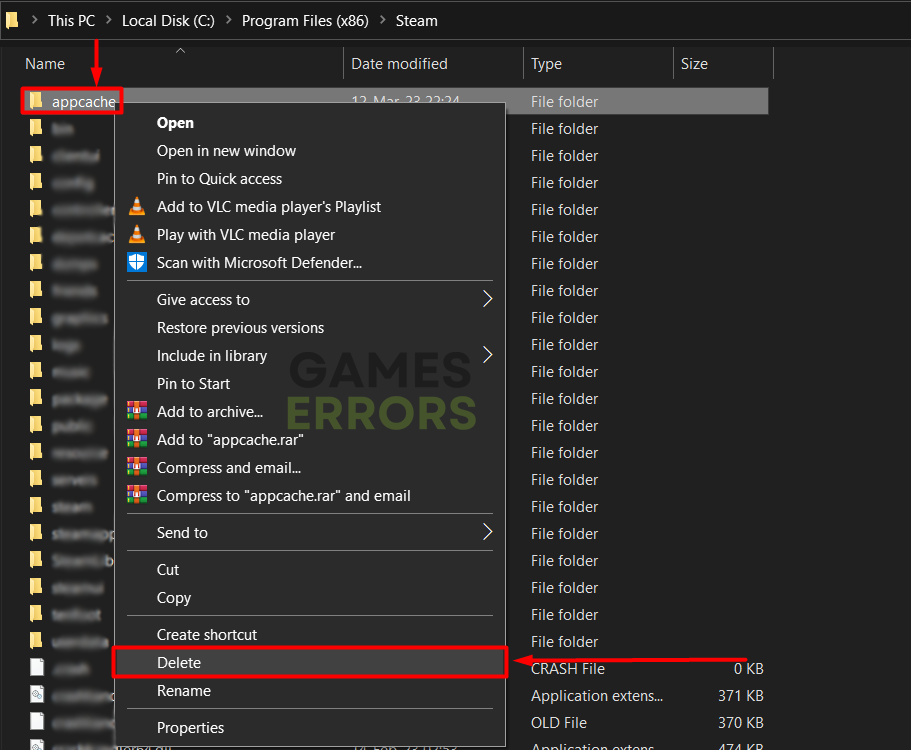
- Right-click on the appcache folder and select Copy.
- Navigate to Desktop using Windows Key + D.
- Create a backup of the appcache folder using the CTRL + V shortcut.
- Return to the Steam directory, right-click on the appcache folder, and select Delete.

- Restart your PC.

2. Update the GPU driver
Time needed: 5 minutes
An outdated GPU driver will limit your graphics card’s performance, resulting in slow launching time or even prevent the game from running. Here is an easy way to update your GPU driver.
- Click on the Windows icon, type Device Manager, and open it.

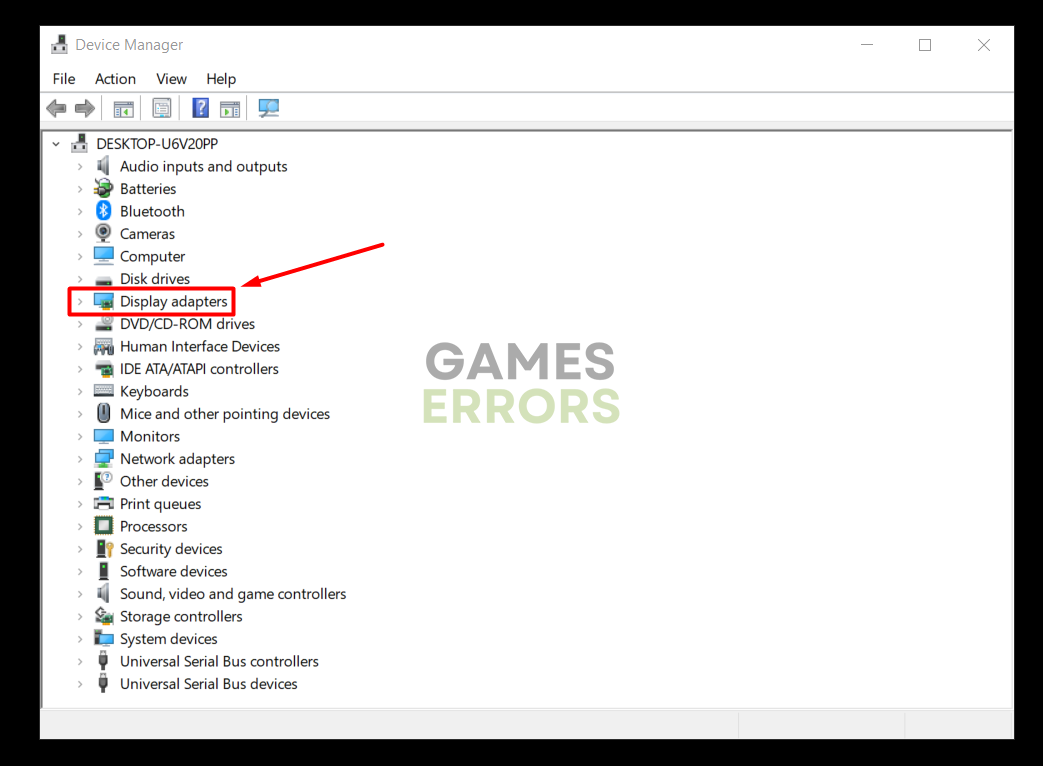
- Double-click on the Display Adapters section.

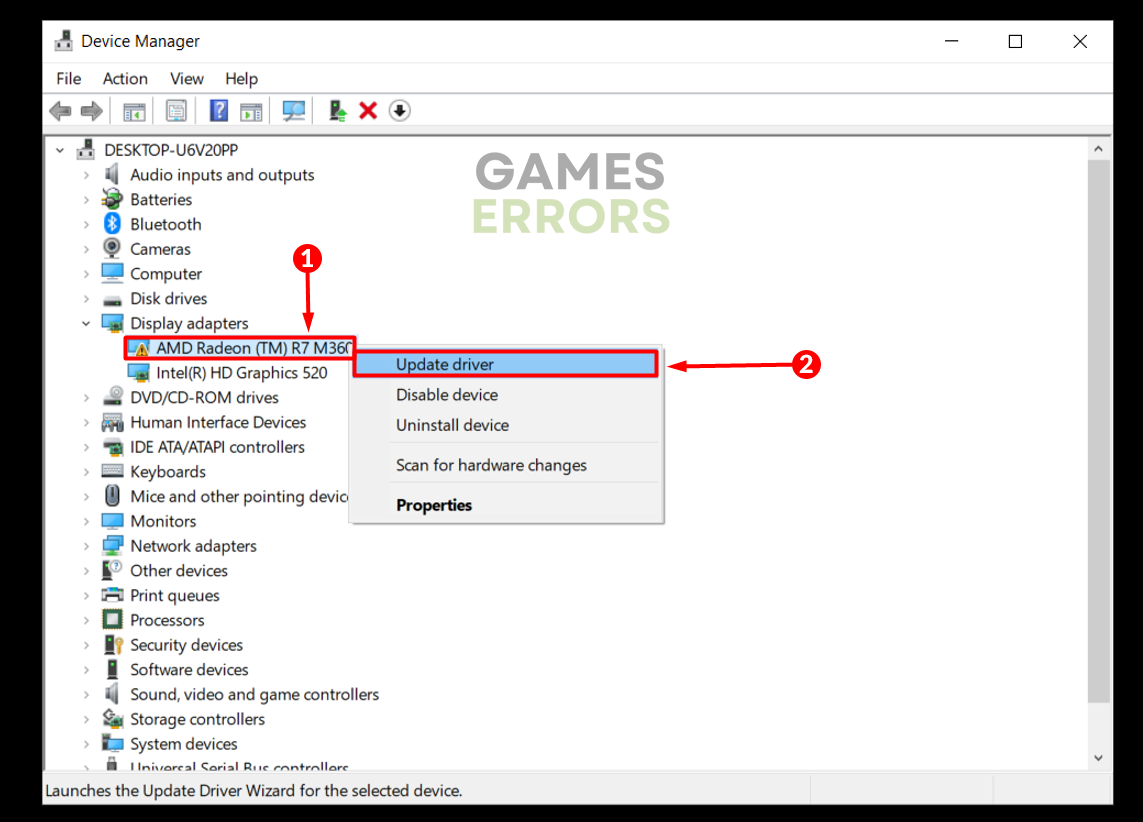
- Right-click on your GPU and select the Update driver option.

- Select the Search automatically for drivers option.
- Follow any additional steps for driver installation.
- Restart your PC.
We discovered that most gamers use a tool to manage their graphics driver to enjoy their gaming time without interruptions. One of the best tools out there is PC HelpSoft which provides a quick and reliable way to manage all your drivers from one place.
3. Install Visual C++ dependencies
Visual C++ dependencies are a crucial library for running games on Windows. Usually, they are installed and updated with the game, but you can do it manually if it doesn’t happen automatically.
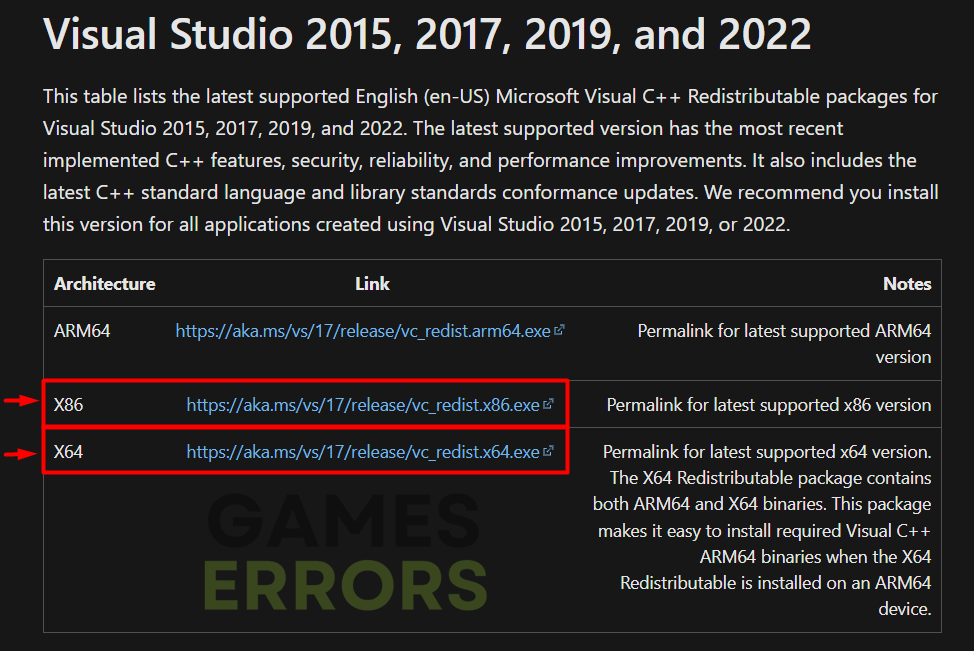
- Open the official page for the Visual C++ Redist Packages download.
- Click on the Link to download vc_redist suitable for your operating system architecture.
➡ X86 is for 32-bit systems.
➡ X64 is for 64-bit systems.
- Run the installation package and follow the steps.
- Restart your PC.
4. Allow the game through the Firewall
Always keep the Windows Firewall enabled. This way, you can rest assured that your PC will stay safe. However, if Dave the Diver doesn’t launch, you must add it as an exception to the Firewall.
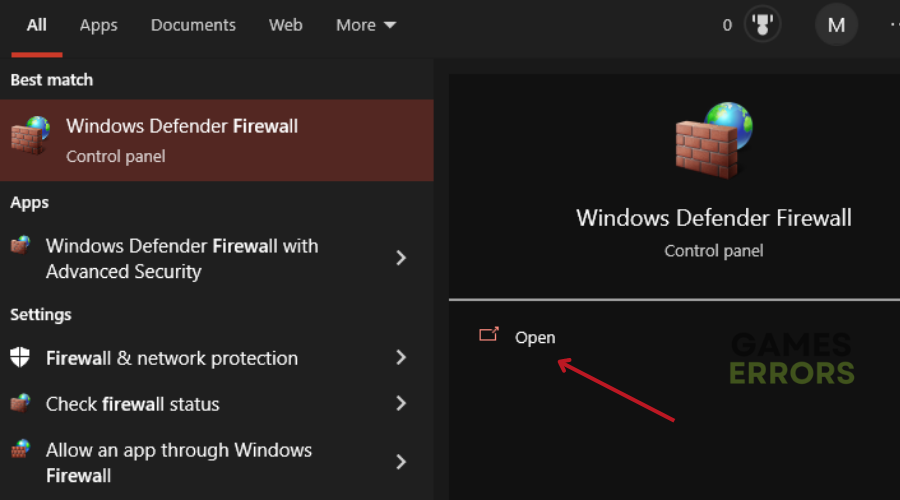
- Click on the Windows icon, type Windows Defender Firewall, and open it.

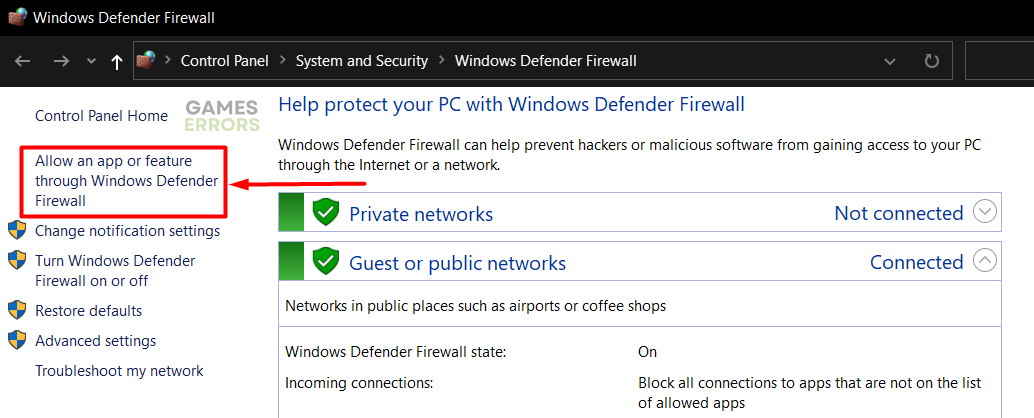
- Click on Allow an app or feature through Windows Defender Firewall.

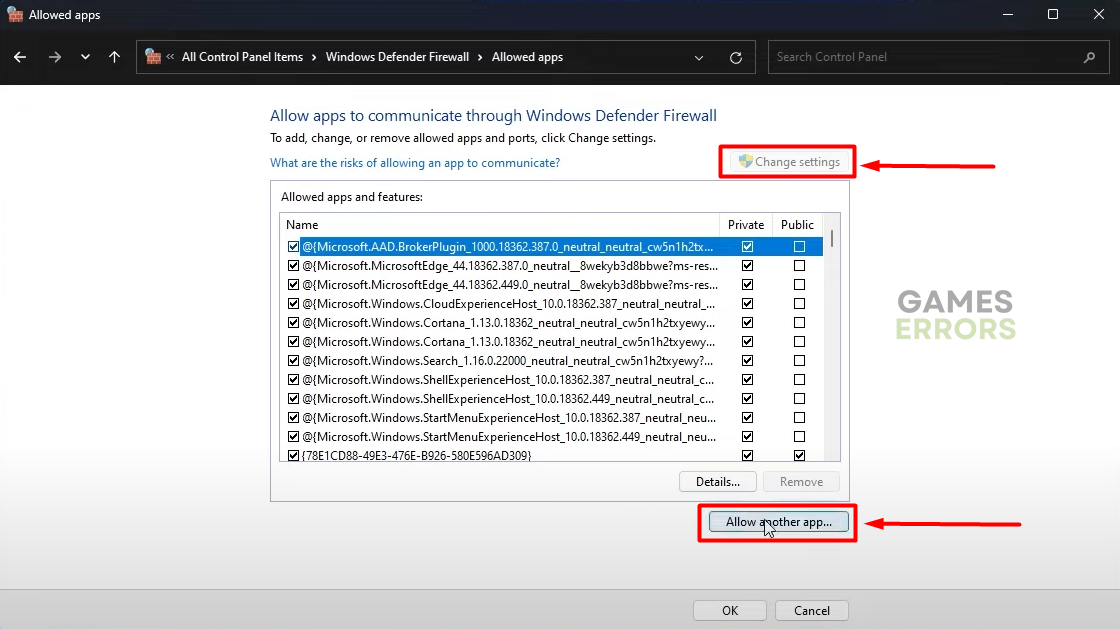
- Click on Change Settings and Allow Another App.

- Select Browse, and navigate to the Dave the Diver installation folder.
- Click on the Dave the Diver executable file (.exe) and select Open.
- Check the checkbox in columns Private and Public in the Dave the Diver row and hit OK.
- Restart your PC.
Extra steps
If Dave the Diver still won’t launch, even though you applied all of the solutions and fixes, try to:
- ⏳ Give it some time: Some players claim the game loading takes longer. Wait a few minutes and check if the game launches.
- ⬆ Update Windows: Click the Windows icon, type Check for updates, and open these System Settings. If any updates are pending, download and install them.
- 🔁 Reinstall the game: Some gamers claim that their issue was resolved only when they went for the last resort by reinstalling Dave the Diver.
Conclusion
Hopefully, we managed to assist you in resolving why Dave the Diver won’t launch. Share with us how it went, and don’t forget to comment if you find additional solutions we didn’t mention.