
Destiny 2 Efficient Angler Not Progressing [Solved]
You were fishing in Destiny 2 for some time, but the fish count is not increasing? No worries, we will help you count them! 🎣
You were fishing for some time when you noticed that Destiny 2 Efficient Angler not progressing will make it impossible to pass this task. This is a well-known fishing bug that doesn’t have straightforward solutions, so we made a list of Destiny 2 tips and possible solutions to follow.
Why is Destiny 2 Efficient Angler not progressing?
The Destiny 2 Efficient Angler not progressing problem occurs due to temporary issues within the game. Additionally, it can be related to an outdated network driver, pilled-up cache files, or corrupted Destiny 2 game files.
💡 Since there is no official way to troubleshoot this problem, we will share some tips on how to deal with it in-game and your system in general.
How to fix Destiny 2 Efficient Angler not progressing?
Get started by applying some easy fixes and performing these quick checks:
- Re-join the area: The fastest way to solve this annoying bug is to escape and re-join the fishing area. Many players claim that this fixed the issue for them, and the count continued.
- Fish as strand subclass: Due to an unknown reason, this works, and if it doesn’t, you can try to fish with the same class you started with.
- Max out the first pond: Catch all the fish in the first pond and proceed with the next one. This way, the count might reset, and Efficient Angler not progressing disappear.
- Fish with other players: Fishing with other players might help you, as the fishing meter will increase, and with it, the chances of catching rare fish will rise.
Proceed with the step-by-step solutions listed below.
1. Clear the cache files
If you have played Destiny 2 for some time, the game probably pilled up many cache files. It is time to clear them and potentially fix the Efficient Angler progress bug.
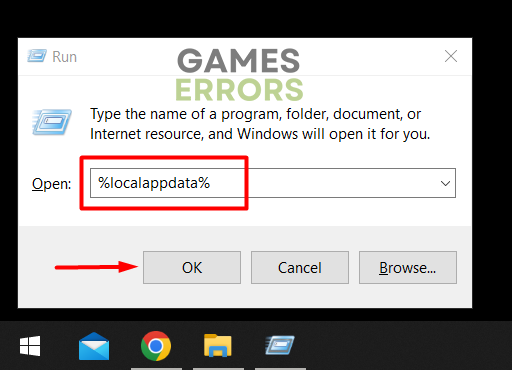
- Use the Windows Key + R shortcut to open the Run dialog, type %localappdata%, and hit OK.

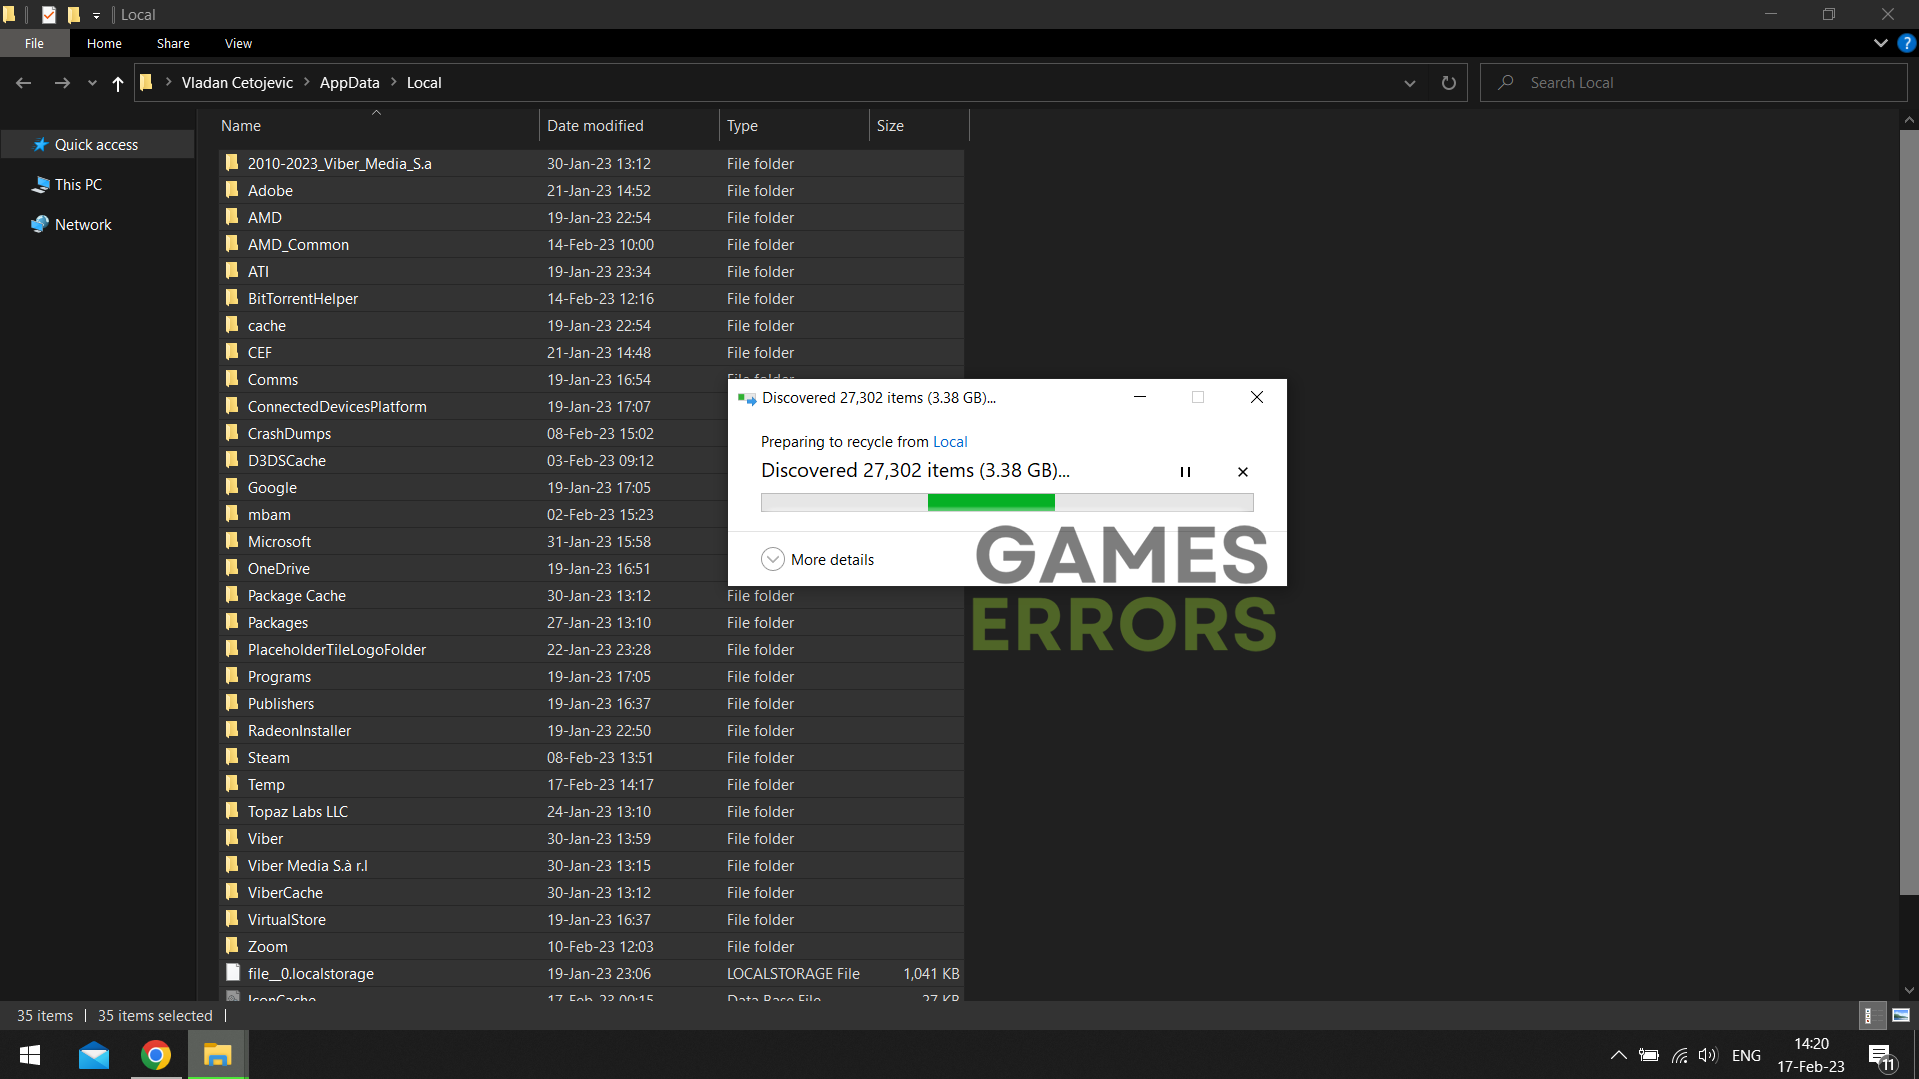
- Use the CTRL + A shortcut to select all files in the folder.
- Press the Delete key on your keyboard to delete all the files in the folder.
➡ If prompted to confirm, click on Yes.
➡ If some files can’t be deleted, click on Skip.
2. Update the network driver
Time needed: 5 minutes
If the fishing bug in Destiny 2 occurs due to a problem with communication between your game client and the server, the outdated network driver might be responsible for it.
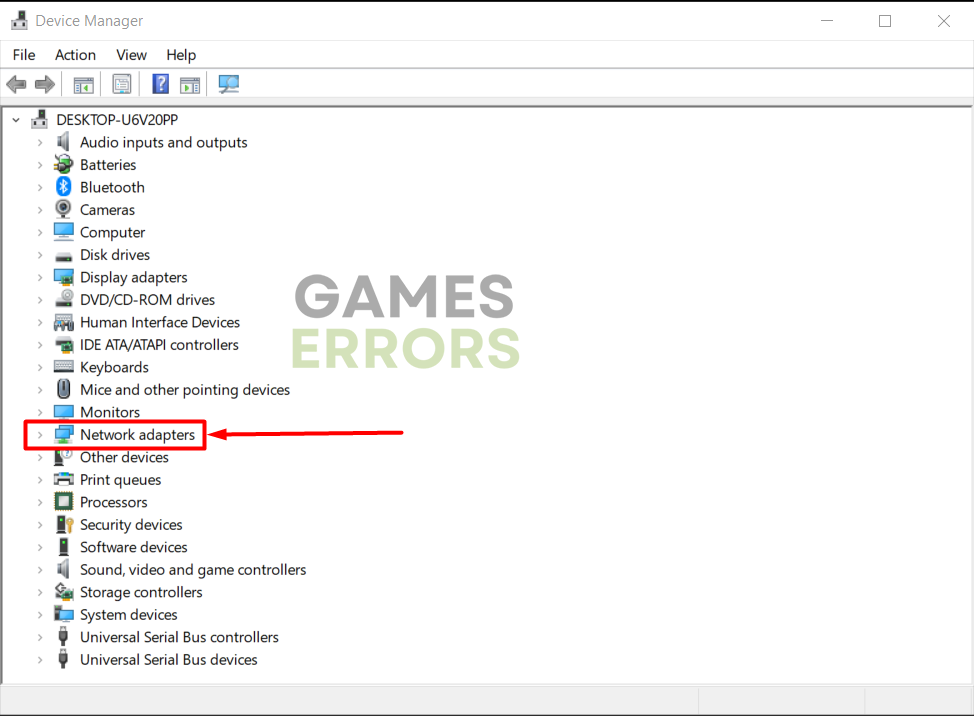
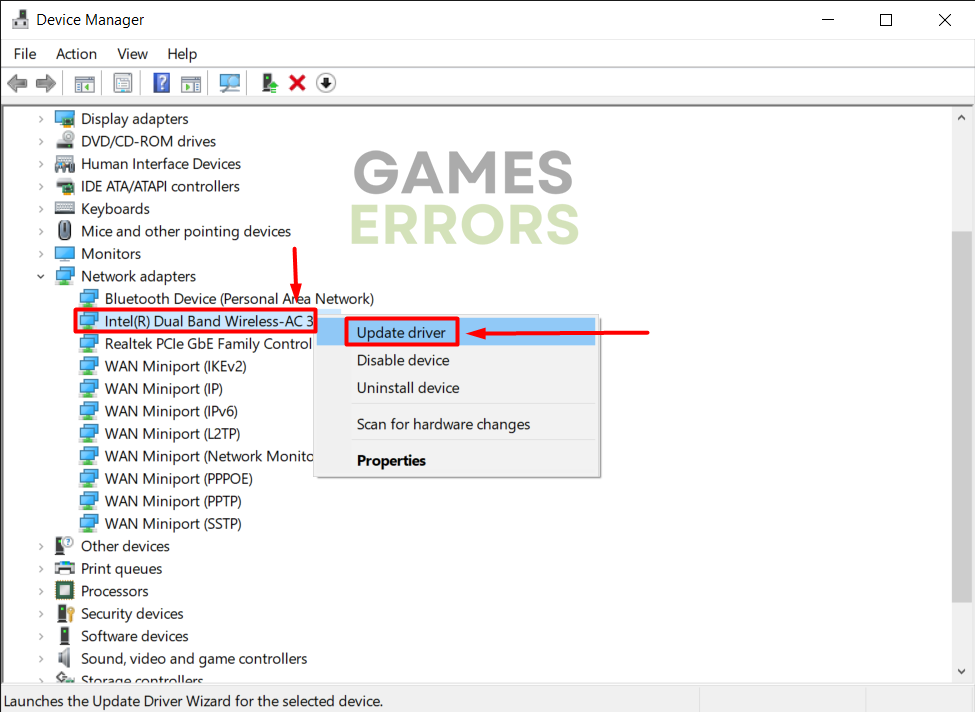
- Click the Windows icon, type Device Manager, and open it.

- Double-click on Network Adapters.

- Right-click on your internet adapter and select Update driver.

- Select Search automatically for drivers.
- Install the driver update.
- Restart your PC.
The better way to update the network driver, and any other driver on your PC, is by using a driver updater tool. There are many tools out there, but our recommendation goes to Outbyte Driver Updater, a fast and reliable solution for driver management.
⇒ Get Outbyte Driver Updater
3. Verify game files
Corrupted game files cause stability issues, problems with performance, and other Destiny 2 bugs. Use the Steam or Epic Games file verification system to fix any corrupted files and solve fishing problems.
For Steam users:
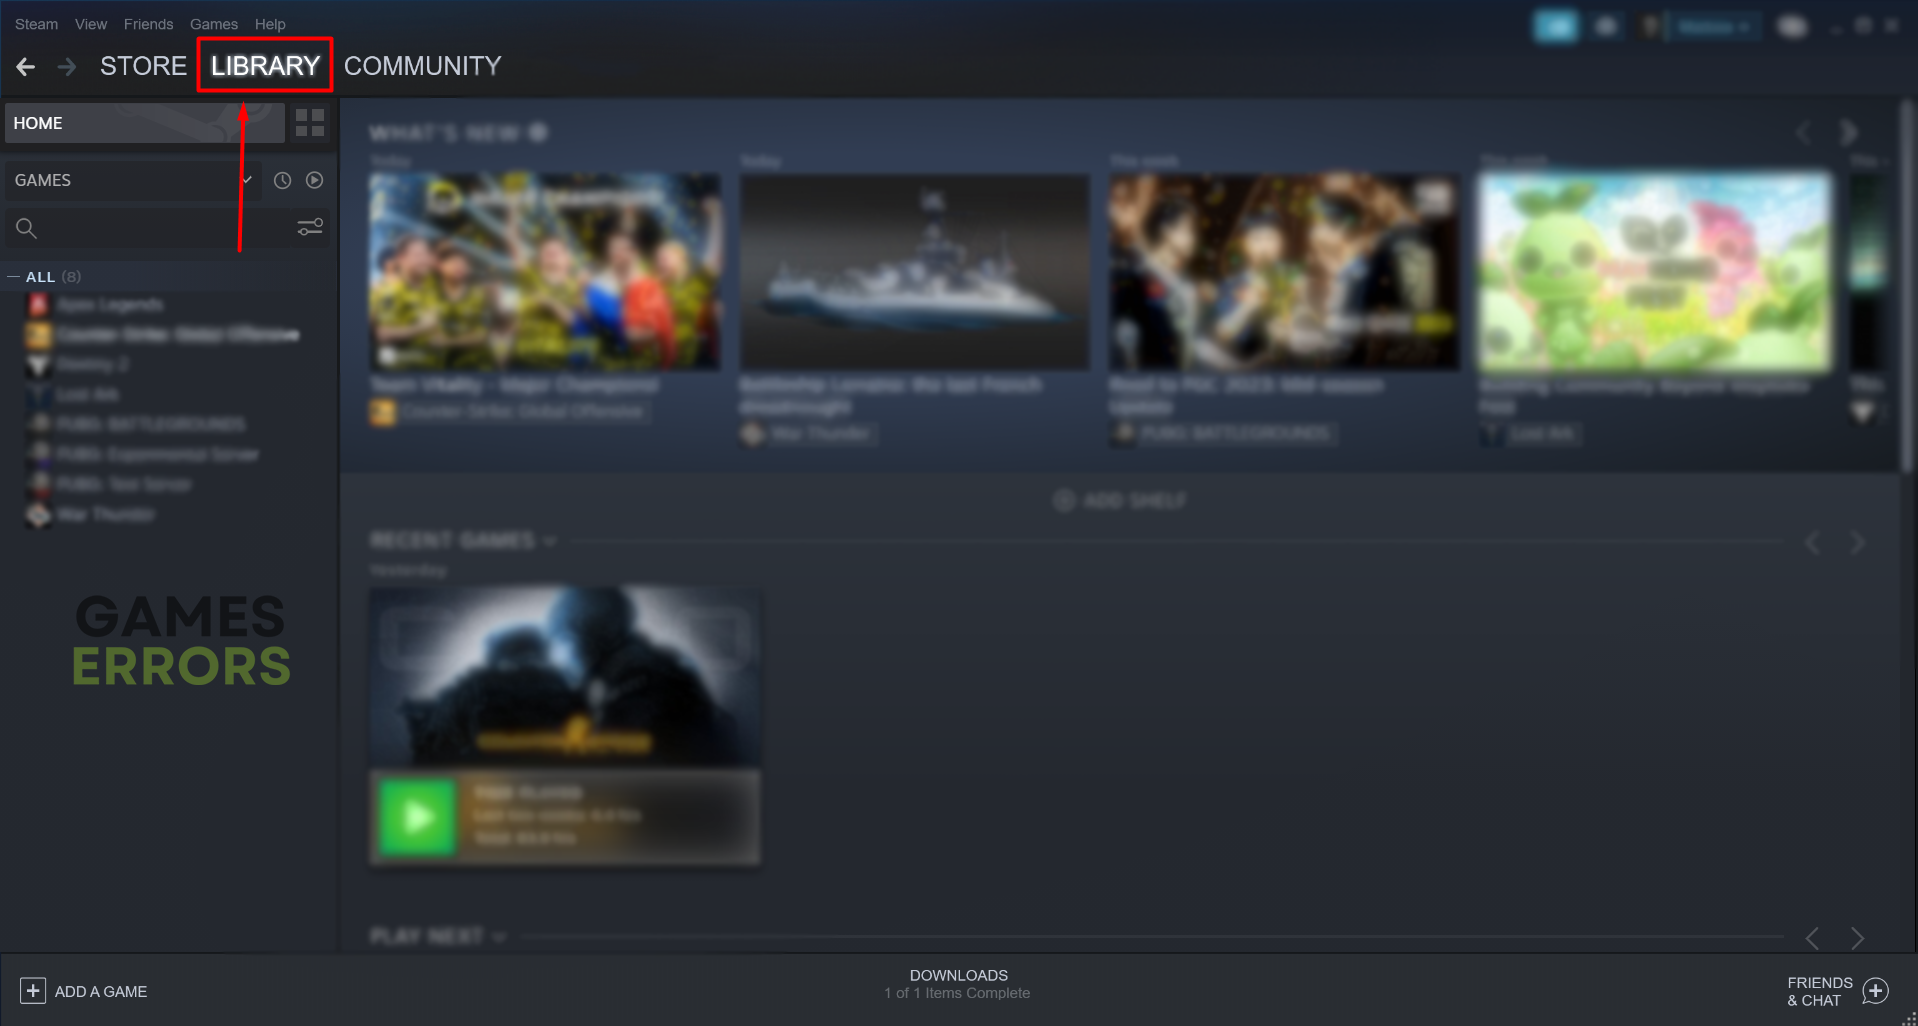
- Launch Steam and navigate to the Library.

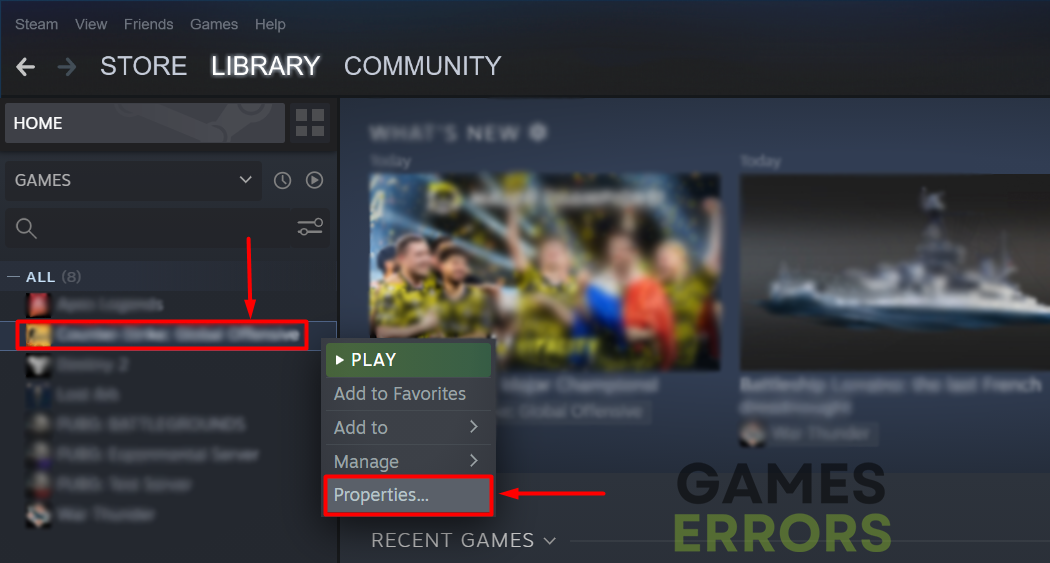
- Right-click on Destiny 2 and select Properties.

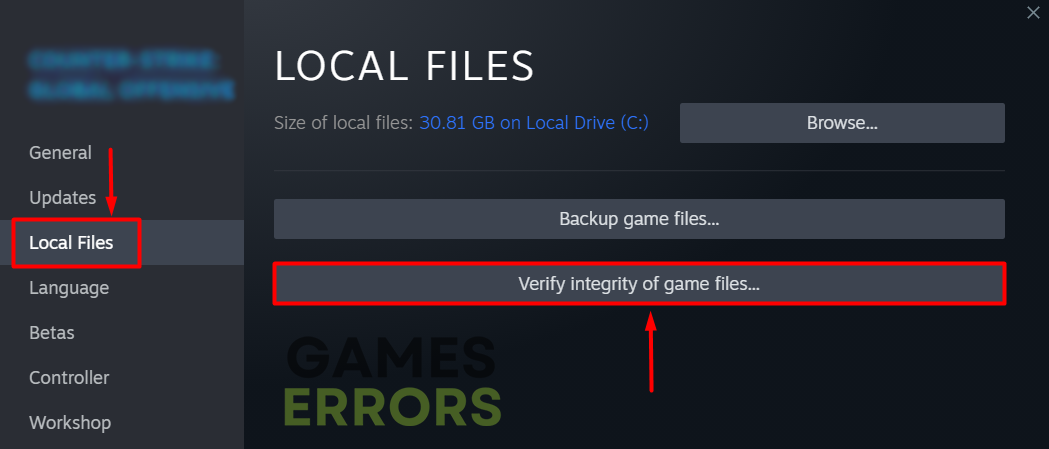
- Navigate to the Local Files tab, and click on Verify integrity of the game files.

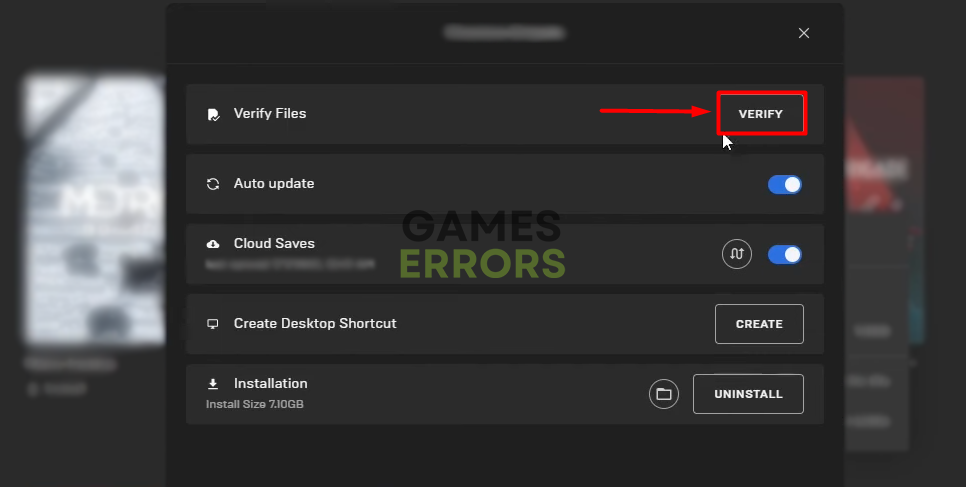
For Epic Games users:
- Open Epic Games Launcher and navigate to the Library.

- Right-click on Destiny 2 and select Manage.

- Click the Verify button.


4. Change your IP address
To fix the ‘efficient angler bugged’ problem, you can try changing your IP address. The process will not take long, and you don’t have to use any VPNs or proxies to do it, as all you need to do is unplug your router or modem for a couple of minutes. Usually, when you unplug it, your ISP will recycle your IP address and give you a new one. However, they might give you the old one if you don’t wait enough time.
Extra steps to fix the ‘Destiny 2 efficient angler bugged’ issue.
Destiny 2 ‘Efficient Angler not progressing’ issue might be more complicated, so you can try to:
- ⬆ Update the Windows: Click the Windows icon, type Check for Updates, and open these System Settings. If any updates are available, download and install them.
- ⏳ Try again later: Many Destiny 2 fans claim the issue disappeared after some time without any actions from their side.
- 🔁 Reinstall Destiny 2: If nothing helps resolve this fishing bug, we advise you to uninstall the game and delete all versions of the game as well as folders. Restart your PC and install Destiny 2 again.
Related articles:
- Destiny 2 Not Updating: Simple Ways To Fix This Issue
- Error Code Bee In Destiny 2: How To Fix It In A Flash
- Destiny 2 Stuck On Signing In [Quick Fixes]
- Destiny 2 App Not Working: 3 Quick Fixes In Just 3 Minutes
- Destiny 2 Servers Not Available: Fix It Easily
Hopefully, you are not wondering why Destiny 2 Efficient Angler is not progressing. Comment and share your experience and let us know if you find any other solution that helped you overcome this annoying Destiny 2 issue.