
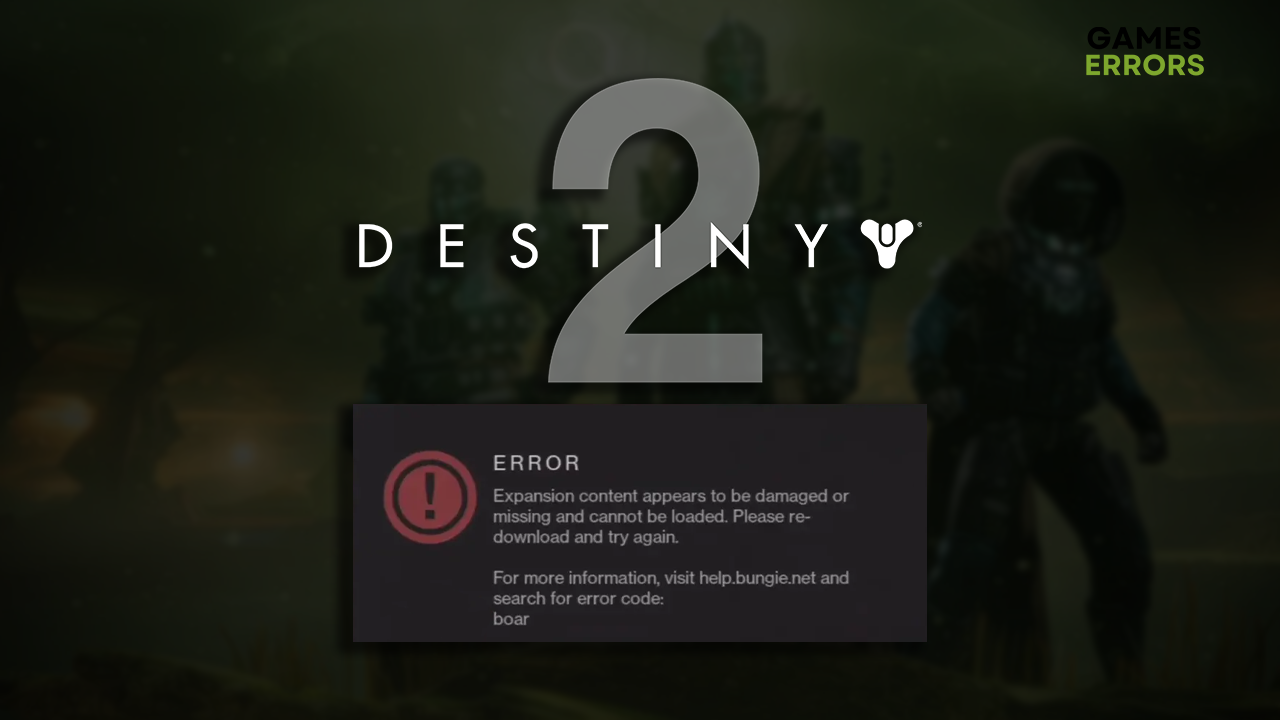
Destiny 2 Error Code Boar: Quick Fix [PC, PS4 & Xbox]
This error code doesn't discriminate against different platforms. It influences all gamers equally! This is why we are here to help you resolve it. 🥇
Destiny 2 error code Boar already ruined the experience for too many gamers across all platforms the game comes on. That was the reason for us to create the complete list of causes and solutions to put an end to this network-related error.
Another annoying issue is related to the Destiny 2 Companion. Learn what to do when Destiny 2 app isn’t working.
Why do I get Destiny 2 error code Boar?
You get the error code Boar in Destiny 2 due to problems with your internet connection, temporary issues on your home network, weak wireless signal, an outdated network driver, pilled-up cache files, or outdated network settings on your PC.
How to fix Destiny 2 error code Boar?
Resolve this region mismatch error by following these quick checks and fixes:
- Check your internet connection: Visit the speed test page to check if your internet is working and what are the speeds and latency.
- Restart network devices: Press the restart button on the back panel of your router or modem and wait until the restart is completed.
- Use a wired connection: Do it whenever you can connect your PC or console to the network via ethernet cable. This will prevent network-related issues and lower latency.
The most effective solutions for the Destiny 2 error code Boar on PC are here.
1. Update the network driver
Time needed: 5 minutes
An outdated network driver will pose difficulties to your Destiny 2 client while communicating with the game server. This is why we advise you to check for updates and keep the network driver updated.
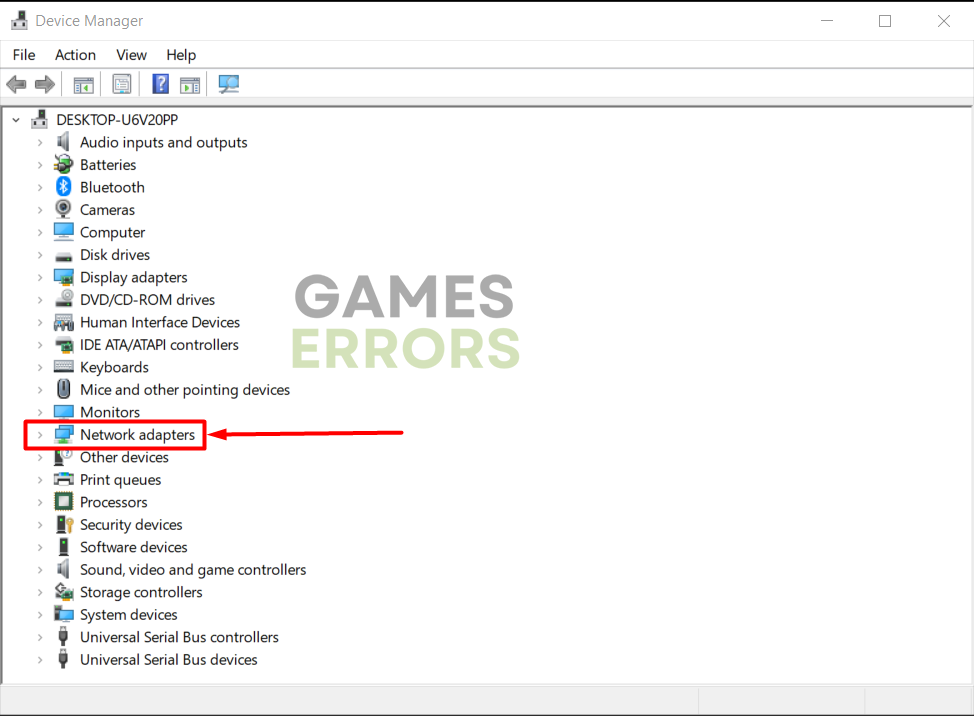
- Click the Windows icon, type Device Manager, and open it.

- Double-click on Network Adapters.

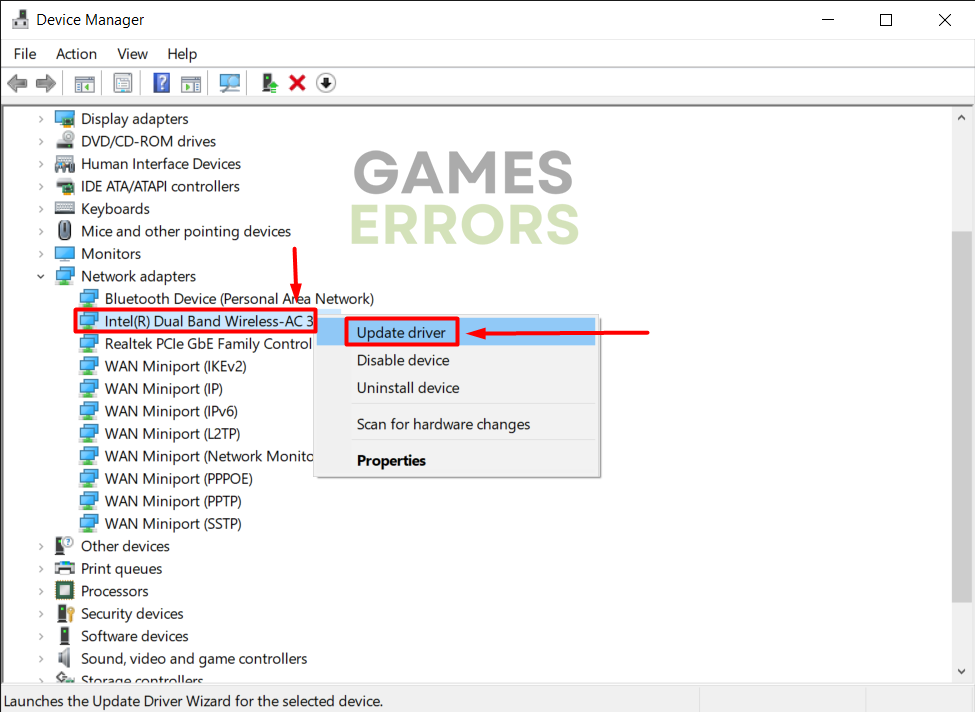
- Right-click on your internet adapter and select Update driver.

- Select Search automatically for drivers.
- Install the driver update.
- Restart your PC.
Are you looking for a tool to automatize driver management? You just found it! Outbyte Driver Updater is a swift and reliable driver updater tool that will save you so much time and frustration.
⇒ Get Outbyte Driver Updater
2. Clear cache files
Pilled-up cache files will cause your game to load slowly and can cause errors if they are corrupted. We advise you to use the below-described method to clear them whenever you experience issues with Destiny 2.
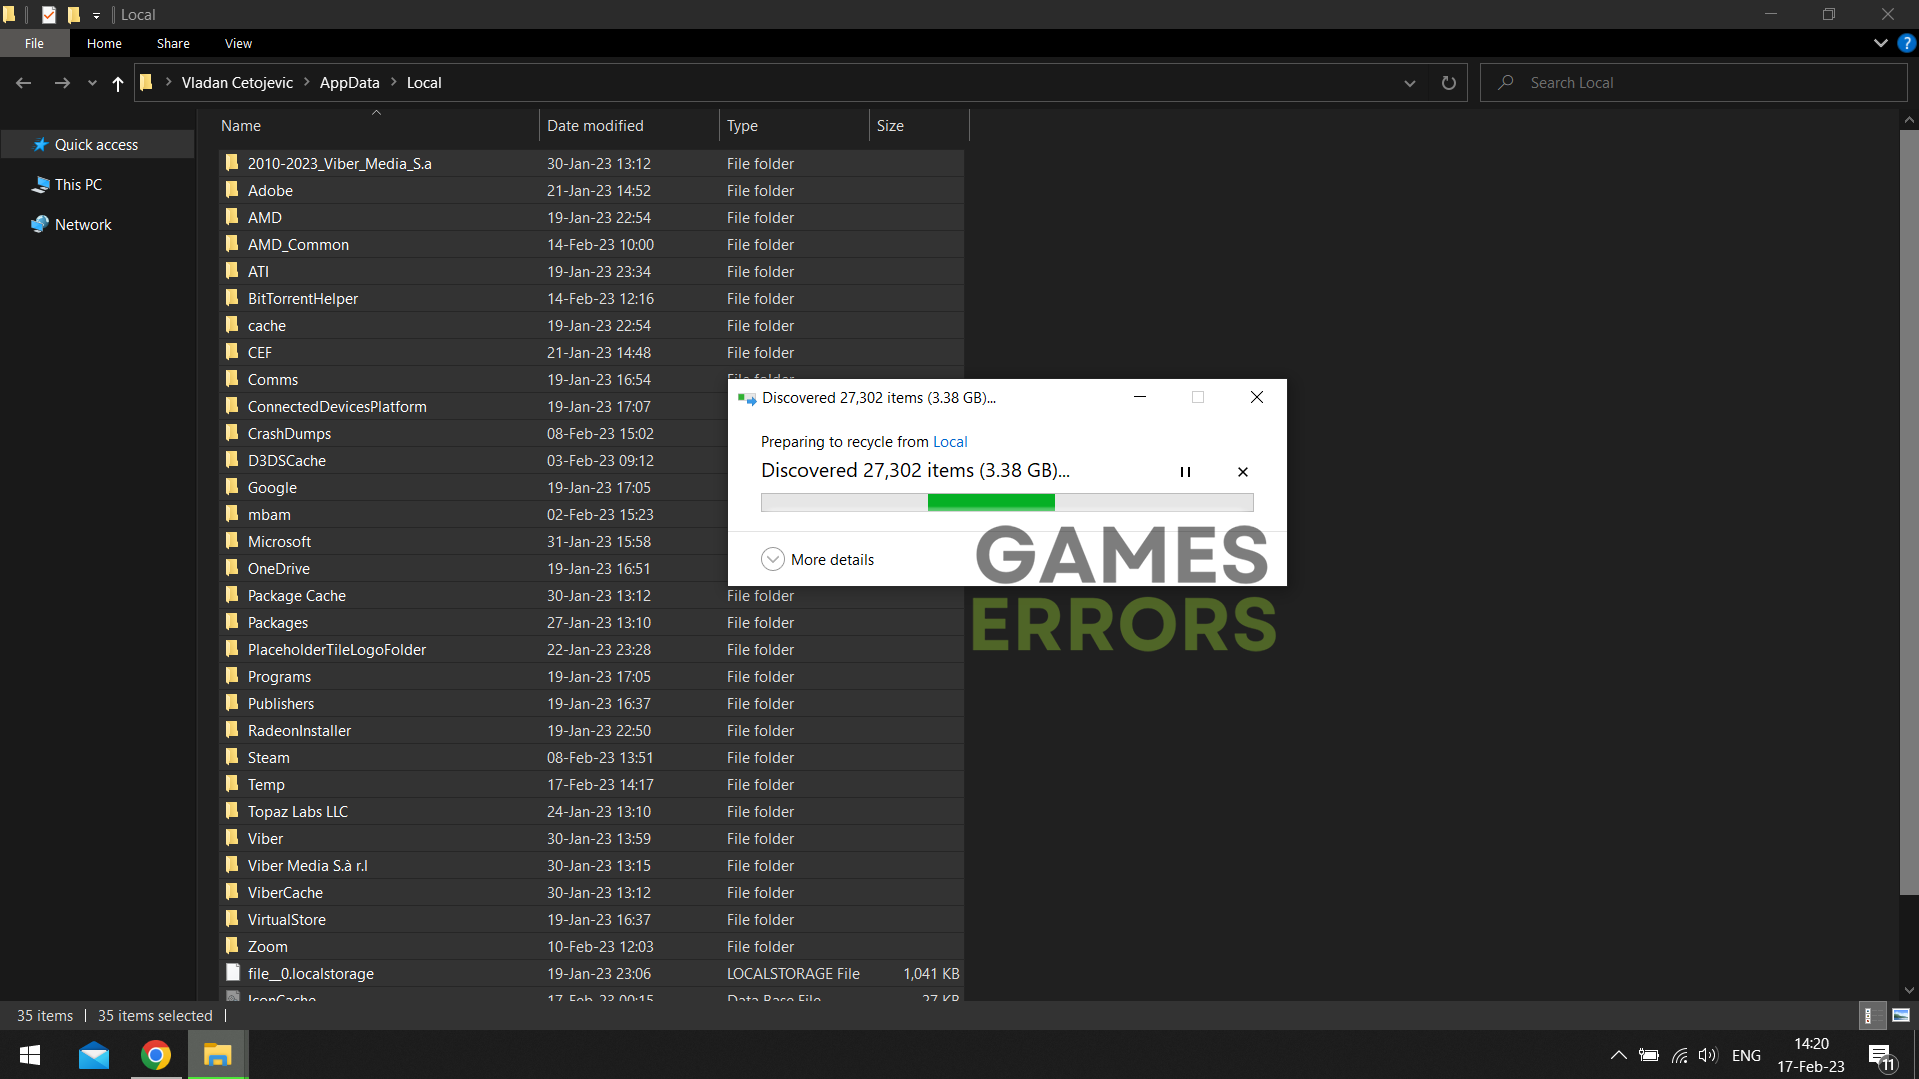
- Use the Windows Key + R shortcut to open the Run dialog, type %localappdata%, and hit OK.
- Press CTRL + A to select all files in the folder.
- Hit the Delete key to delete all the files in the folder.
➡ If prompted to confirm, click on Yes.
➡ If some files can’t be deleted, click on Skip.
3. Restart network settings
Some network settings on your PC can’t restart automatically, and you must use Command Prompt. We listed steps and commands to enter to do it effectively.
- Click on the Windows icon, type Command Prompt, and open it.
- Paste the following commands and hit Enter after each one:
ipconfig /flushdns
ipconfig /registerdns
ipconfig /release
ipconfig /renew
netsh winsock reset
- Restart your PC.

🎮 Fix Destiny 2 error code Boar on PlayStation
If you are experiencing error code Boar on your PS4, apply the following fixes:
- Check PlayStation Network Status: Select your country and check if all PSN services are running.
- Restore game licenses: Navigate to Account Management in the console settings, select Restore Licenses, confirm the action, and wait until the process is completed.
- Re-add your PS account: Head to Account Management, select Sign out and log into your account afterward. Ensure you know your login credentials before performing this action!
🕹 Fix Destiny 2 error code Boar on Xbox
Here are fixes for the error code Boar on Xbox:
- Check Xbox Live Status: If services aren’t running and operational, wait until they return online.
- Perform a power cycle: Turn off your Xbox, unplug it from the socket, and wait 3 minutes. Plug everything back in and boot the console.
- Clear the MAC address: Navigate to Settings and find Advanced Network Settings. Find the Alternate MAC address option and select Clear.
💡 The Boar error can occur if you simultaneously try to connect from two consoles. Ensure you only log in to your Destiny 2 account on one console.
Related articles:
- Destiny 2 Error Code Beagle: How To Fix It Quickly
- Destiny 2 Efficient Angler Not Progressing [Solved]
- Destiny 2 Error Code Guitar: How To Fix It
- Destiny 2 Error Code Monkey [Quick Fix]
- Destiny 2 Voice Chat Not Working: Fix It Quickly
Conclusion
Hopefully, you resolved problems with the Destiny 2 error code Boar, regardless of the platform on which you are playing the game. Let us know how it went, and share the solutions you found the most useful.