
Destiny 2 Error Code BEET: How to Fix It [PC, Xbox, PS4/PS5]
Is Destiny 2 giving you the error code: BEET? Lucky for you, we have the fix right here. 🍀
The original Destiny was green and too experimental to realize the grand plans of its developer and publisher (Bungie and Activision). Although each expansion brought a series of improvements, it was decided to make a new game. Destiny 2 was created because the editor and engine that made Destiny were inefficient in creating new content, consuming hours and resources that were not paying off for the company. Destiny 2 is a service upgrade for Destiny 1, a game aiming to run quality and better. However, despite the obvious improvement and attention to detail, the game throws up various errors that reduce your motivation for gaming. One of these is the error code: beet in Destiny 2. This article will explain why this error occurs and how to fix it effectively.
Why do I have Error Code: BEET in Destiny 2?
We are going to highlight some of the main reasons why you might get Error Code: BEET in Destiny 2, such as:
- incompatibility of your PC with the recommended specifications
- outdated drivers
- network issues
- too many players for a private match
- the game is not updated
How do I fix Error Code: BEET in Destiny 2?
First of all, start with these more straightforward steps that can help you right away:
- Ensure that your PC meets the recommended system requirements for the game.
- Update Windows to the latest version.
- Close and reopen Destiny 2 or restart your PC.
- Update DirectX, .NET Framework, and VCRedist.
If the game still has a problem, do the following:
- Check the number of players for the private match
- Check your internet connections
- Update systems drivers
- Check for game updates
- Enable port forwarding
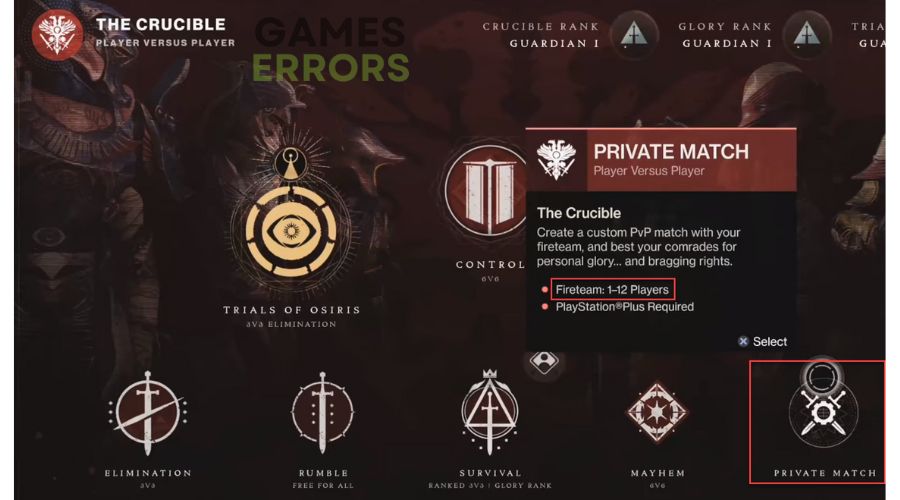
1. Check the number of players for the private match
According to Bungie’s help, the error code: BEET in Destiny 2 can sometimes be obtained if you enter a private match with 12 players. You may be sent back to Orbit due to this error. The only way to get back into an ongoing private match is to rejoin a participating friend on their roster screen directly. However, if the private match is not the reason for the error, proceed to the next step.
2. Check your internet connection
Your slow and unstable network connection is one of the main reasons for most problems for games that require a fast and stable internet connection. For this reason, we recommend the following steps:
- Check and verify in your web browser for download and upload speed.
- Disconnect from the WiFi network all unnecessary devices that can choke the bandwidth.
- Always use ethernet for a faster and more stable connection than wireless for gaming.
- Power cycle your modem and router (unplug the power cords for a few minutes, then plug it back in and turn on the devices). Wait for the LED indicators to return to operational status.
- Check with your ISP if they have problems on their side.
3. Update systems drivers
Outdated or corrupted drivers for GPU, network, sound, etc., often have a connection with most game issues. We recommend updating your drivers to the latest version. Do the following:
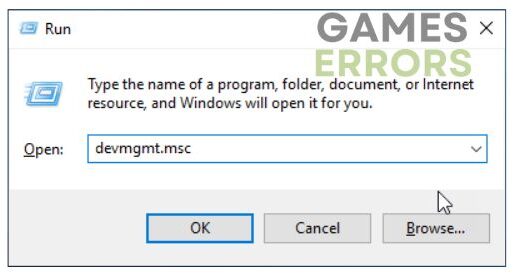
1. Press the Windows+R keys to bring up the Run dialog.
2. Type; devmgmt.msc and hit Enter.
3. Double-click on the driver’s category to expand, right-click on your hardware, and select Update driver.
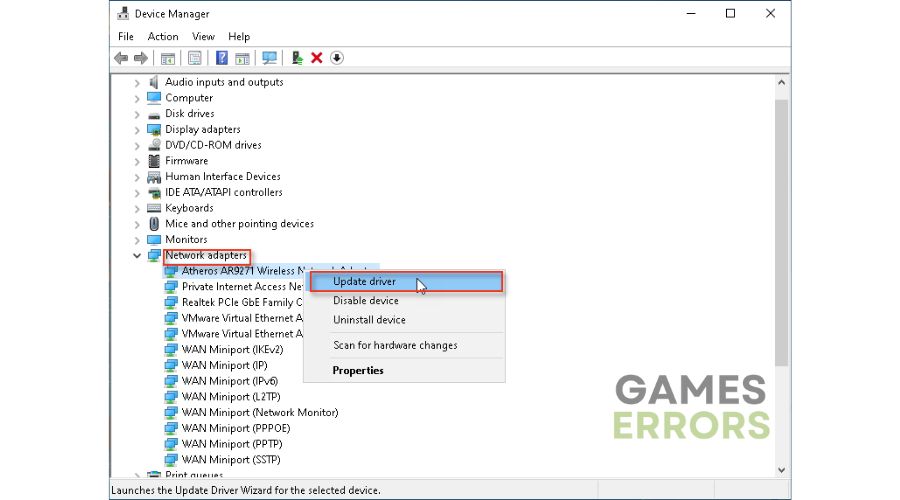
4. Wait while the update process searches for, downloads, and installs the latest driver version.
If you do not have time to manually update the system drivers in the described way or by searching through the web browser for original drivers, we recommend installing Outbyte Driver Updater. With a few simple steps, this helpful tool will quickly scan and update all your drivers.
⇒ Get Outbyte Driver Updater
4. Check for game updates
We recommend that you always have the latest version of Destiny 2 installed on your system. Only in this way will you ensure the game will run with the most minor problems regarding the implemented patches.
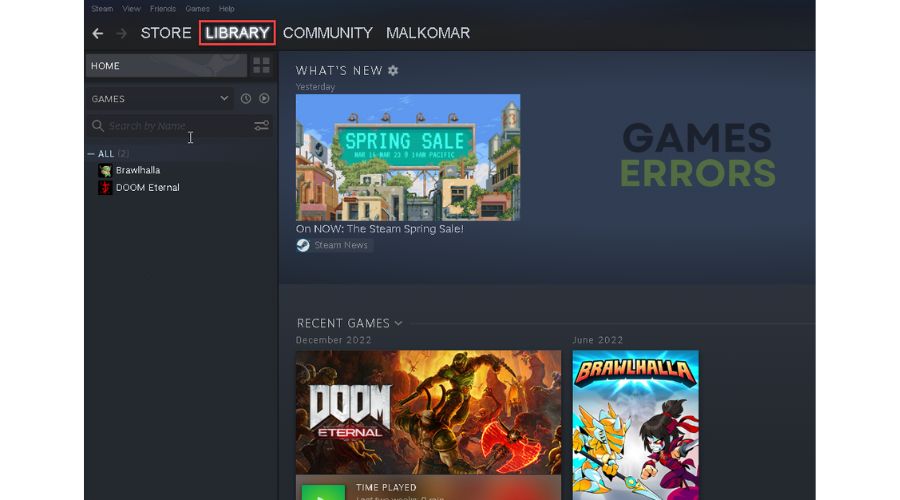
1. Launch the Steam client and go to the games library.
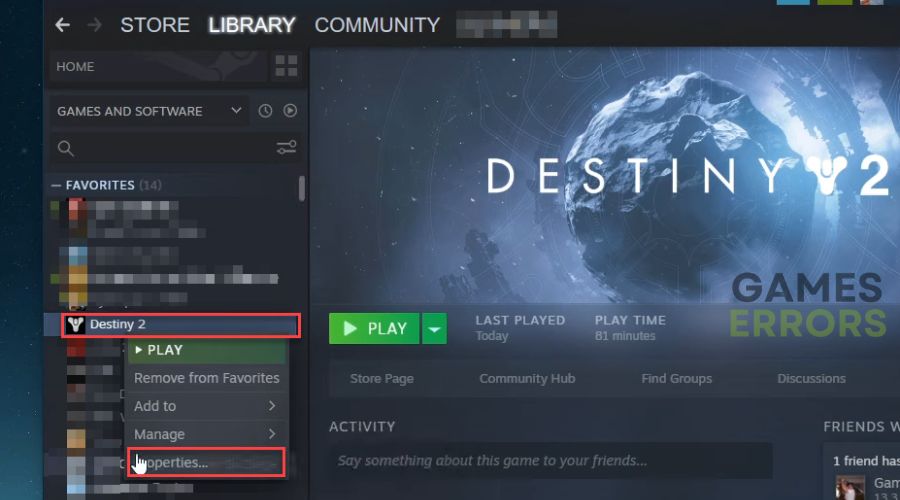
2. Right-click on Destiny 2 and select Properties.
3. Click on the Updates and select Always keep this game updated from the drop-down menu.
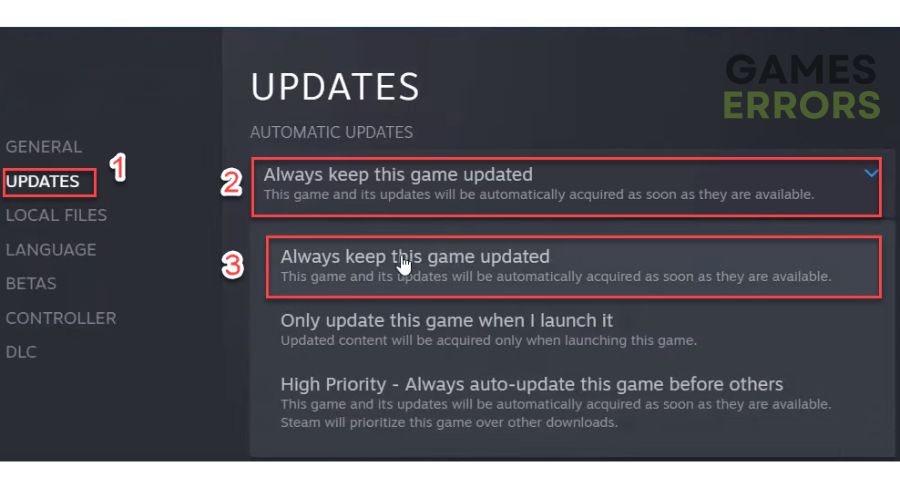
4. Close and restart the Steam launcher. The update will start automatically, if any.
5. Enable Port Forwarding
Time needed: 3 minutes
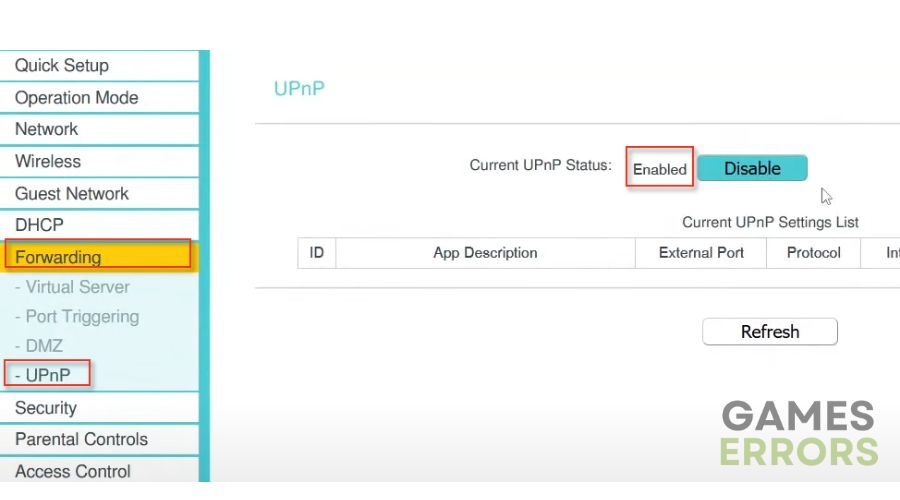
As Bungie advises, enabling UPnP is the easiest way to overcome NAT limitations if it is too restrictive. However, the downside of this method is that UPnP does automated port forwarding for you, which can lead to an insecure connection vulnerable to Internet threats. We recommend a more secure port forwarding method to overcome UPnP security issues.
- Log in to your router
Disable UPnP in the router menu and choose the Port forwarding option.

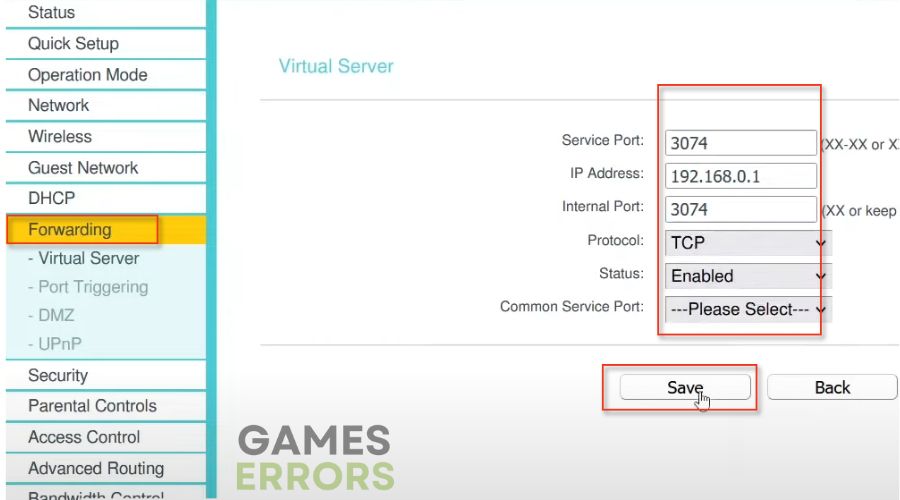
- Open Port Forwarding
Enter the recommended UDP and TCP ports in the boxes and click Save.
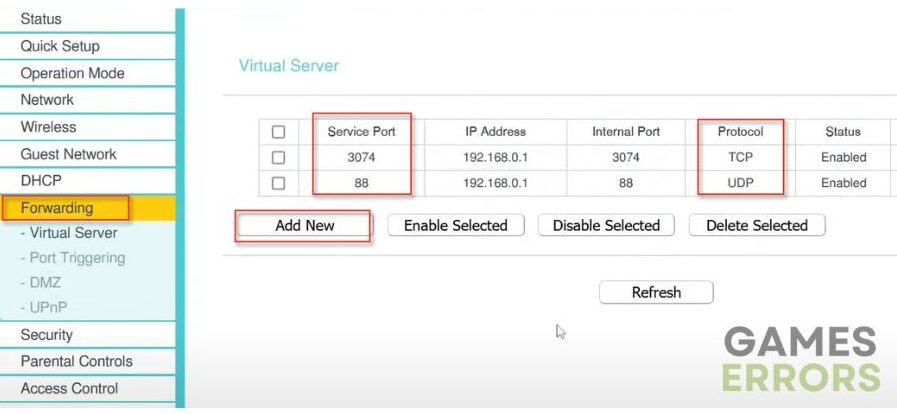
(For PC TCP: 27015-27030, 27036-27037 UDP: 3074, 3097, 4380, 27000-27031, 27036) - Continue entering ports via the Add New option.
Repeat the process until you have entered all the ports via the Add New option.
For Xbox One – TCP: 3074, UDP: 88, 500, 1200, 4074, 3544, 4500
For PS4/5 – TCP:1935, 3478-3480, UDP: 3074, 3478-3479
🕹 How to fix the Destiny 2 Error Code BEET on Xbox?
- Test network connection (Press the Xbox button. In the Settings menu, choose the General option. Navigate to Network settings)
- Check any updates (Open the My Games & Apps menu/Manage/Updates/Update All).
- Clear console cache (Unplug the power cord for 5 to 6 minutes, then plug the power cord back and turn on your Xbox).
- Delete and reinstall Destiny 2
🎮 How to fix Destiny 2 Error Code BEET on PS4/5?
- Test network connection (Home menu, select Settings, Network menu, choose Test Internet Connection).
- Check any updates (Select Destiny 2 from the Home screen, press the Options button on your controller, and select Check for Update).
- Clear console cache (same procedure as Xbox console).
- Delete and reinstall Destiny 2
Related articles:
- Destiny 2 Error Code Buffalo: Most Successful Methods To Fix It
- Destiny 2 Preservation Mission Not Showing Up: How To Fix
- Destiny 2 Error Code Coconut: Fix It Quickly
Conclusion
In this guide, we have given you specific tips on how to get rid of the error code: BEET in Destiny 2. Feel free to comment below if you still have the problem or found another way to solve it.