
Steam Needs to Be Online to Update: Fix It Easily
You are connected to internet, but somehow Steam thinks you are offline? 🤔
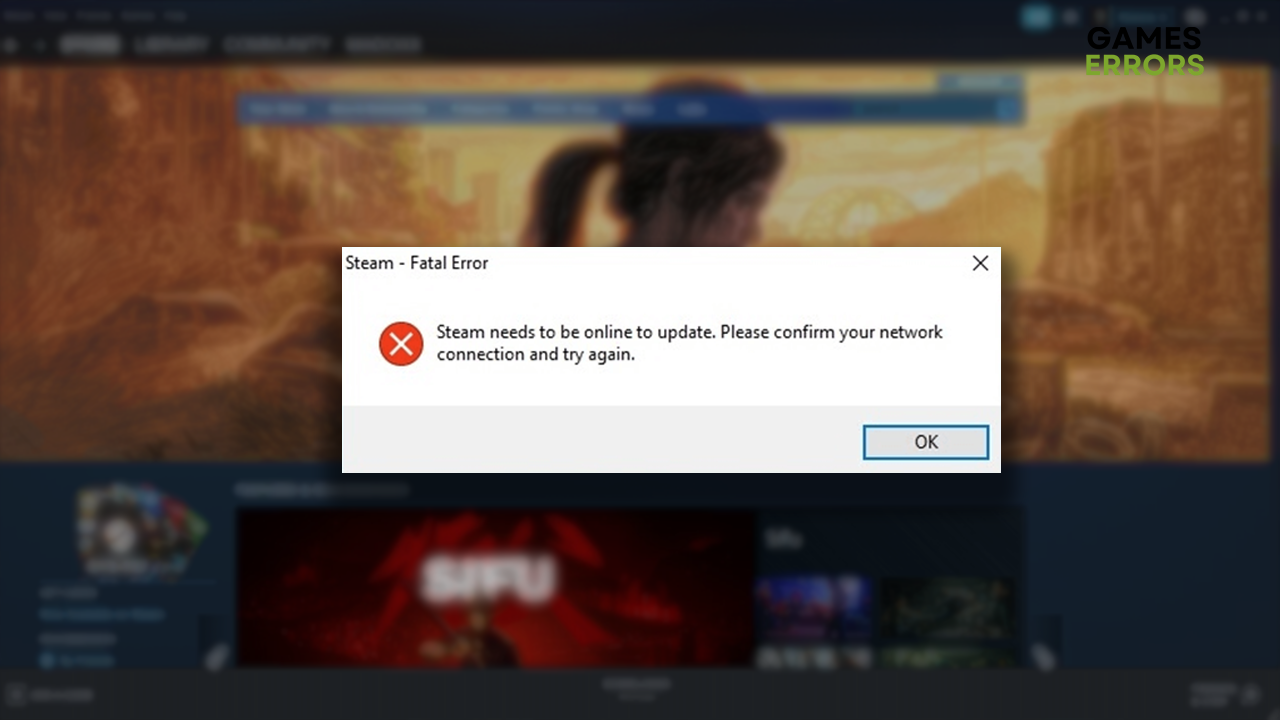
If you tried to launch Steam, but instead of the most popular game distribution platform, you saw Steam needs to be online to update, you are in the right place! We will help you understand the most frequent causes of this problem and the easiest and most efficient solutions for troubleshooting it, so you can enjoy your Steam games again.
Find out what to do if you get a black screen in Steam Store.
Why do I get Steam needs to be online to update?
You get this error message due to a faulty internet network, outage of Steam servers, problems with Windows permissions, outdated network drivers, faulty DNS settings, or pilled-up Steam cache files. The problems with Steam servers are out of your reach, but everything else you can fix!
How to fix the error that Steam needs to be online to update?
Apply some quick checks and easy fixes first:
- Ensure you have a stable internet connection by checking if other apps and games connect properly.
- Run Steam with administrator permission.
- Check the Steam Twitter account for any information about server issues.
If this doesn’t help, proceed with the following solutions.
1. Update the network driver
Any program on your PC that uses the internet requires a network driver for stable communication. Drivers are regularly updated by hardware manufacturers, so it’s good to keep them updated on your PC.
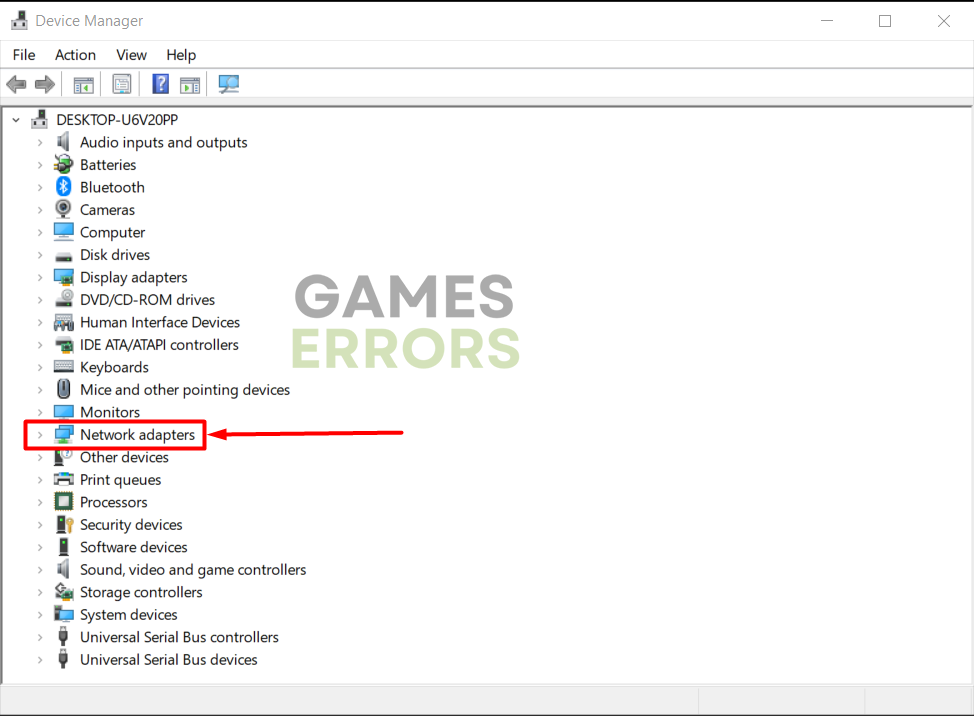
- Click the Windows icon, type Device Manager, and open this tool.

- Double-click on the Network adapters section.

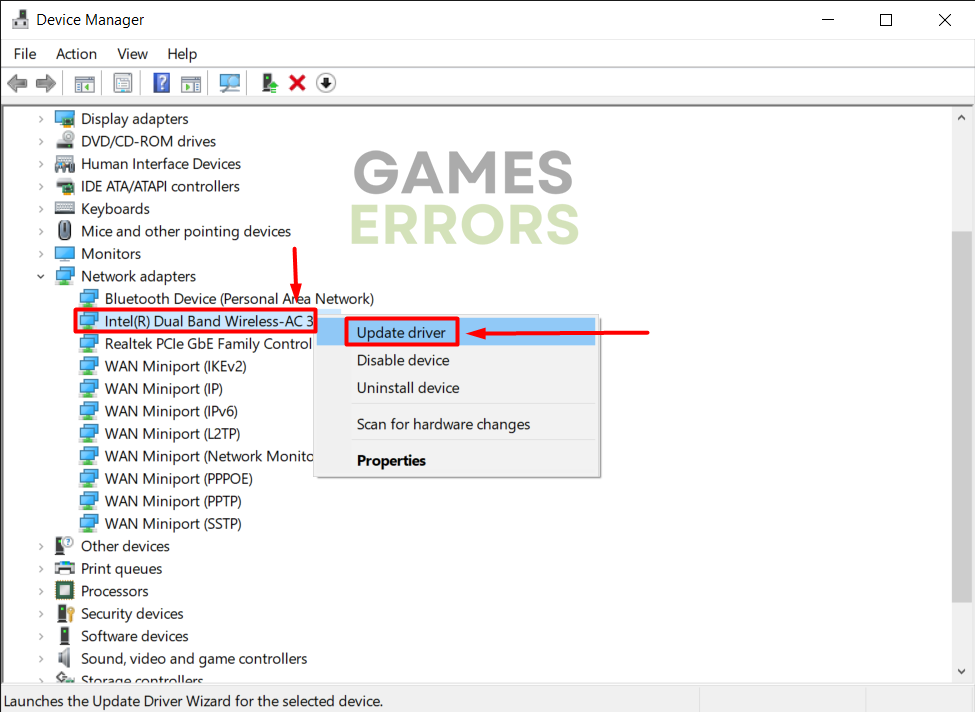
- Right-click on the internet adapter you use and select the Update driver option.

- Select the Search automatically for drivers option in the Update Driver Wizard.
- After the Wizard finds suitable updates, follow the steps for driver installation.
If no updates are found, the recommendation is to double-check by using a driver updater tool. - Restart your PC.
The driver updater tool we highly recommend is Outbyte Driver Updater. This tool scans, monitors, and updates the network and every other driver on your device, thus giving you peace of mind regarding driver management.
⇒ Get Outbyte Driver Updater
2. Manually add the DNS server address
Time needed: 3 minutes
Windows assigns Domain Name System (DNS) server addresses automatically. The general recommendation is to use Google DNS to avoid issues when launching Steam.
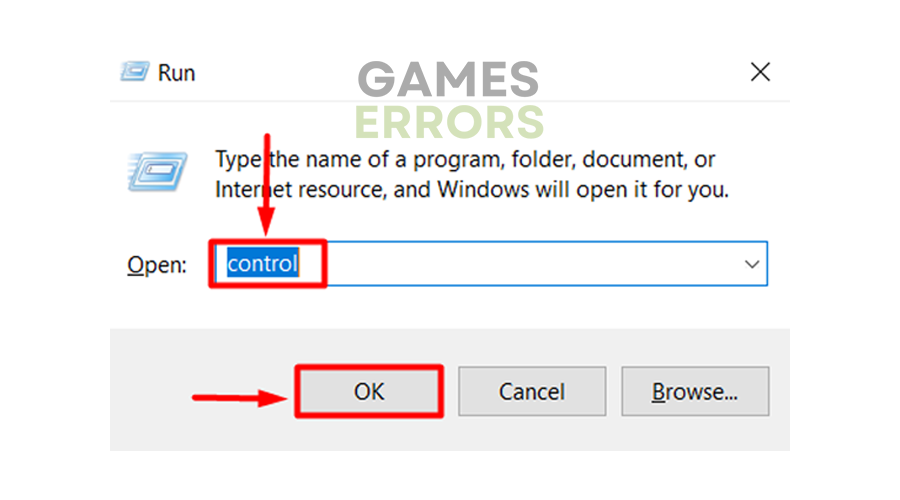
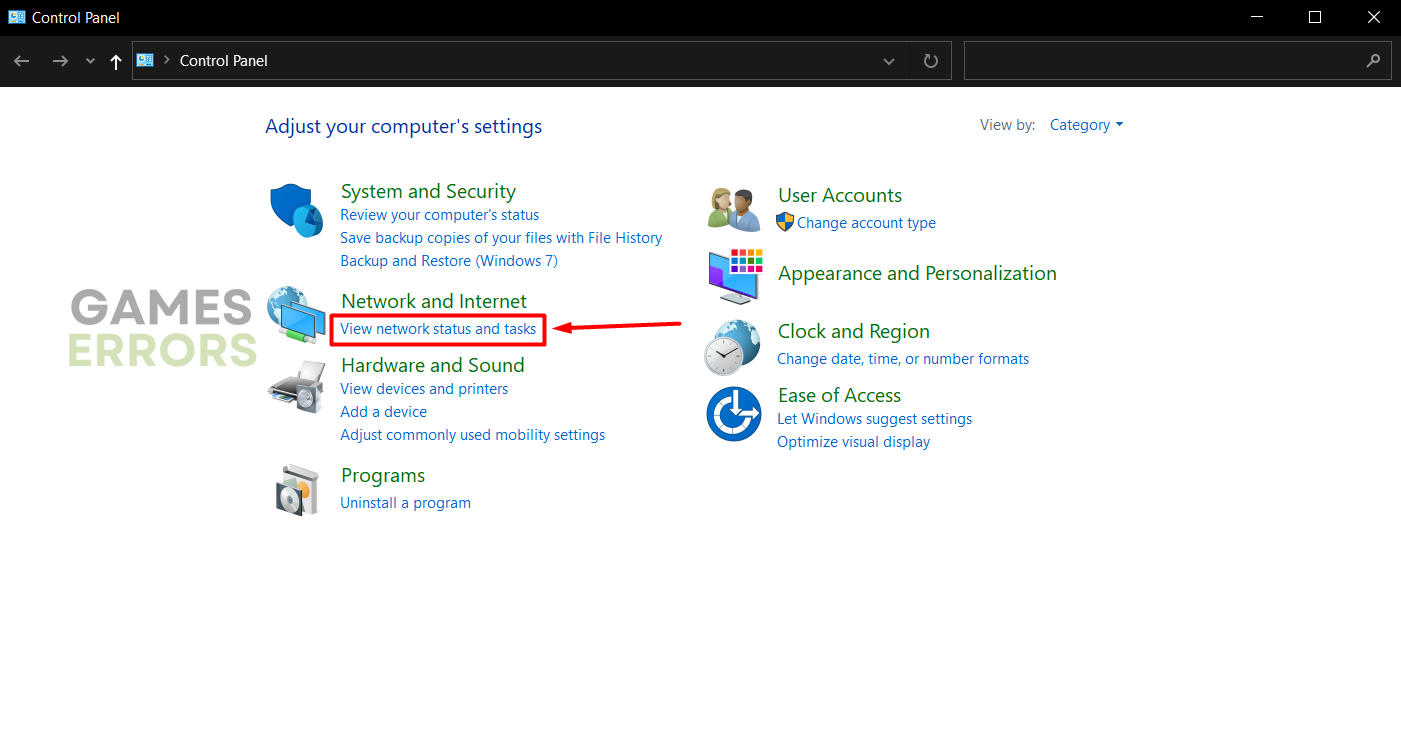
- Use the Windows Key + R shortcut to open the Run dialog, type control, and hit OK.

- Click on View network status and tasks under the Network and internet.

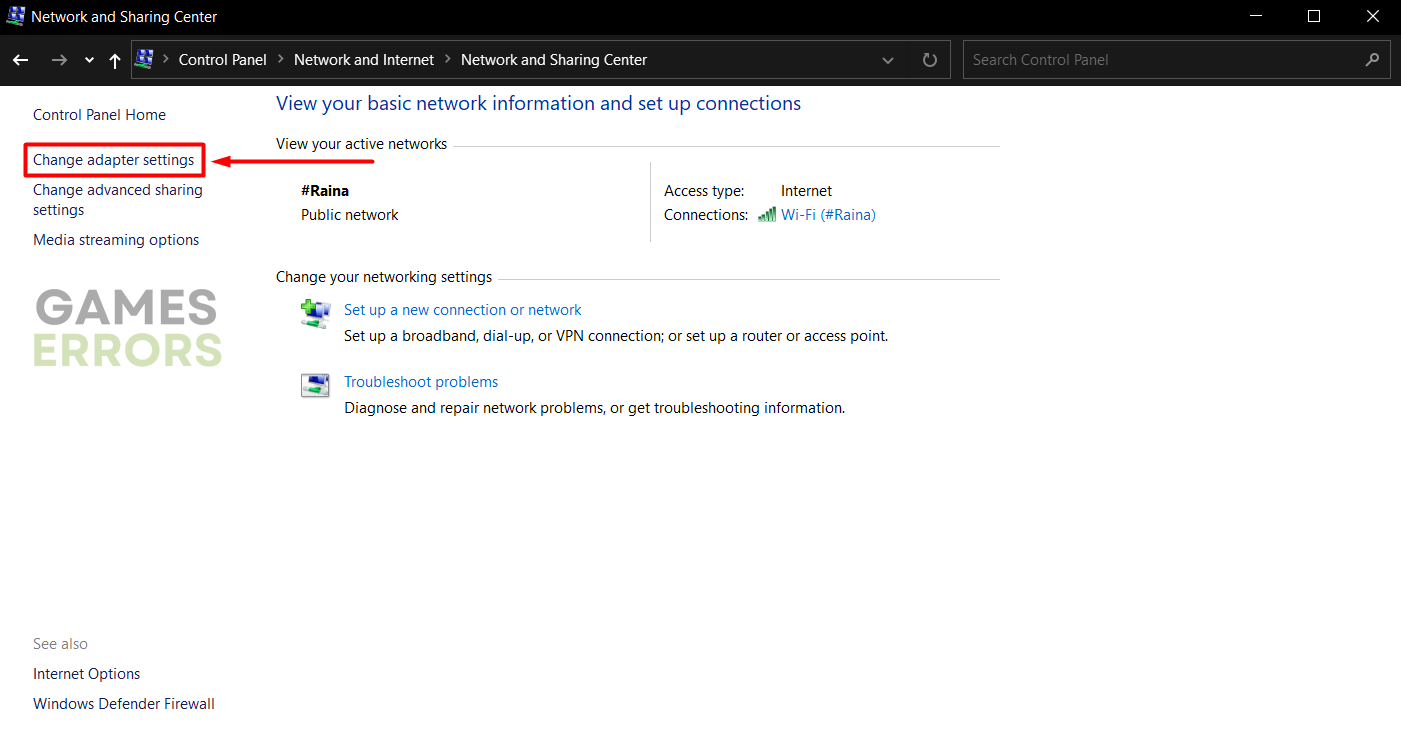
- Click on the Change adapter settings in the menu on the left.

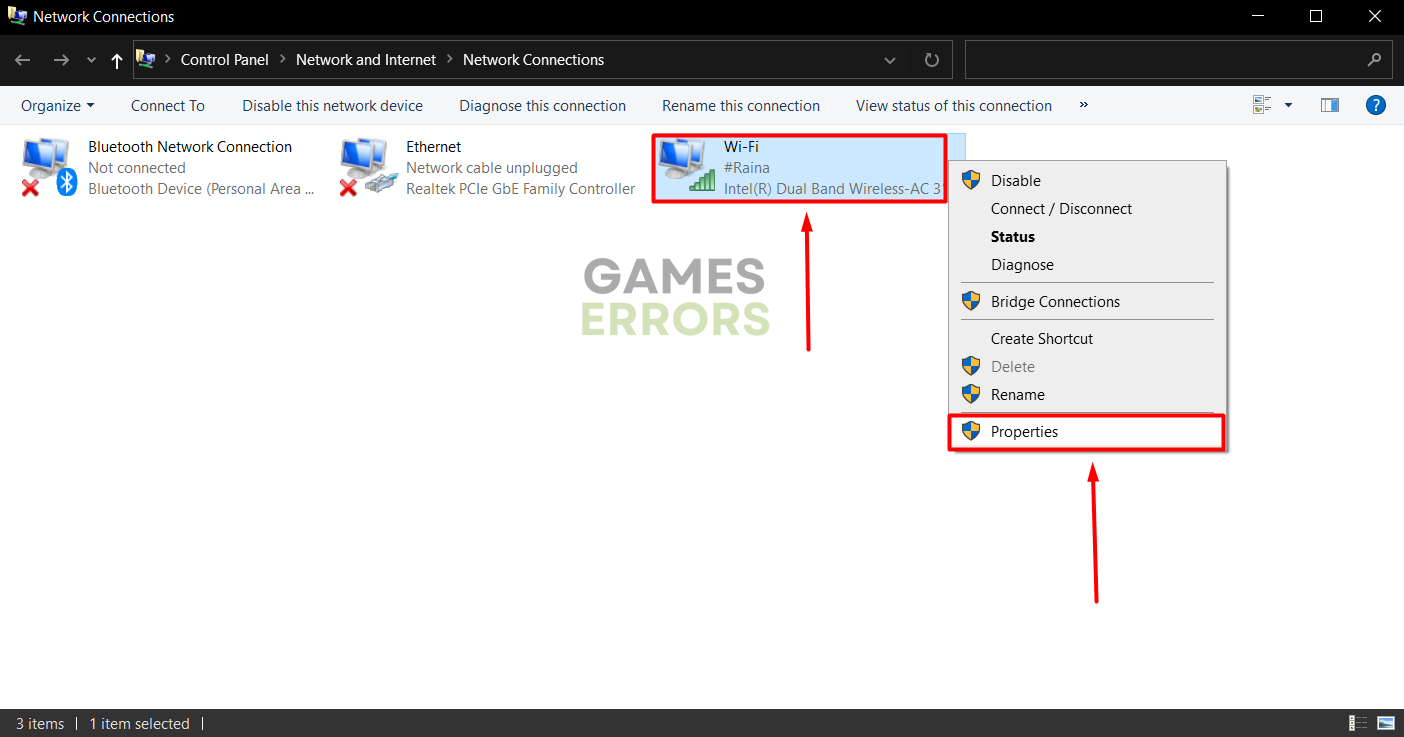
- Right-click the internet network you use and select Properties.
➡ The green signal icon marks a wireless connection
➡ The cable icon marks a wired network
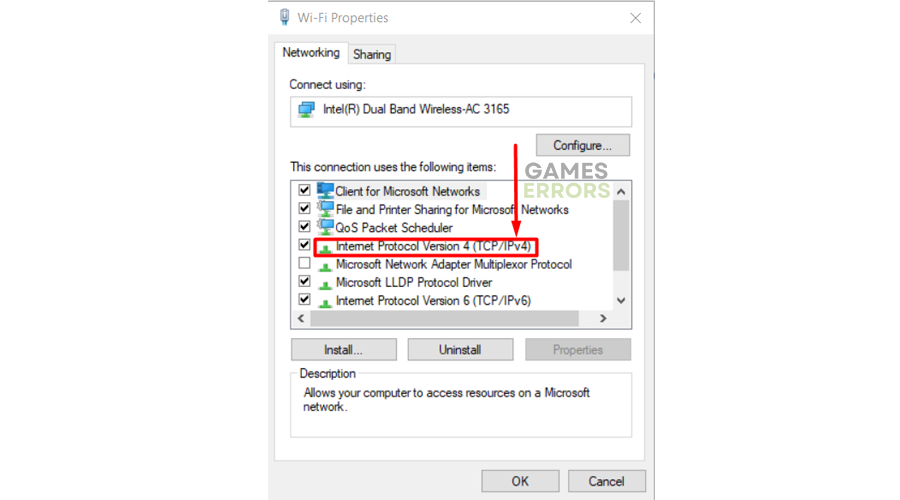
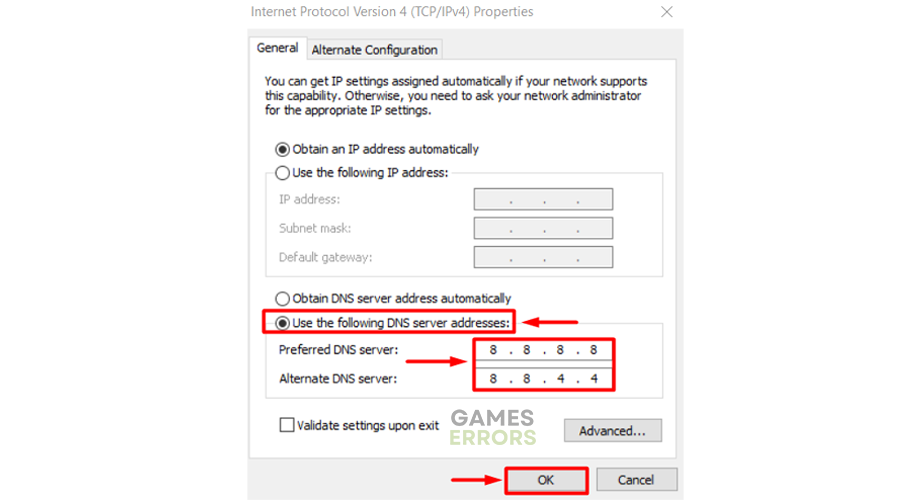
- Double-click Internet Protocol Version 4 (TCP/IPv4).
- Enable Use the following DNS server addresses and add:
➡ 8.8.8.8 for the Preferred DNS server
➡ 8.8.4.4 for the Alternate DNS server - Save changes by clicking on OK and restarting your PC.
3. Clear Steam cache
Steam stores some files locally on your PC to speed up the loading and deliver better performance. Although this is very useful, it can also cause Steam needs to be online to update problems.
- Open File Explorer using the Windows key + E shortcut.
- Paste this path in C:\Program Files (x86)\Steam and hit Enter.
Navigate to the Steam directory manually if you used another path to install Steam.
- Right-click on the appcache folder and select Copy.
- Navigate to Desktop using the Windows key + D shortcut.
- Create a backup of the appcache folder using the CTRL + V shortcut.
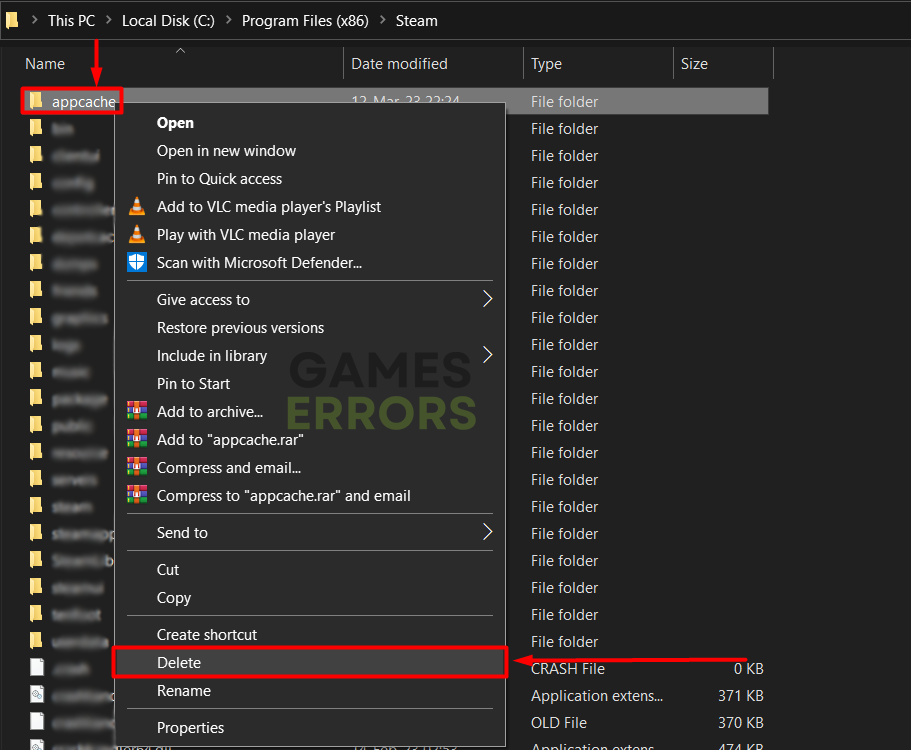
- Return to the Steam directory, right-click on the appcache folder, and select Delete.

- Restart your PC.

👉 Next time you run Steam, it will generate new cache files. If something goes wrong, you can always return the backup of appcache folder in the Steam directory.
Extra steps
Some players will have issues even when they apply all fixes and solutions. If your case is the same, you can try to:
- 💿 Run Steam in compatibility mode: This problem occurs mostly on Windows 10. Right-click on Steam and select the Run the program in compatibility mode for Windows 8 in the Compatibility tab.
- ❌ Disable VPN or proxy: VPNs and proxies can be useful sometimes, but this might prevent you from opening Steam. With this in mind, Steam needs to be online to update might mean that your VPN is not working properly.
- 💻 Ensure Steam isn’t blocked: Disable your antivirus software and Windows Defender and check if Steam works. If this solves the issue, turn the protection back ON and whitelist Steam in your antivirus software and Windows Defender.
- 📞 Contact your ISP: Sometimes, the problem is neither you nor Steam but the network between you. Give a call to their support center and explain your problem
Related articles:
- Steam Game Not Launching: Why & What To Do In This Case
- Steam No Internet Connection Error: Quick And Lasting Fixes
- Steam Download Speed Is Slow: How To Fix & Increase Speed
- Steam Error: You’ve Made Too Many Requests Recently – Quick Fix
Conclusion
We hope you are already enjoying the games you have on Steam and that Steam needs to be online to update it in the past. If you experience any other issues with Steam, let us know in the comment section, and we will happily assist.