Are you new to development? Don’t know how to install node js on Windows? You’re at the perfect spot, In this blog, we will guide you from scratch to run it smoothly in your system. Let’s dive into it!
What is Node js?
Node.js is a powerful JavaScript runtime that allows developers to run JavaScript on servers. For Windows users, installing Node.js correctly is crucial for a smooth development experience. Let’s explore the significance of Node.js on the Windows platform and the importance of installing it correctly.
System Requirements for Installing Node.js on Windows
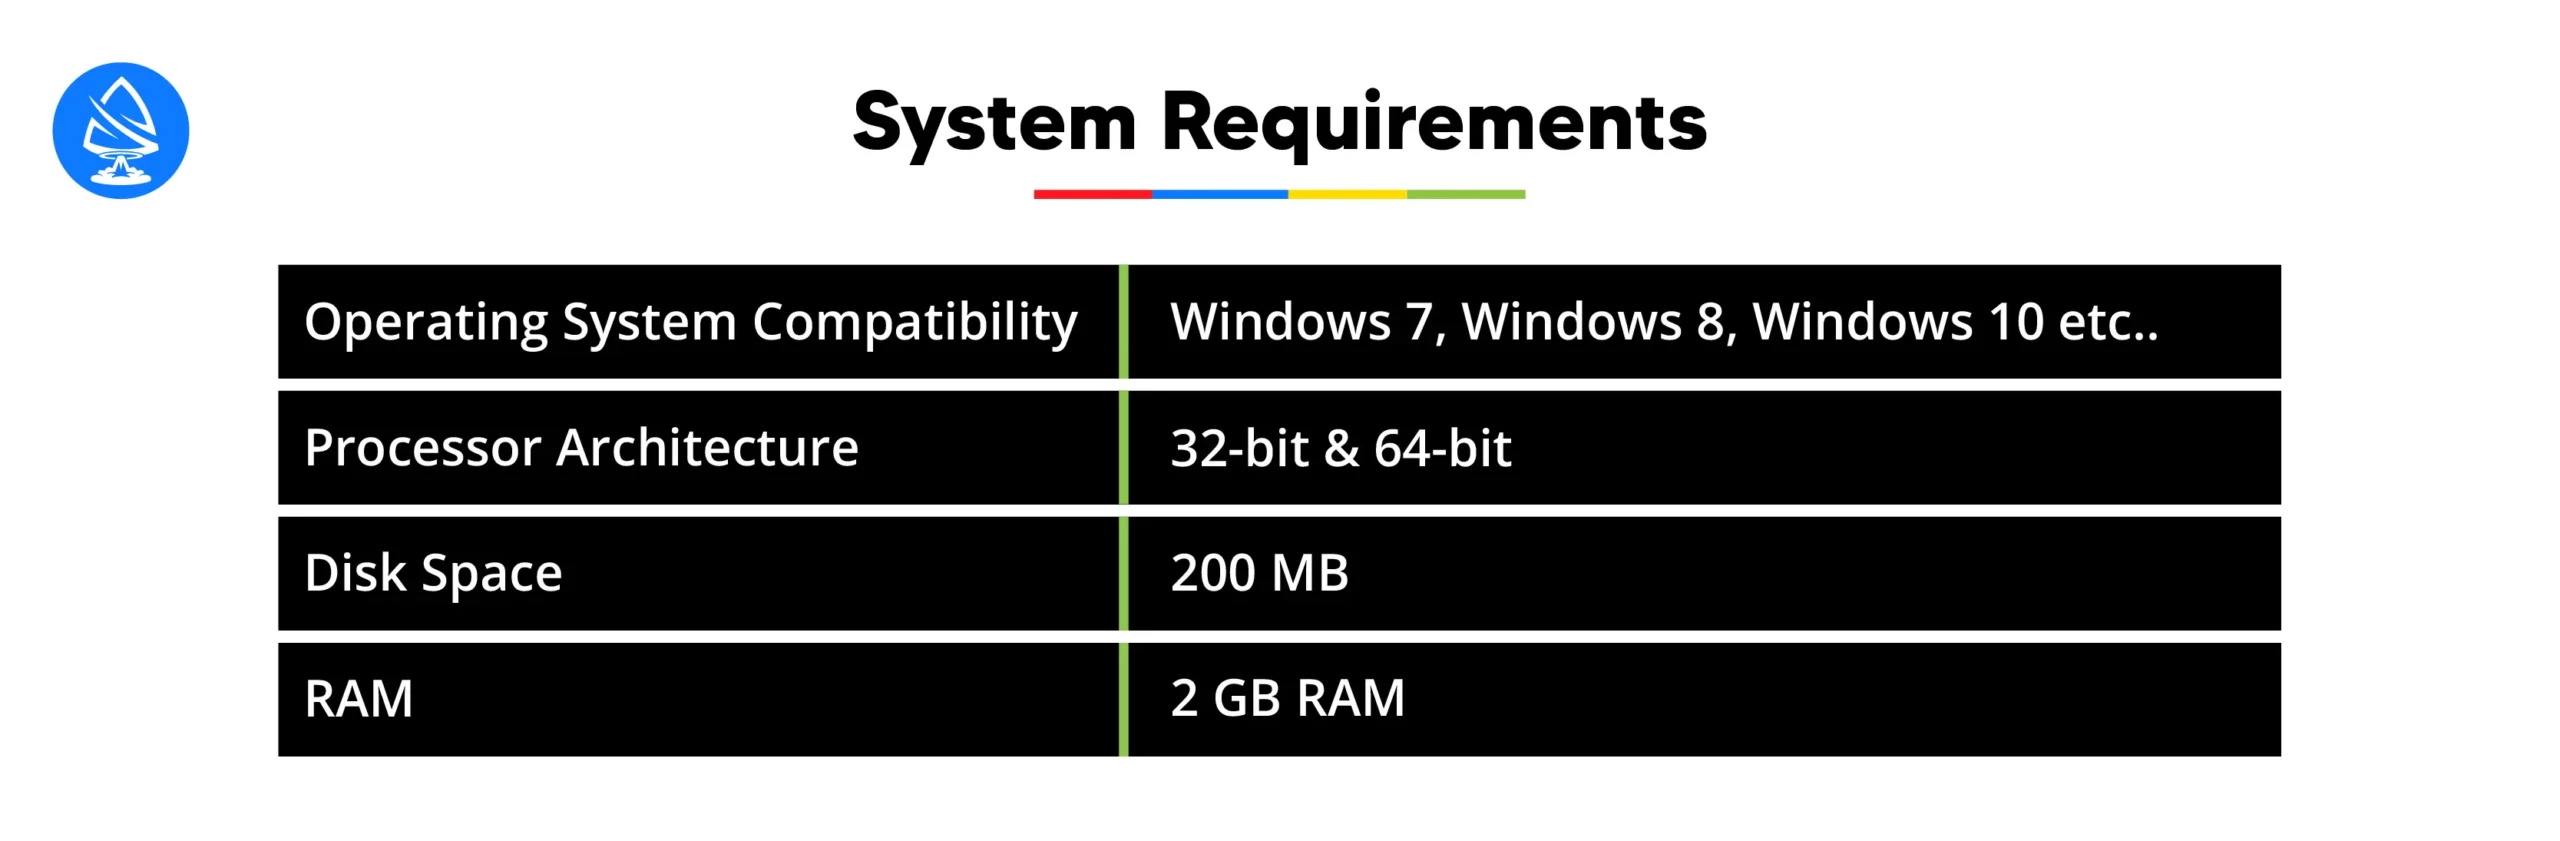
Operating System Compatibility: Let’s explore how to install node js on Windows with the Operating system. Node.js is compatible with various versions of the Windows operating system, including Windows 7, Windows 8, Windows 10, and Windows Server editions.
Processor Architecture: Node.js supports both 32-bit and 64-bit architectures, so ensure compatibility with your system architecture before downloading.
Disk Space: Allocate sufficient disk space for Node.js installation and related packages. A minimum of 200 MB is typically recommended, but additional space may be required based on your project needs.
RAM: While Node.js itself doesn’t have stringent RAM requirements, having at least 2 GB of RAM is advisable for smooth performance, especially when running multiple applications simultaneously.
Necessary Tools and Software to Download Nodejs
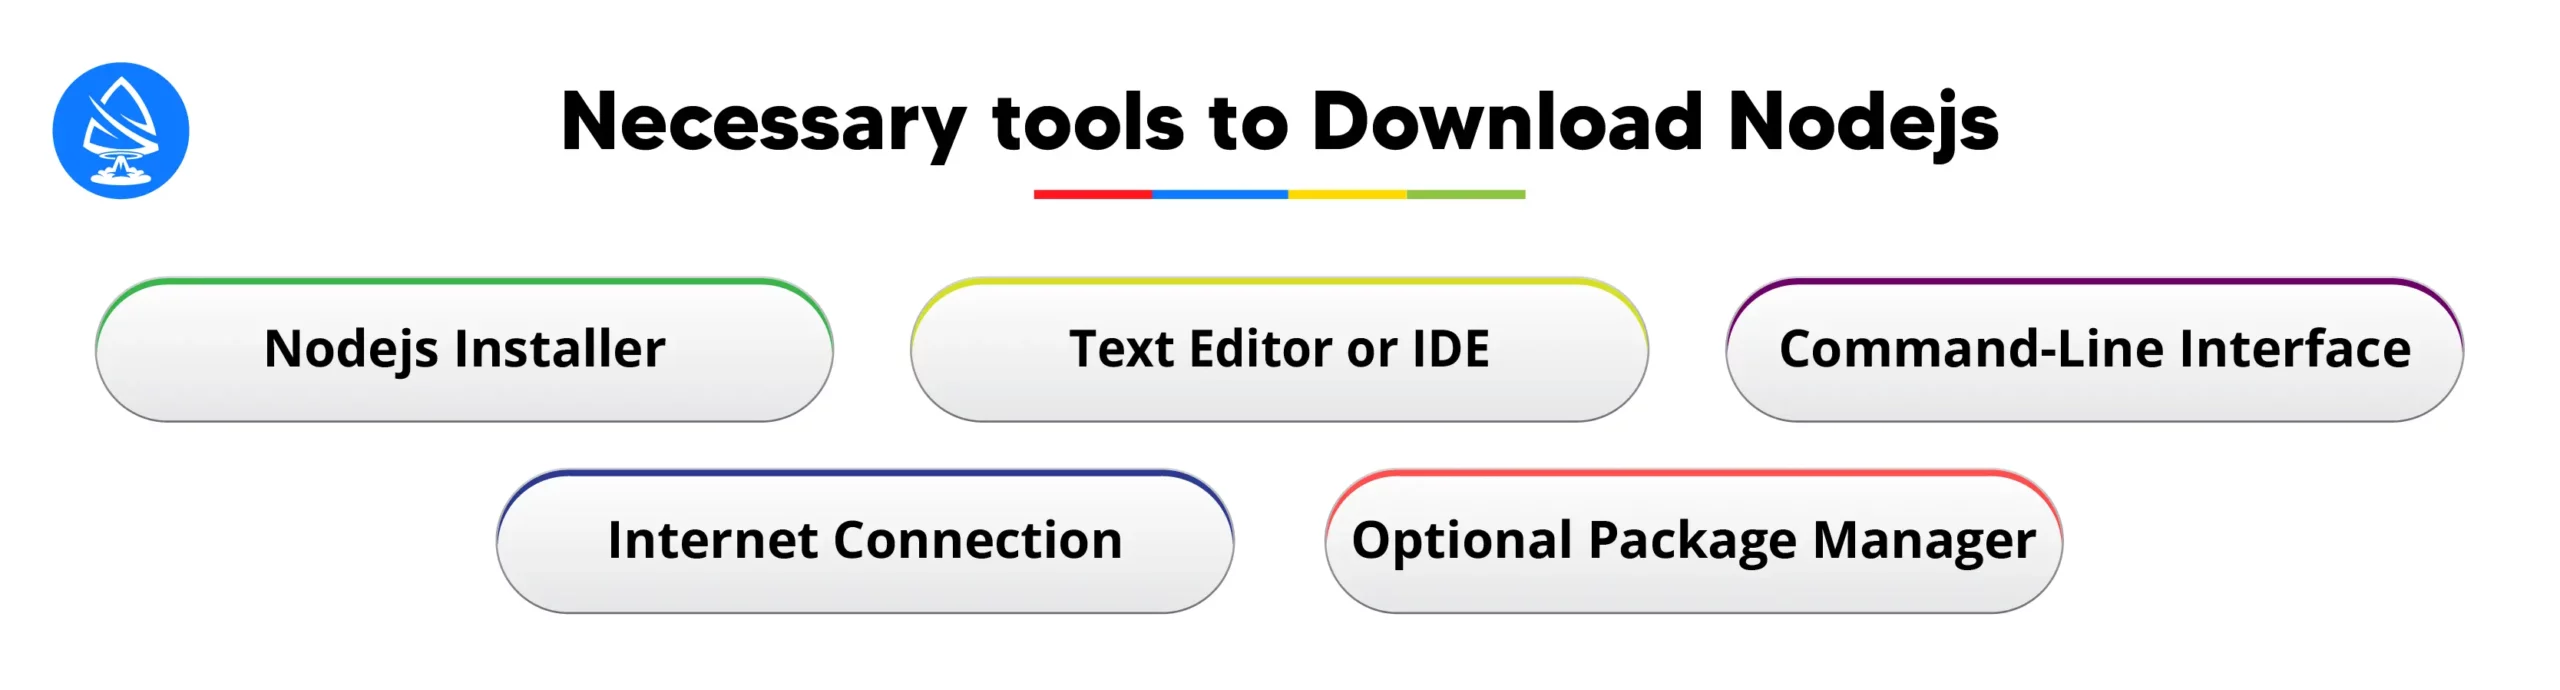
Node.js Installer: First step in how to do Node js install on Windows is to download the Node.js installer for Windows from the official Node.js website. Choose the appropriate version based on your system architecture (32-bit or 64-bit).
Text Editor or IDE: Install a text editor or an Integrated Development Environment (IDE) for writing and editing JavaScript code. Popular options include Visual Studio Code, Sublime Text, or Atom.
Command-Line Interface (CLI): Ensure that your system has a reliable command-line interface, such as Command Prompt or PowerShell, for executing Node.js commands and scripts.
Internet Connection: An active internet connection is necessary to download Node js for Windows and any additional packages or dependencies required during the installation process.
Optional: Package Manager: While not strictly required for Node js install, having a package manager like npm (Node Package Manager) pre-installed can be beneficial for managing Node.js packages and dependencies in your projects.
We make sure that your system meets the specified requirements and having the necessary tools and software ready, you can proceed with a smooth installation of Node.js on Windows for your development needs.
Exploring Available Options for Node js Download on Windows
Official Website: The official Node.js website provides direct download links for the latest stable versions of Node.js for Windows. This is the recommended method for most users.
Package Managers: Tools like NVM Windows (Node Version Manager) allow users to manage multiple Node.js installations on their system. While this method offers flexibility, it may require additional setup and configuration.
Step-by-Step Guide to Downloading Node.js from the Official Website
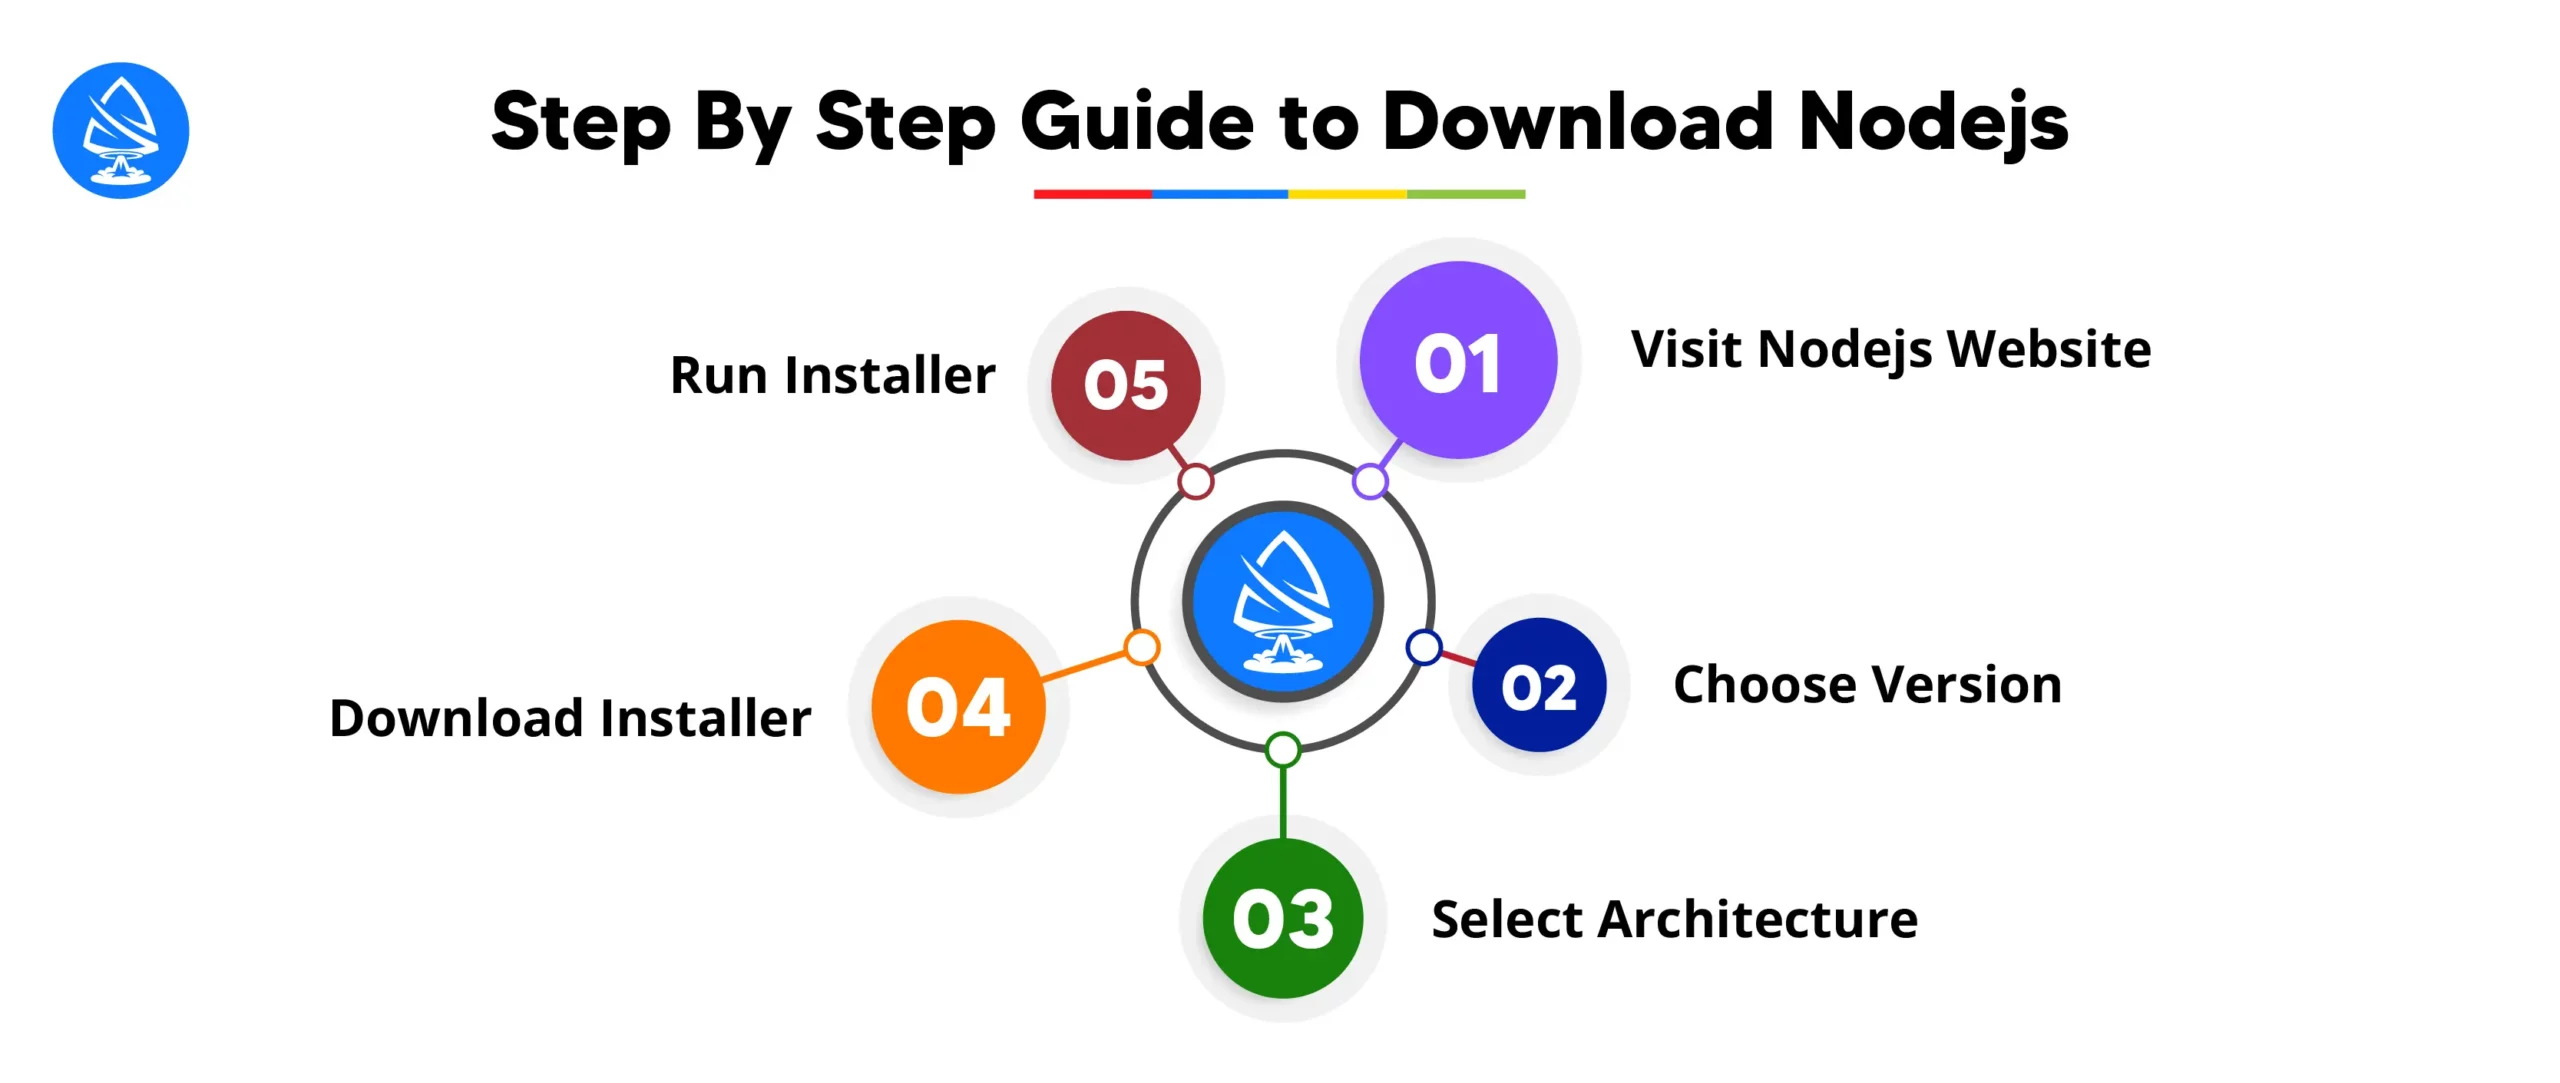
Visit the Node.js Website: You can learn about how to install Node js on Windows by going to the official Node.js website (nodejs.org) using your preferred web browser.
Choose the Version: Navigate to the “Downloads” section and select the appropriate version of Node.js for Windows. Consider factors like LTS (Long-Term Support) or the latest stable version based on your requirements.
Select Architecture: Choose between 32-bit and 64-bit versions based on your system architecture. Most modern systems use 64-bit architecture but verify your system specifications if unsure.
Download Installer: Click on the download link to start downloading the Node.js installer for Windows. The installer file typically has a “.msi” extension.
Run Installer: Once the download is complete, locate the downloaded installer file and double-click to run it. Follow the on-screen instructions to complete the installation process.
Alternative Methods for Downloading Node.js, Such as Using Package Managers like NVM for Windows
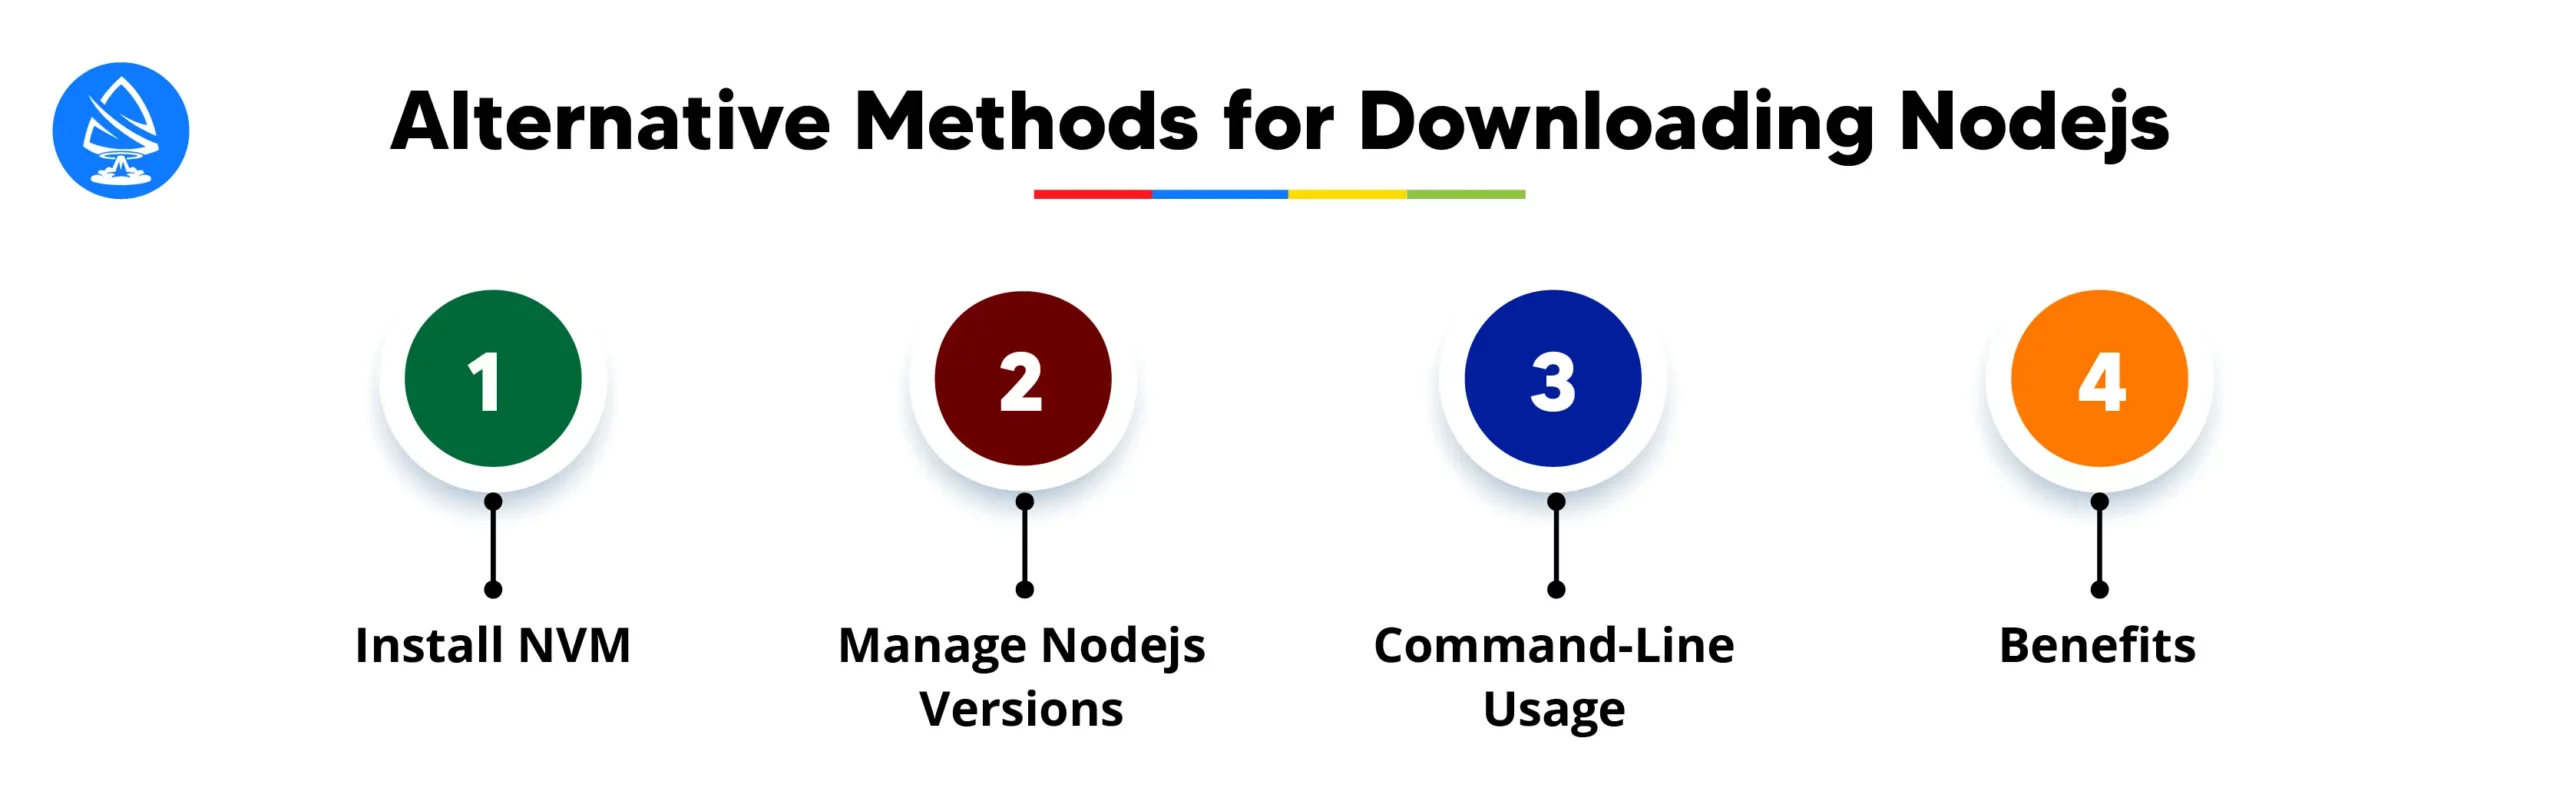
Install NVM: If you don’t know how to install node js on Windows, You can prefer using a package manager, you can install NVM Windows by following the instructions provided on its GitHub repository.
Manage Node.js Versions: Once NVM is installed, you can use it to install, switch between, and manage multiple versions of Node.js on your system.
Command-Line Usage: NVM provides command-line interface commands for installing specific Node.js versions, switching between versions, and setting the default version.
Benefits: Using NVM allows for easier management of Node.js versions and simplifies the process of updating or switching between different versions as needed for different projects.
You can explore the available options and following the step-by-step guide, users can download Node.js on Windows using the method that best suits their preferences and requirements. Whether opting for the official website or leveraging package managers like NVM, users can quickly set up Node.js for their development environment.
Installation Process
Step-by-Step Instructions for Installing Node.js Using the Downloaded Installer
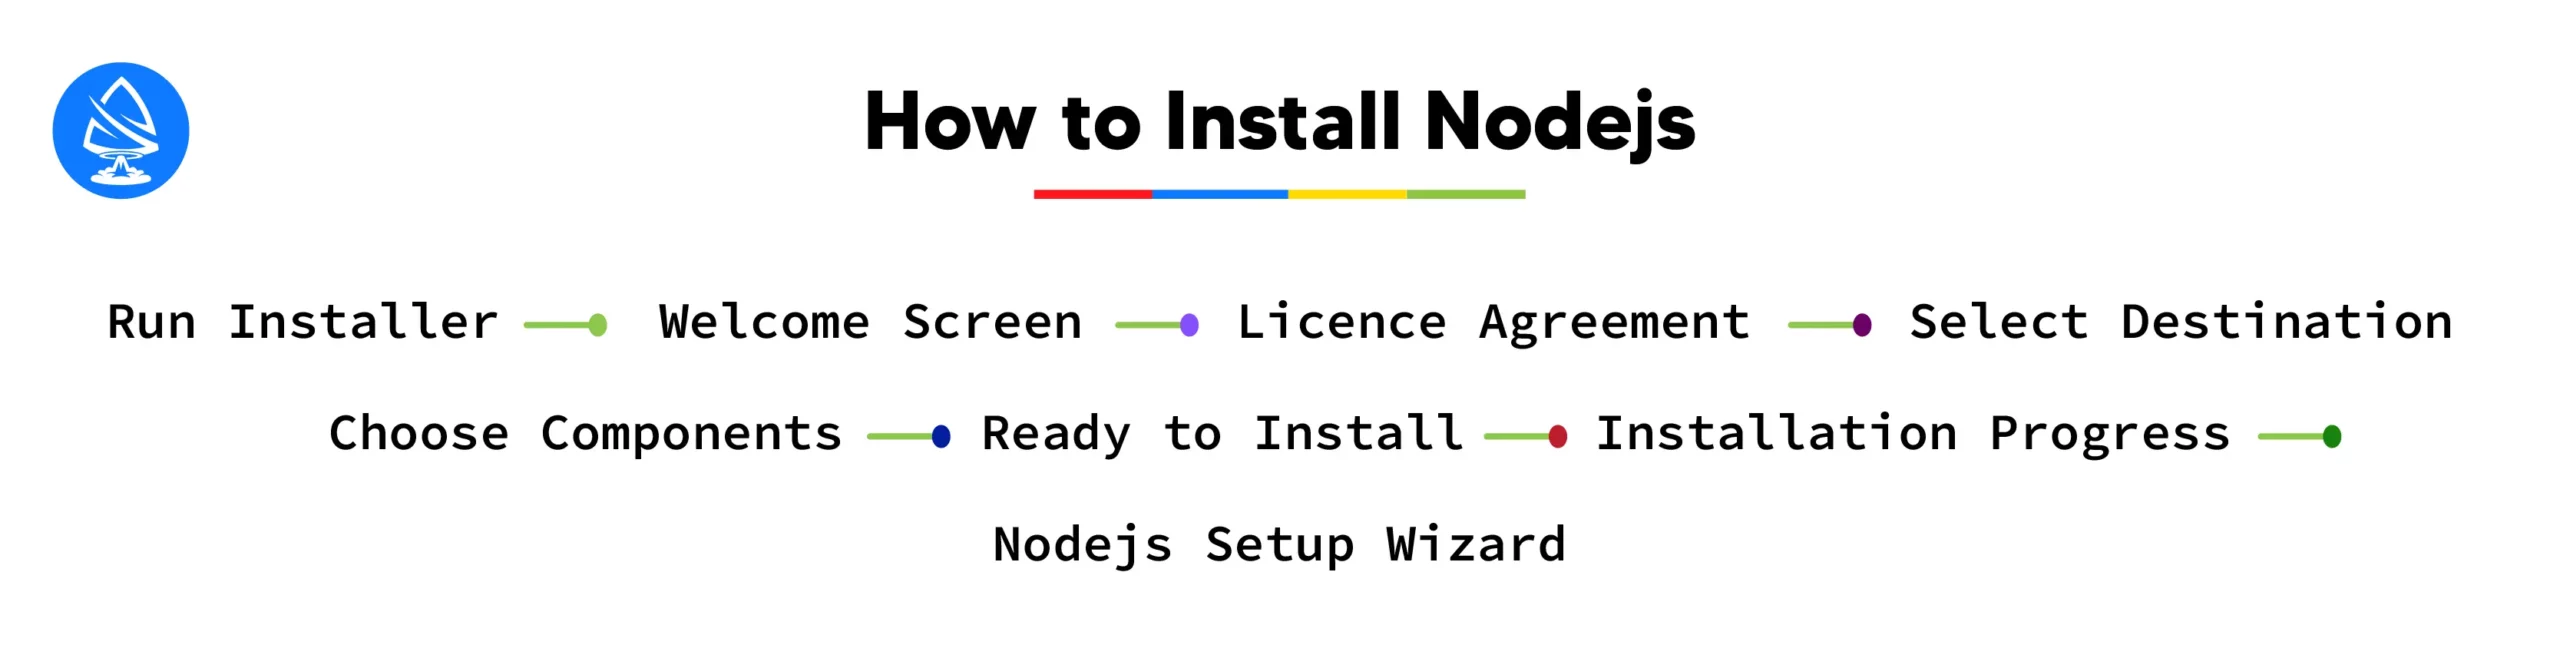
Run Installer: Double-click the downloaded Node.js installer file (with “.msi” extension) to start the installation process.
Welcome Screen: Click “Next” on the welcome screen to proceed with the installation.
License Agreement: Read and accept the license agreement. Click “Next” to continue.
Select Destination: Choose the destination folder where Node.js will be installed. The default location is typically recommended. Click “Next” to proceed.
Choose Components: Select the components you want to install. It’s recommended to keep the default selections, which include Node.js runtime and npm package manager. Click “Next” to continue.
Ready to Install: Review the installation settings. Click “Install” to begin the installation process.
Installation Progress: Wait for the installation process to complete. This may take a few moments.
Completing the Node.js Setup Wizard: Once the installation is finished, click “Finish” to exit the setup wizard.
Configuring Installation Settings and Options
Environment Variables: Optionally, you can configure system environment variables during installation. This allows you to add Node.js and npm directories to the system’s PATH, enabling you to run Node.js and npm commands from any command prompt.
Custom Installations: Advanced users may choose custom installation options to customize the installation process according to their specific requirements.
Verifying the Successful Installation of Node.js and NPM (Node Package Manager)
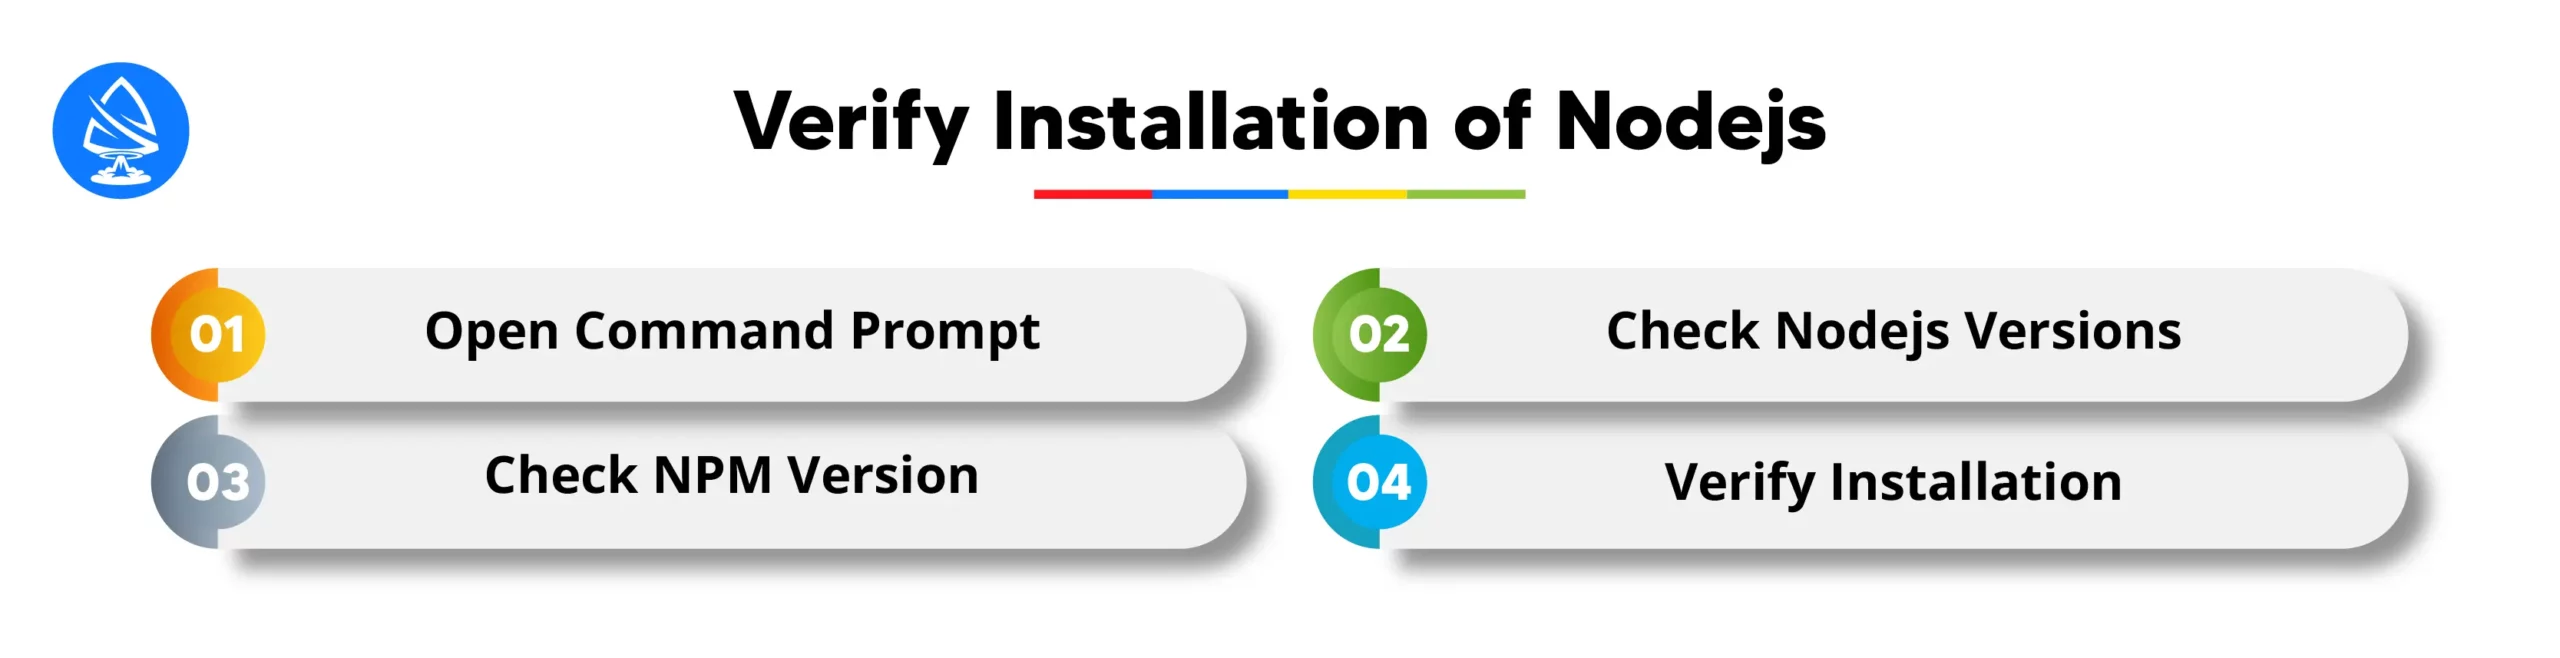
Open Command Prompt: To verify the installation, open a command prompt or terminal window.
Check Node.js Version: Type node -v and press Enter. This command will display the installed Node.js version if the installation was successful.
Check NPM Version: Similarly, type npm -v and press Enter. This command will display the installed npm version if npm was installed along with Node.js.
Verify Installation: If both commands return version numbers without any errors, Node.js and npm have been successfully installed on your system.
You can follow these steps, users can easily install Node js windows and npm on their Windows system and verify the successful installation, ensuring a smooth development experience.
Introduction to NVM (Node Version Manager) and Its Benefits
Overview: NVM, or Node Version Manager, is a tool that allows users to manage multiple installations of Node.js on their system.
Benefits: With NVM, users can easily switch between different versions of Node.js, install and uninstall versions, and ensure compatibility with various projects.
Step-by-Step Guide to Installing NVM for Windows
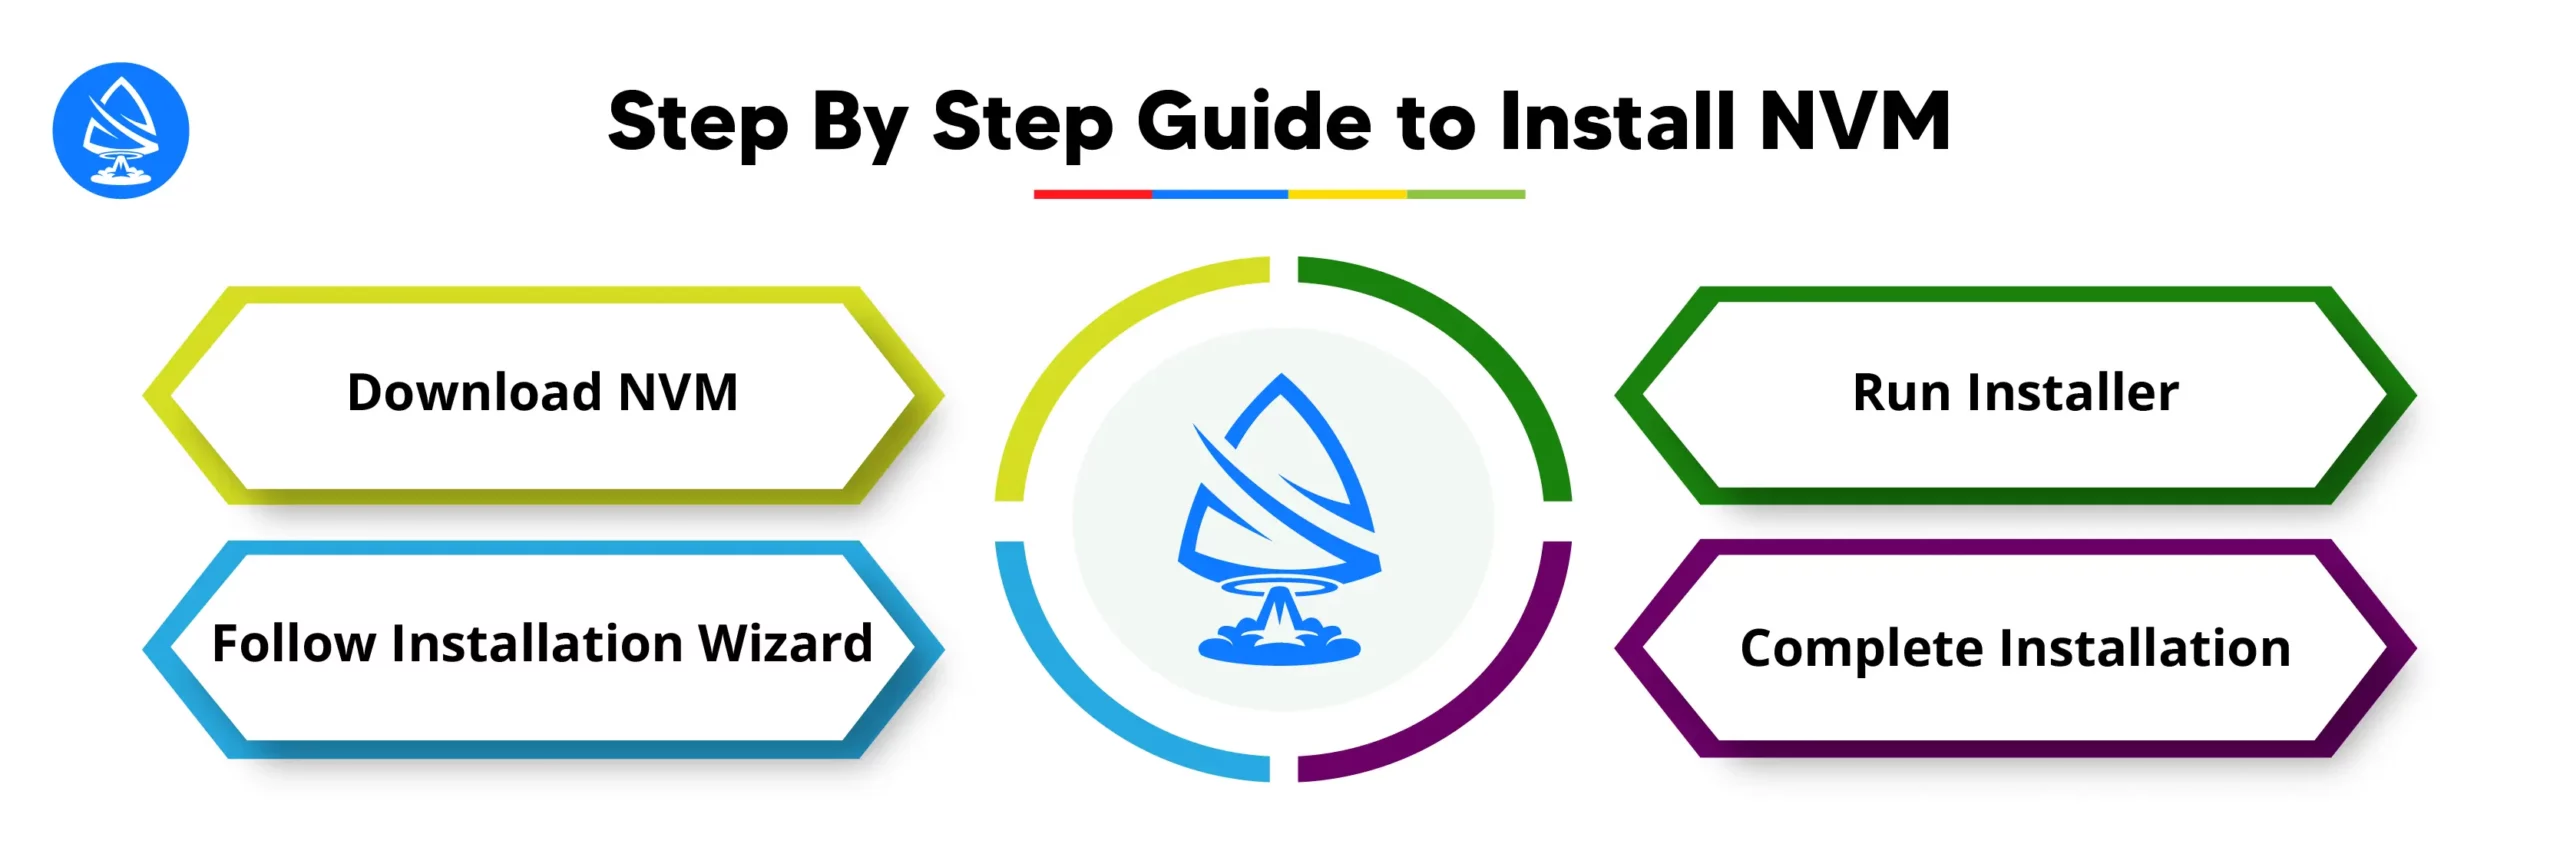
Download NVM: Visit the official NVM repository on GitHub and download the latest release of NVM for Windows.
Run Installer: Double-click the downloaded installer file to start the installation process.
Follow Installation Wizard: Proceed through the installation wizard, accepting the license agreement and choosing the installation directory.
Complete Installation: Once the installation is complete, NVM is ready to use.
Managing Multiple Node.js Versions with NVM and Switching Between Them
Install Node Versions: Use NVM to install multiple versions of Node.js by running commands like nvm install <version> in the command prompt.
List Installed Versions: To see a list of installed Node.js versions, use the command nvm list.
Switch Versions: Use nvm use <version> to switch between installed Node.js versions. This sets the selected version as the active one.
Default Version: Set a default Node.js version using nvm alias default <version>. This version will be used when opening new command prompt windows.
You can utilize NVM Windows, users can effectively manage different Node.js versions, ensuring compatibility with various projects and simplifying the development process.
Troubleshooting Common Issues
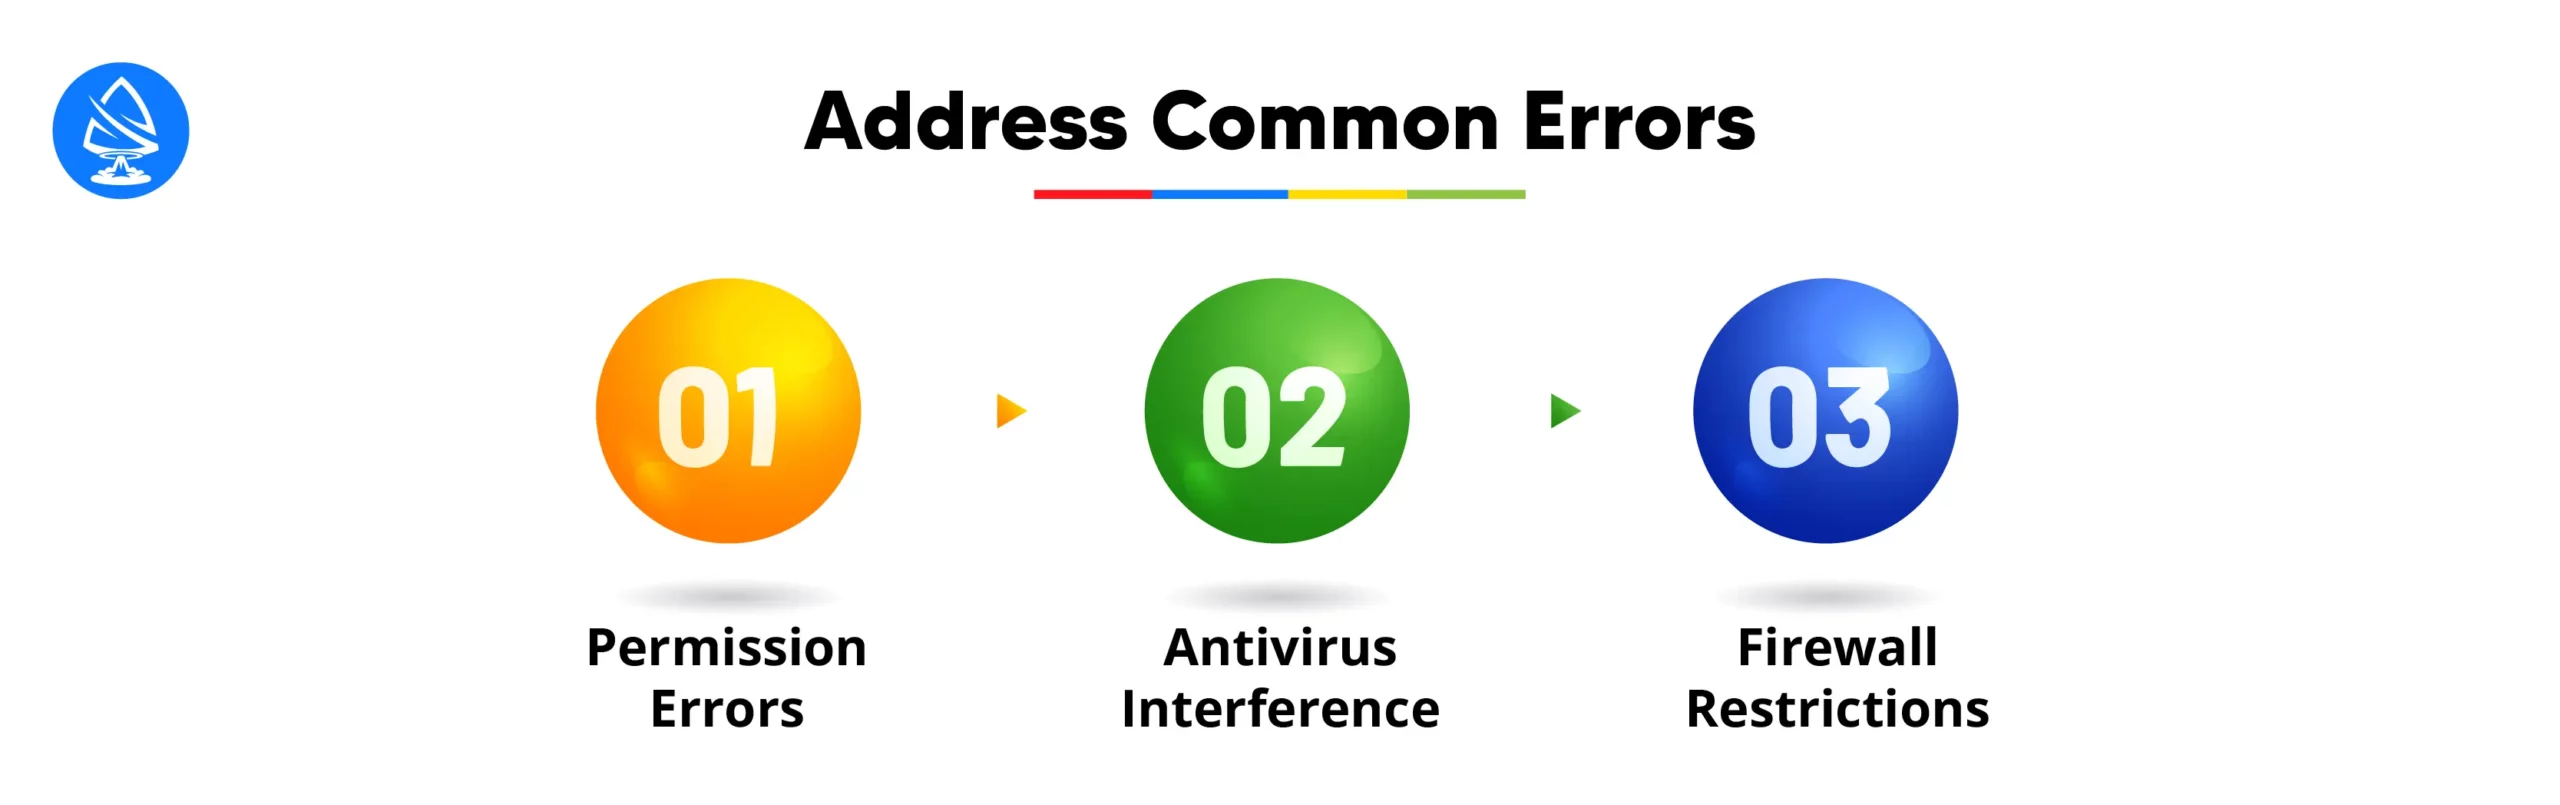
Addressing Common Errors and Issues Encountered During Installation:
Permission Errors: If encountering permission errors during installation, ensure that the user has administrative privileges or adjust folder permissions accordingly.
Antivirus Interference: Disable antivirus software temporarily during installation, as it may interfere with the process.
Firewall Restrictions: Check firewall settings to ensure they are not blocking the installation process or network connections required by Node.js.
Troubleshooting Tips and Solutions for Resolving Installation Problems
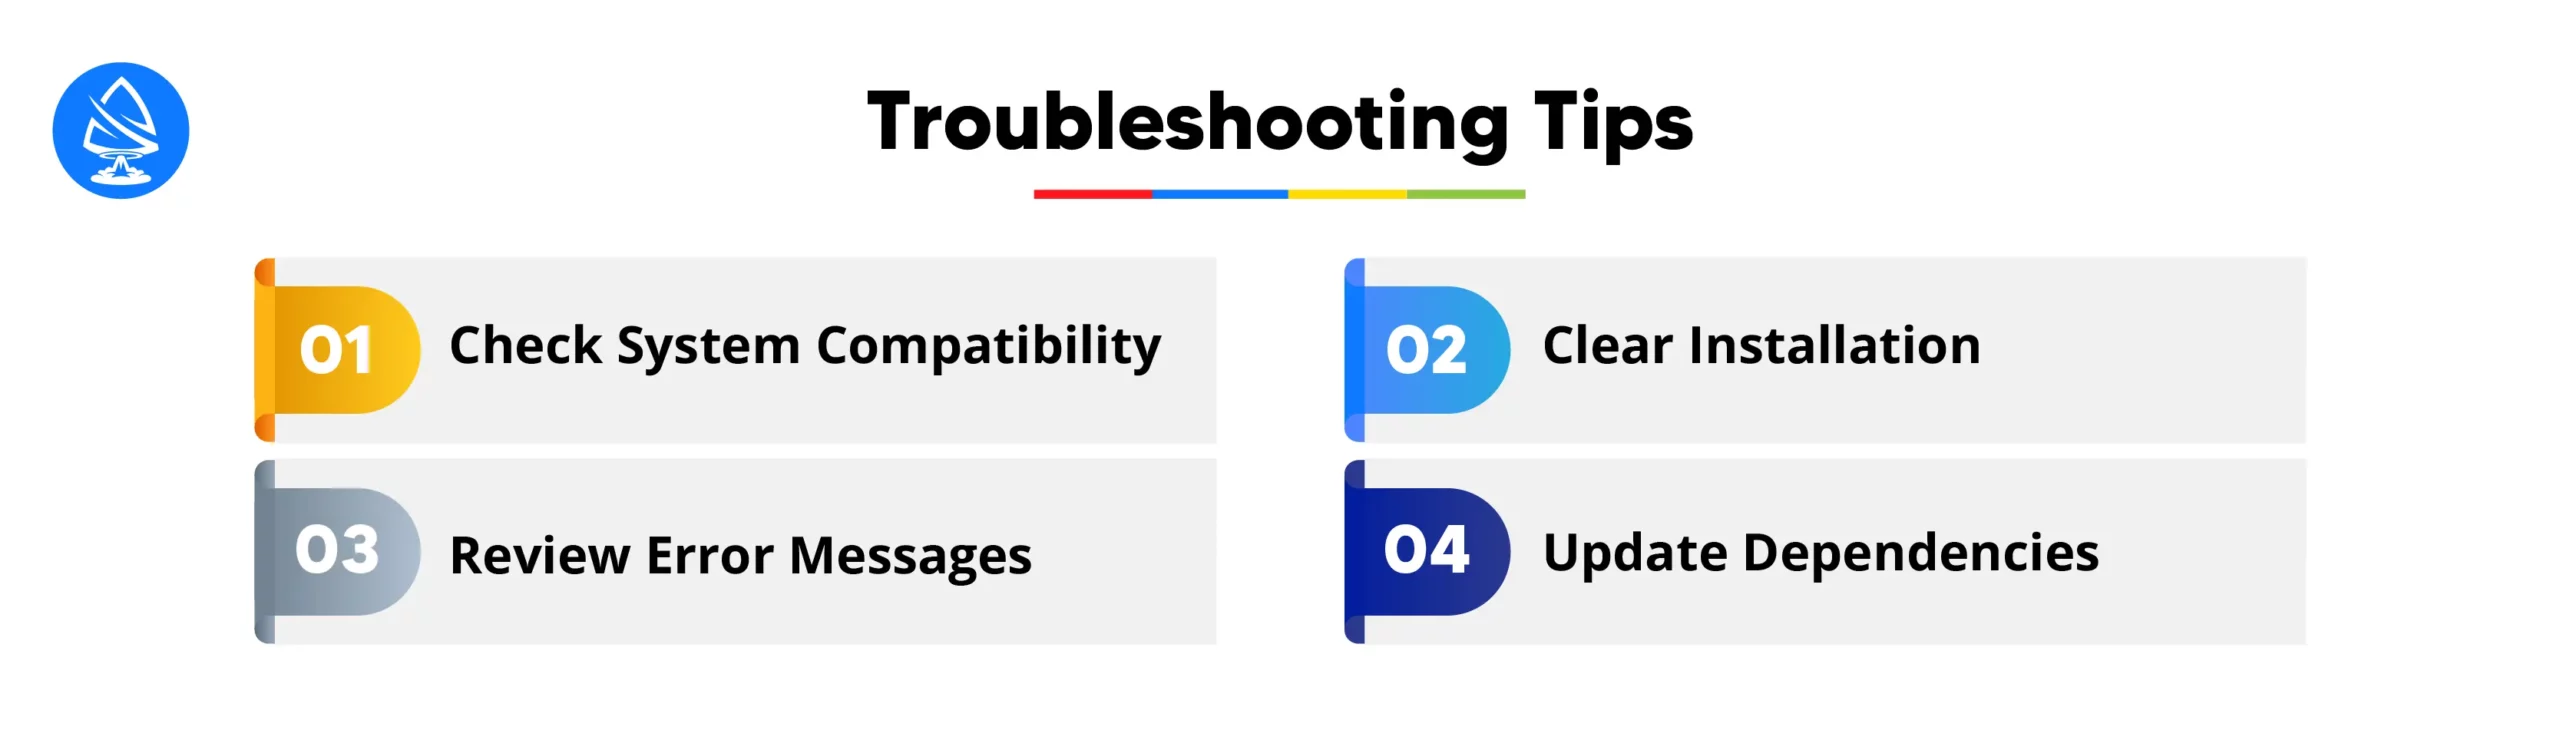
Check System Compatibility: Verify that the system meets the minimum requirements for Node.js installation, including the operating system version and hardware specifications.
Clean Installation: If encountering issues, consider uninstalling Node.js and reinstalling it from scratch, ensuring that no remnants of previous installations remain.
Review Error Messages: Pay close attention to error messages encountered during installation, as they often provide clues to the underlying issue. Search online forums and documentation for solutions related to specific error codes.
Update Dependencies: Ensure that all necessary dependencies and prerequisite software are up to date, including system updates, runtime environments, and package managers.
You can address these common errors and following troubleshooting tips, users can overcome installation issues and successfully set up Node.js on their Windows system for smooth development workflows.
Learn More: Async Await in Node js
Partner with Artoon Solutions for Nodejs Development
Artoon Solutions Pvt Ltd is a leading Nodejs development company in the USA. We have 14+ years of experience and have established ourselves as a trusted partner for clients worldwide. The company has a team of over 200 skilled professionals who excel in building scalable and robust backend systems using Node.js. Artoon Solutions offers a comprehensive range of Nodejs development services, including custom web application development, API development, microservices architecture, and real-time application development. Whether it’s developing chat applications, collaboration tools, or online gaming platforms, Artoon Solutions ensures that clients receive cost-effective and efficient Nodejs development services. If you’re looking to build or maintain a Node.js backend for your web application, Artoon Solutions Pvt Ltd is the ideal partner to bring your project to life.
Conclusion
Finally, You should know how to install node js on Windows which is a crucial step for developers looking to harness the power of JavaScript for backend development. Throughout this guide, we’ve outlined the process step-by-step, ensuring a smooth installation experience.
By installing Node.js correctly, developers gain access to a vast ecosystem of libraries, tools, and frameworks, empowering them to build scalable and high-performance applications. Whether it’s creating real-time web applications, APIs, or server-side scripting, Node.js offers unparalleled flexibility and efficiency.
We encourage all Windows users to explore Node.js development and unleash the full potential of JavaScript on the server side. With the right tools and knowledge, developers can embark on an exciting journey of building innovative and impactful software solutions tailored to their needs. Let’s dive into the world of Node.js development and unlock endless possibilities on the Windows platform. Book a free call with us and let our experts know your requirements. If you feel we’re the right company for your backend development needs, hire Nodejs developers from us.
FAQs
1. How to install Node.js for Windows?
To install Node on Windows, download the installer from the official Node.js website and follow the installation prompts.
2. How to install Node.js from scratch?
Installing Node.js from scratch involves downloading the installer or binaries from the Node.js website and running the setup process.
3. How to install Node.js in terminal?
In the terminal, you can install Node by using package managers like npm or nvm, depending on your preference and system setup.
4. How to install Node.js in Windows 10 from a zip file?
To install Node in Windows 10 from a zip file, download the zip file from the official website, extract it, and add the Node.js directory to your system’s PATH environment variable.
5. What is the command to install npm?
The command to install npm, the Node.js package manager, is typically included with the Node.js installation. Simply run npm install windows in the terminal to install npm and its dependencies.