Minimaps are commonly used in games to provide players with a compact and simplified overview of the game’s environment. They serve several purposes and offer several benefits to players such as navigational help, spatial awareness and tactical information. Minimaps have become a standard feature in many genres, due to their practicality and usability.
In this article, we will see how to create a minimap using a secondary camera and how to use icons in place to game objects inside the minimap.
Watch as Video
We have a simple low poly scene that we downloaded from Unity asset store and added a capsule with an FPS camera for the purpose of this tutorial. If you want to follow along; you can get the package from here.

Adding a Minimap Camera to the scene
We will be using an orthographic camera to look at the player from the top for our minimap. To add another camera, click on the + sign in the hierarchy window and select camera.
Let’s rename the main camera as FPS camera and the second camera to MinimapCamera. If you want the MinimapCamera to follow the player, make it as a child of the player. For this tutorial, we are going to make a static minimap, so leave it as it is.
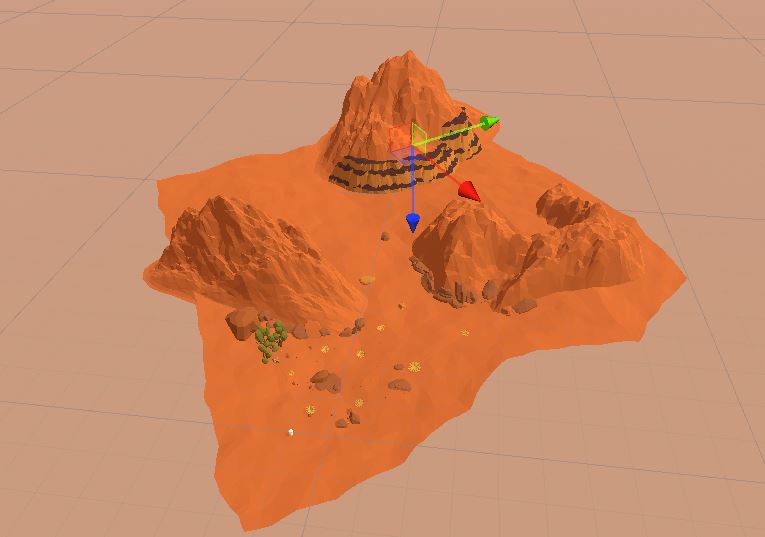
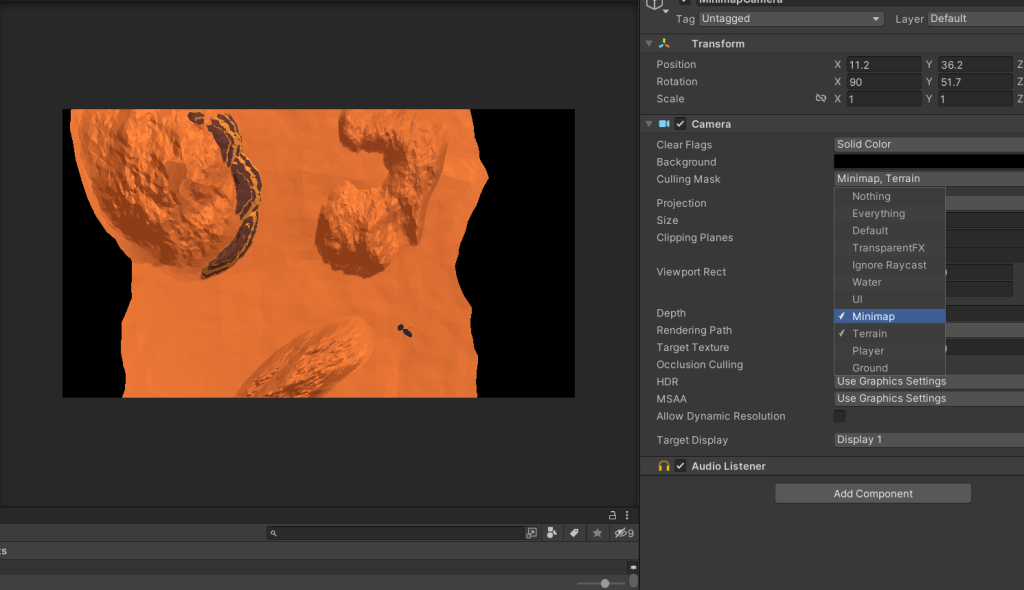
Set the camera mode to orthographic and the clear flag option, to solid color. Set the position of the MinimapCamera at the center of the environment and set the Y position a little above the surface. Rotate the camera to look down on the environment, as in case of top-down games.
Adjust the size of the camera, so that the entire environment is visible and remove the audio listener component attached to the camera.
Here is how your MinimapCamera should look.
Creating Icon for the player
Generally, the player will be very small compared to the environment. So, in a top-down view of the whole environment, the player will be difficult to spot. To solve this issue, we will use a large icon like the one shown below for the player in the minimap.
We will use a quad to display this icon on top of the player. Add a quad game object, as child of the player. Reset the transform and set the Y position to be little higher than the player. Disable shadows and delete the mesh collider component.
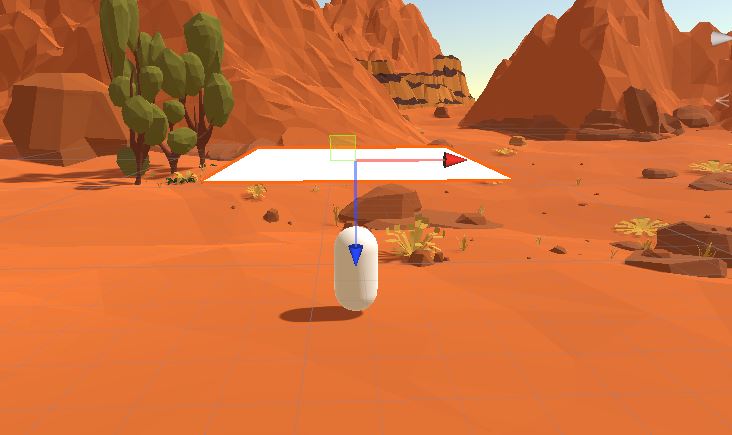
Rotate the quad to face the MinimapCamera as shown in the image below.
To add the icon image to the quad, create a new material and set the image to the albedo property of the material. Set the rendering mode of the material to cut out. Then assign the material to the quad. Adjust the material color based on icon visibility.
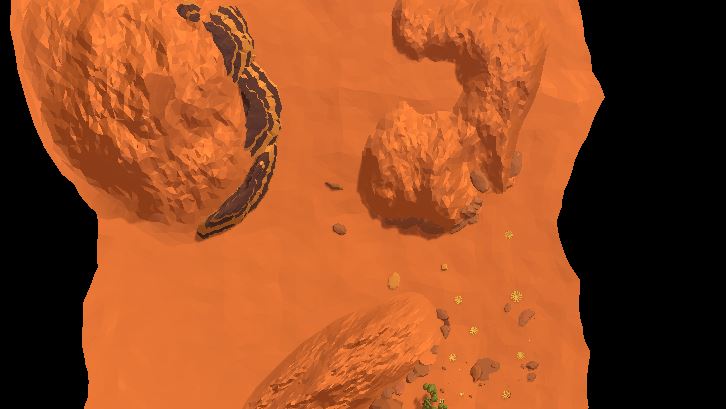
This is how, it should look in the top-down view.
Setting Up Layers
We do not want all details in the Minimap. Just the player location and the overall environment view. To remove all other details from the MinimapCamera, we will use layers.
Let’s create two new layers called minimap and terrain using the layer dropdown in the inspector window.
Let’s assign the plane and the large rocks to the terrain layer and the quad to the minimap layer.
Select the MinimapCamera and set the culling mask to render only the terrain and minimap layers.
Rendering both Cameras at the same time
To display the Minimap camera, there are two options. One, is using the viewport rectangle and the other is using a render texture with UI image.
If you use the view port rectangle, then you won’t be able to customize the looks of the MinimapCamera. So will we use the UI method in this tutorial.
Creating a render texture
Right click on the project window and go to Create>Render Texture. Rename the texture to MinimapRenderTexture. Set the texture size to 256×256.
Select the MinimapCamera and set the target texture to MinimapRenderTexture.
Setting Up the UI
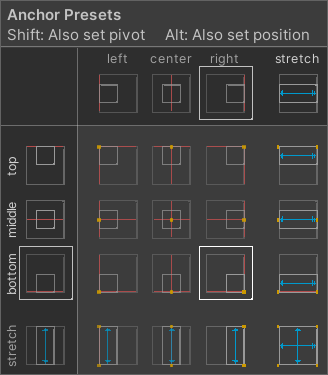
Create an empty game object as a child of the canvas, and set the anchor to stretch by holding the alt key. This will act as the container for all minimap elements. Let’s rename it as Minimap.
Add a UI>Raw Image as child of the Minimap element. Hold alt and set the anchor to bottom right.
Set the texture of the Raw image to the MinimapRenderTexture. You can adjust the color of the raw image component to create some contrast between the main view and the UI. Now you should see the MinimapCamera on your game view as shown in the image below.

The minimap is functionally ready. Now let’s make it look good with mask and border.
Visual effect for Minimap
We need two images for this. Here are the images that we are going to use for mask and border.


To make the minimap circular, add a UI>image as a child to the minimap and add a mask component to it. Assign the mask image to the image component. Make the Raw image component with the camera view as child of this mask image. Now your minimap should look circular.

Add another UI image and assign the border image to it. This will act as the border of the minimap. The final image should look something like this.

Hope this article was helpful. If you have any other questions, feel free to leave them in the comment box below.