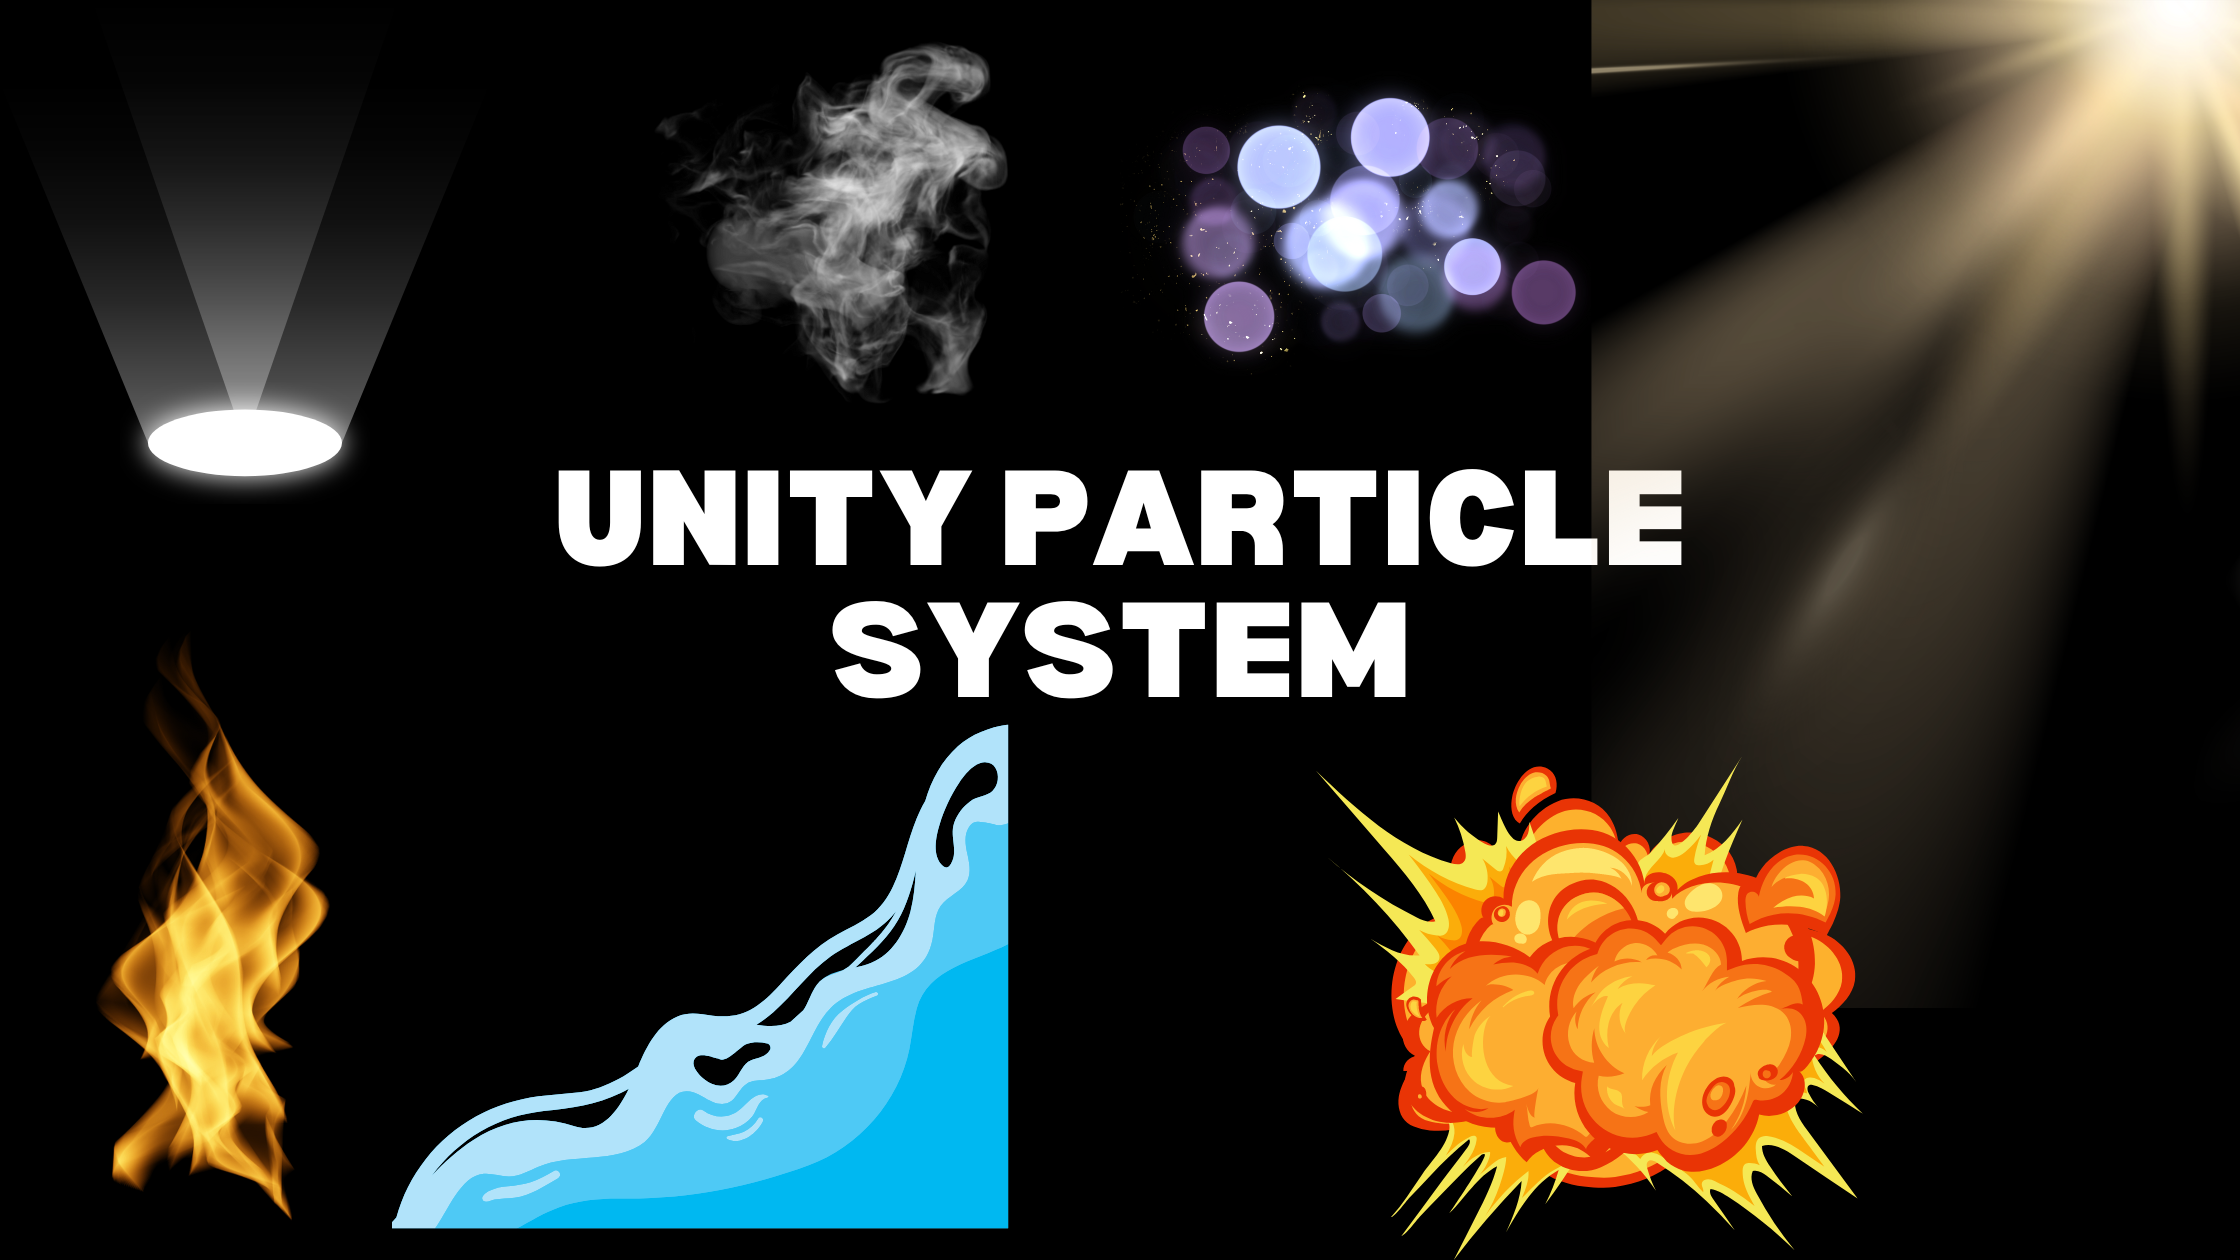
Often when trying to make a VFX in Unity we stumble upon the particle system. Unity Particle system and the shader are the two most used methods to create VFX effects in Unity. In this article, we will learn the basics of Unity Particle system and try to create some basic effects with it.
Introduction to Unity Particle System
The Unity particle system is a powerful tool for creating realistic and dynamic special effects in Unity. It allows developers to create different types of effects, including explosions, fire, smoke, and many more. The particle system provides a wide range of controls and parameters that give developers the ability to create highly customizable effects. It can be used to create both 2D and 3D effects, and it is compatible with Unity’s built-in physics engine, allowing for realistic interactions between particles and other game objects.
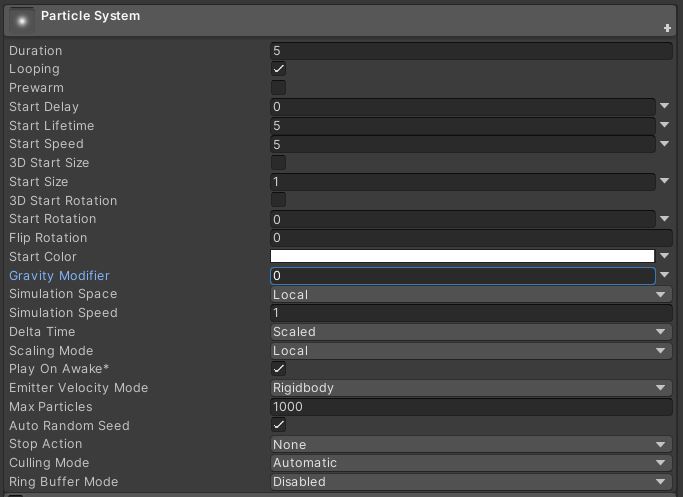
Basic Parameters of the Particle System
- Duration- Time in seconds up to which the particle effect will remain if not set to loop.
- Looping- If set to true then the particle effect will loop over and over again.
- Prewarm- If set to true then the particle effect will start with more particles and more velocity. Generally, it will look like one loop cycle has already been completed.
- Start Delay- Time delay in seconds to which the system will wait before the first particle is emitted.
- Start Lifetime- Lifetime of the particle emitted.
- Start Speed- Start speed of the emitted particle.
- 3D Start Size- Specify different size in X, Y and Z axis.
- Start size- Initial size of the particle.
- 3D Start Rotation- Specify rotation in X, Y and Z axis.
- Start Rotation- Initial rotation of the particle
- Flip Rotation- Causes some particle to flip in the opposite rotation. Value can be set between 0 and 1. A value of 1 will cause all particles to flip.
- Start Color- Initial color of the emitted particles
- Gravity modifier- Multiplies the specified value with the gravity. Value of 0 means the particle system is not affected by gravity
- Simulation Space- You can set the Simulation space to Local, world or custom.
- Simulation Speed- You can Set the cycle time multiplier.
- Delta Time- Use Time.DeltaTime or Time.unscaledDeltaTime
- Scaling Mode- You can scale the particle based on Shape, Hierarachy or local space.
- Play on Awake- The system will start emitting particles automatically when enabled.
- Emitter Velocity Mode- How you want the velocity to be calculated? Using Unity Rigidbody or transform?
- Max Particles- Total number of particles that can be alive at a given time.
- Auto Random seed- Takes the system time as Random seed. You can uncheck this and specify you own.
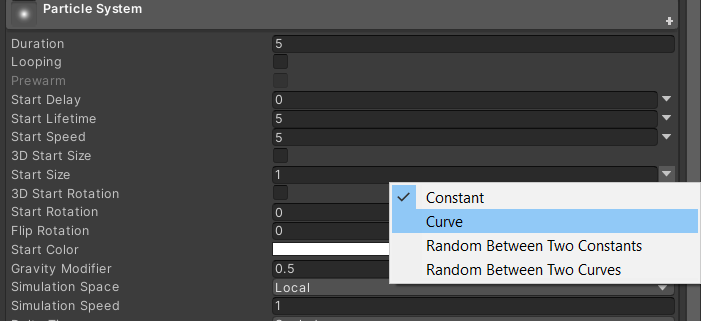
Some of the basic parameters have some extra options. These parameters have a drop-down arrow to select this. For example, the parameters that takes a constant as input can take in a range or curve.

Advanced Parameters of Particle System
Advanced Parameters of Unity Particle System allows you to set more custom properties of the particles that are emitted. The values you need to set are totally dependent on the end effect that you are creating. The most important of them are Emission, Shape and Renderer.
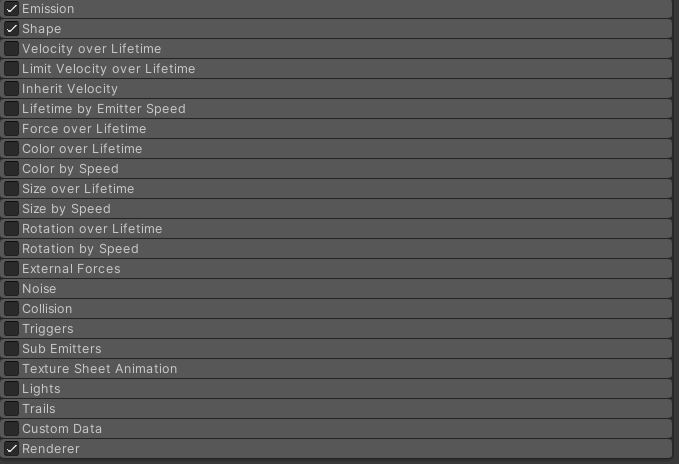
Emission
Emission property allows you to set three major parameters.
- Rate of particle emitted over time.
- Rate of particles emitted over a distance.
- Set up burst particle emission on regular time intervals.
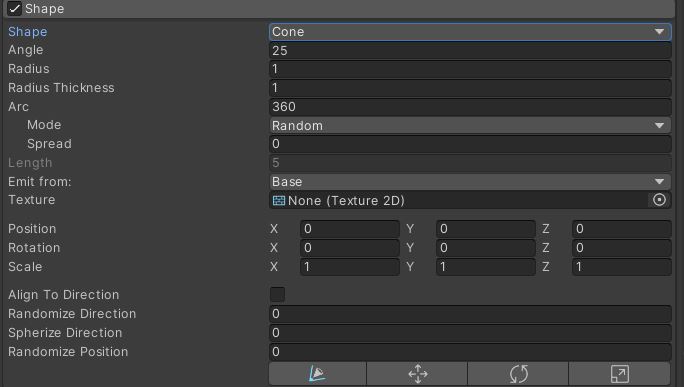
Shape
You can select the shape of the particles system from a predefined selection. Then you can modify the shape using the other parameters available.
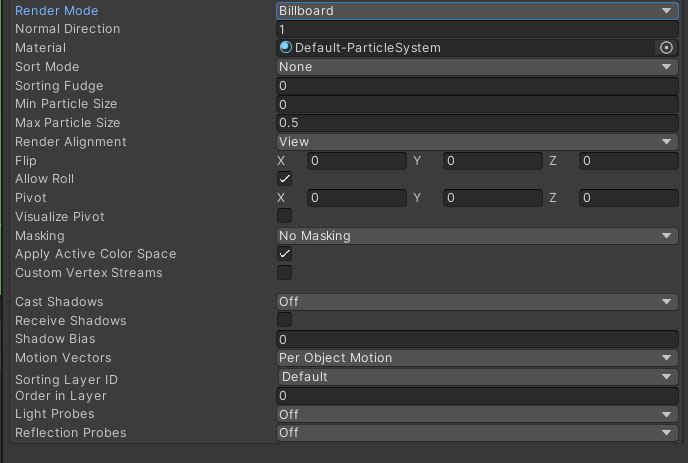
Renderer
Renderer allows you to specify the rendering mode, set the material and a whole lot of properties related to rendering of the particles.
Let’s see some examples on how to use these parameters to create VFX effects.
Creating Fire Using Particle System
- Add a particle system to your scene by clicking add>effects>particle system.
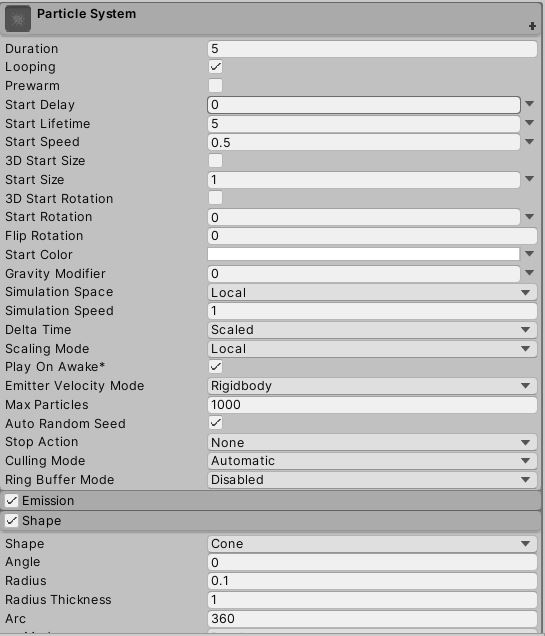
- Now go to the shape parameter and set it to cone.
- Set the cone radius to 0.1 and angle to 0.
- Set to the particle system parameter and set duration to 5, start lifetime to 5, start speed to 0.5.
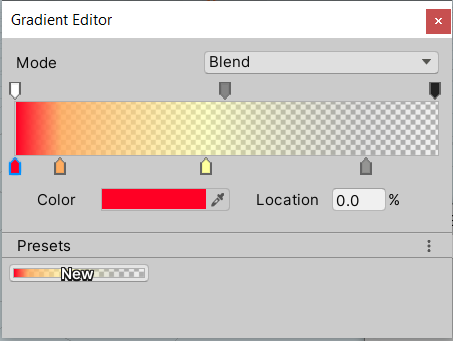
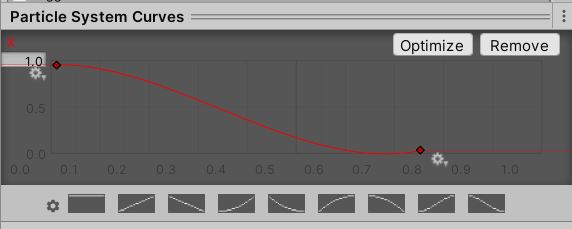
- Go the color over lifetime parameter and set it as shown in the image below. The indicators on the top represent alpha value and the indicators on the bottom represent color.
- Set the curve of Size over lifetime as shown below
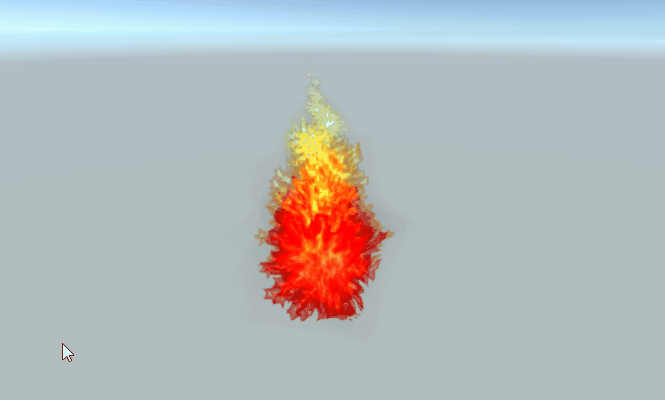
Now your particle system should look like a fire.
To make it more realistic, let add material
- Create new material in your project window.
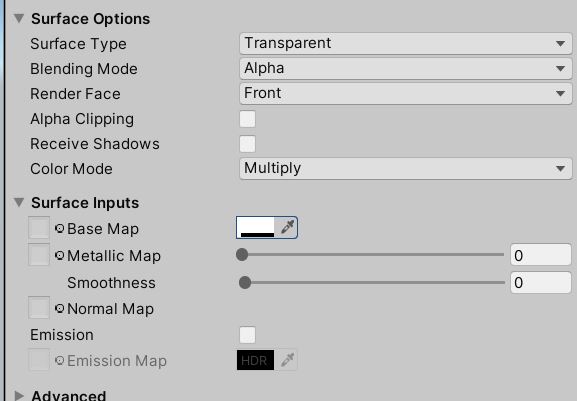
- Set the material shader to particle/unlit.
- Select Surface type as transparent.
- Blending mode as multiple and color mode as additive.
- Add a fire shape image (with transparent background) to base map. You can find one for free from out list of Free Unity assets websites.
- Go to particle system>Rendering and assign this material to it.
- Here is the final result.
Creating Fog using Unity Particle System
There is an inbuilt option to create fog in Unity. You can read about it in out article on how to add fog to your Unity scene. But in the case of URP, you don’t have a volumetric fog option. We can overcome this using a custom fog made with the particle system.
Create a new material called Fog in the project window.
Set the material properties as shown in the image below. Set the alpha value of the base map to 40.
Add a particle system to your scene by clicking Add>Effects>Particle System.
Now go to the inspector window and set the following properties for your particle system
- Duration to 1000
- Check looping and Prewarm to true.
- Start lifetime to at least 30 seconds.
- Click the down arrow near start speed and select “Random between two constants”.
- Set the value from 0.1 to 0.2.
- Check 3D start size and give 5 as the value for all axis.
- Go to the shape settings.
- Set the shape as a sphere.
- Radius based on your fog size. It’s set to 1 in the demo.

- Go to color over lifetime and set the alpha to 0 at the beginning and end.
- Create a new point in the center and set alpha to max.
- This will have a transparent effect.
- That’s it, you’re for is ready for deployment.
Play around the settings to customize it more.
Controlling Particle System using Code
You can control all the parameters of the Particle system using code. You need to get the particle system using the get component function and then you can reference it to access the parameters.
Example Code to get the Particle system component
using UnityEngine;

public class ControlParticles : MonoBehaviour
{
    ParticleSystem part;
    // Start is called before the first frame update
    void Start()
    {
        part=GetComponent<ParticleSystem>();
        if(part.isPlaying)
        {
            Debug.Log("particle Effect is live");
        }
    }

}
You can access all properties of the particle system using code. Now it’s your turn to play around with the Particle System. If you have any questions, you can leave them in the comment box below.