

Palworld Beginners Tips and Tricks: Everything You Need to Know
Palworld has many systems and sub-systems, and it takes a while for a new player to learn them. So, if you are new or just interested in how others play the game, this is how I did it.
Palworld, or “Pokemon with guns” as some people call it, exceeded my expectations. At first, I thought that it would be similar to Pokemon. Yet, it feels a bit more like ARK: Survival Evolved with funny creatures instead of dinosaurs. Also, the game has so many mechanics that it is easy for a newcomer to get lost in them. So, I decided to make this beginner’s guide feature everything I’ve learned so far.
Main Topics
Use the Custom Settings on Your New World
The first thing you can do to ease your way through Palworld is to tweak a few custom settings in your world right from the beginning. Like this, you will be able to enjoy the game at your own pace without worrying about systems like the death penalty or structure deterioration rate. Below, I will leave a list of custom settings that helped me a lot on my 2nd playthrough.
- Time (h) to incubate a massive egg
- Get rid of Raids
- Set the Death Penalty
- Structure Deterioration Rate
- Pal Capture Rate and Appearance Rat
1. Time (h) to incubate a massive egg
I decided to start with this Palworld setting because, during my first playthrough, I had no idea that large eggs take around 40 minutes to hatch in the right conditions.
- Time (h) to incubate a massive egg to 0: To get rid of the waiting time for large and normal eggs.
- Incubator:To get an incubator, you will need 1 Ancient Technology Point, and unlike normal Technology Points, ancient ones are rewards for beating or capturing bosses.
- Also, you will need 10 Paldium Fragment, 5 Cloth, 30 Stone
2. Get rid of Raids
I dislike raids in Palworld because sometimes the enemies are buggy, and your pals will aggro them. Also, the loot isn’t substantial and it can be pretty bad. However, this is a chance for you to catch new creatures for your base.
- Enable Raid Events: Set this setting to OFF to disable raids.
- Craft an Alarm Bell: At level 4 you can use 1 Technology Point to craft an Alarm Bell, and it will allow you to set your pals behavior towards raids.
3. Set the Death Penalty
Death Penalty offers you 4 choices:
- Lose Your Loot
- Lose Your Pals
- Lose Everything
- Lose Nothing
For my second gameplay I decided to lose nothing upon death, because I was tired of going back to the location where I died to get my things back. However, if you play Palworld on multiplayer, it is a funny setting to have because others can get your loot.
4. Structure Deterioration Rate
If you play with your friends, you won’t be bothered by the structure’s deterioration rate. However, if you play alone, you will need to rebuild your structures, which is time-consuming.
5. Pal Capture Rate and Appearance Rate
The two settings mentioned, can help you because one increases the number of pals across the map, and the other improves your capture rate. Yet, even if you set the capture rate to 2, you won’t get guaranteed captures. Furthermore, keep in mind that unless your capture rate is 100% you might fail to catch pals.

Beginner Steps
At first, you will spawn next to the Plateau of Beginnings teleport. Overall, it is a great place because it has a variety of needed resources, such as wood, stone, ores, and paldium fragments. At this moment, you have two choices. You can either gather the materials from the ground or start hitting trees and giant stones.
- Gather Materials from the Ground: If you decide to do this, you might need to explore the area to find at least 10 Stones and 12 Wood to craft a primitive workbench, a pickaxe, and an axe.
- Hit Resource Blocks: This might take a while as well because you won’t have enough strength to gather stone easily, and the process takes a bit for 10 Stone and 12 Wood.
Once you have your set of tools and the primitive workbench, get ready to build your base. It will help you greatly on the long run.
- How to build your base in Palworld, and where?
- Build Pal Spheres and Catch Pals
- Use Wooden Chests
- Resource Generators
- Collect Lifmunk Effigies
- Get a Ridding Pal
1. How to build your base in Palworld, and where?
Behind the spawn is a peaceful temple with two main rooms. In my opinion, that’s the best spot for a starting base because you can block the entrances. Unfortunately, the first room is a bit small, and you won’t be able to add everything you need unless you are great at managing your space.
- Palbox: The base is generated once you create a Palbox on the ground. For it, you will need:
- Level 2 and 1 Tech Point

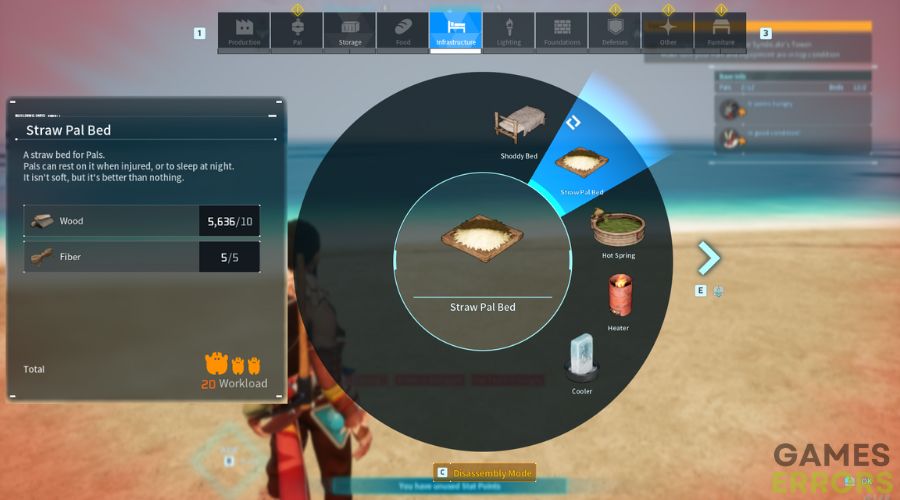
- Straw Pal Bed: For each pal that works in your base you will need a bed.
- 10 Wood 5 Fiber ( You can get it from chopping trees)
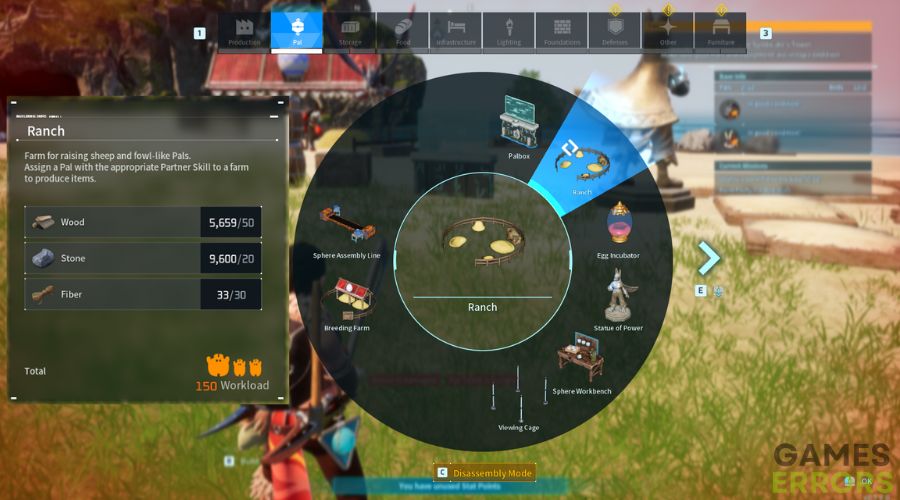
- Ranch: You will need a Ranch to use the farming trait of pals.
- 50 Wood 20 Stone 30 Fiber
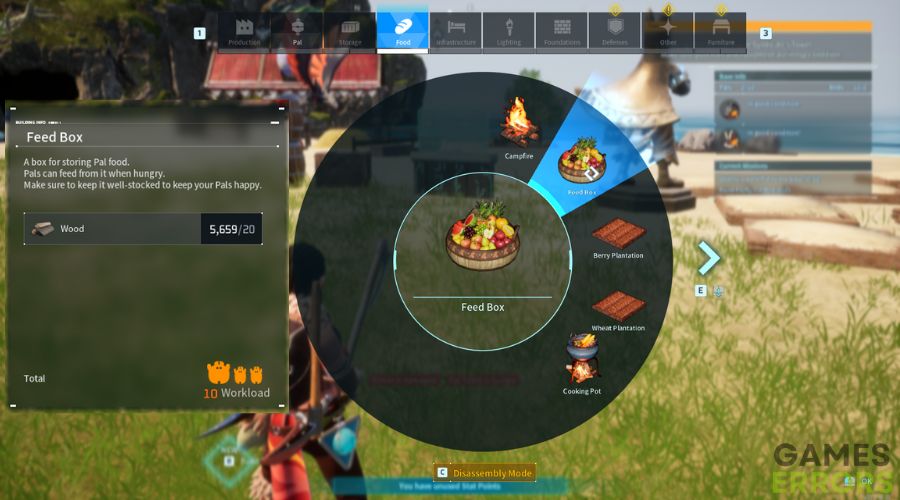
- Feed Box: This is the staple of your base, and I recommend building 2 later on. In it you or your pals can place food for the whole base.
- 20 Wood

2. Build Pal Spheres and Catch Pals
After you built the Palbox in the temple, it is time for you to get some useful pals that will speed up the resource gathering process. Most pals have gathering traits. The most useful ones are lumbering and mining, farming and transporting. You should focus on catching:
- Cattiva: You can find plenty of them all over the Plateau of Beginnings and even near the Beach. They have mining, transporting, gathering, and handiwork traits. So they are a great help. You can assign them to mine while you are cutting wood by simply throwing them on a chunk of stone.
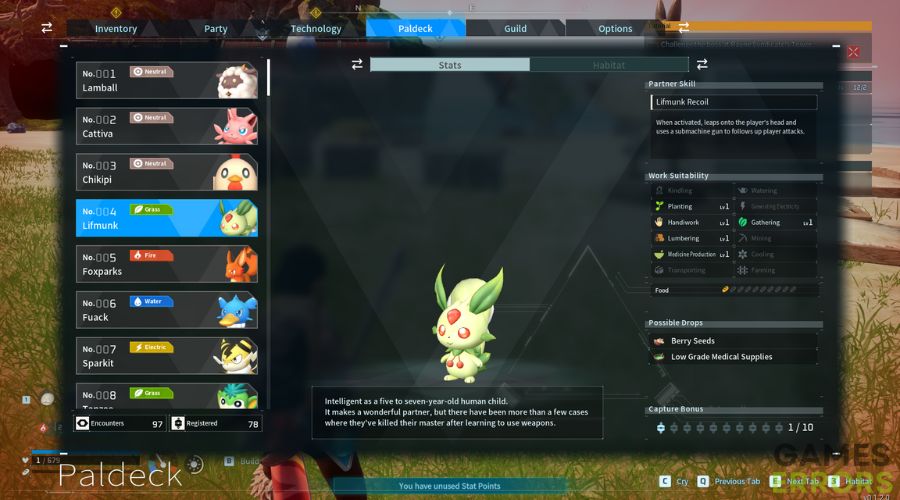
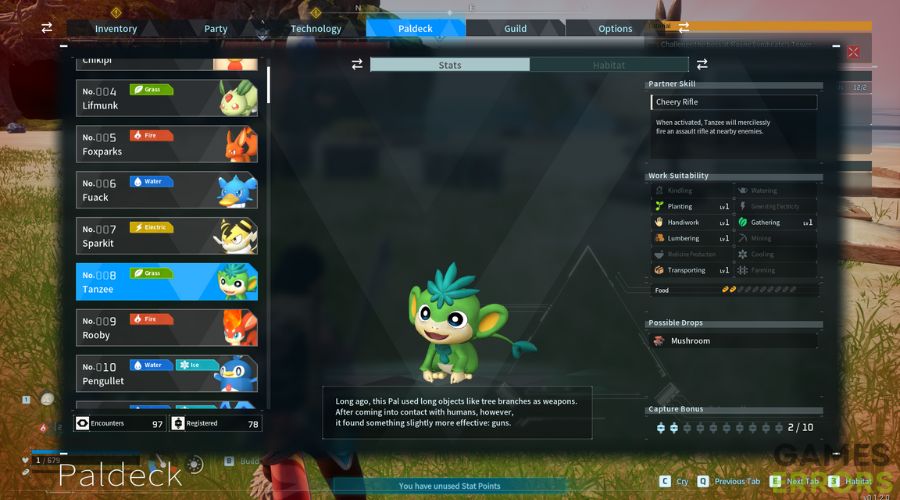
- Lifmunk and Tanzee: They have lumbering, gathering, planting and handiwork traits. Fortunately they spawn in similar locations. So, you can get one of each.
- Pengullet: For a fighting pal pick Pengullet. They are not as buggy as others, and they use Ice and Water attacks.
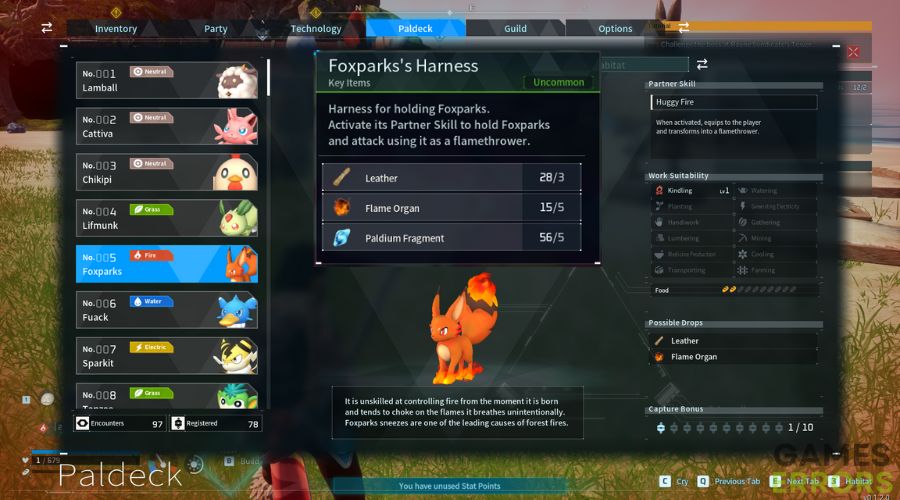
- Foxparks: At level 6 you can sped 1 Technical Point to get Foxparks’s Harness, and the item will allow you to use the pal as a flamethrower.
- 11 Leather (Obtained after defeating Foxparks, Rooby, Fuack), 5 Flame Organ (Obtained after defeating Fire Pals), 5 Paldium Fragments
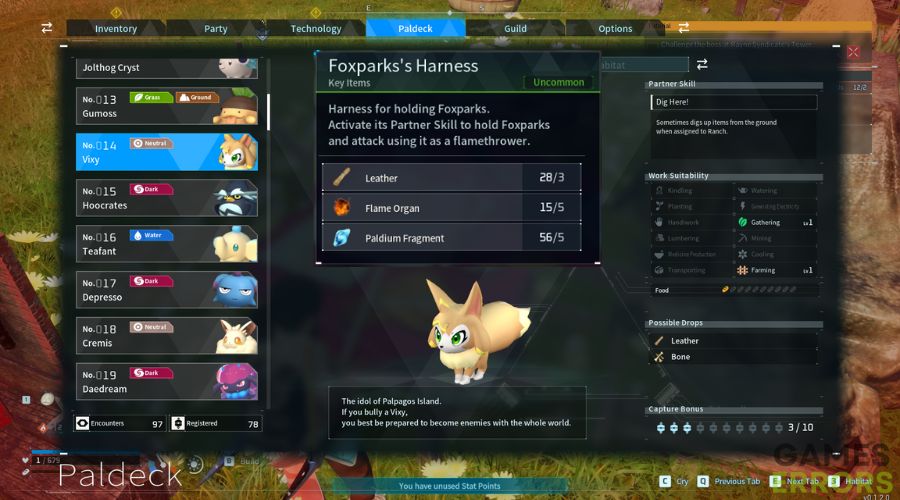
- Farming pals: The most useful farming pal is Vixy, because if you let it in the Farming Ranch, you won’t run out of Pal Spheres. Then you can catch a Lamball that produces the wool needed to make cloth. And the last pal on this list is Chikipi, and with it, you won’t run out of eggs.

3. Use Wooden Chests
I recommend you to craft a few wooden chests and to set them around the Palbox. This will ease up your resource gathering process, because most items have their own weights. On top of that, you should distribute some of your stat points to your stamina and weight.
For each wooden chest you will need 15 Wood and 5 Stone.
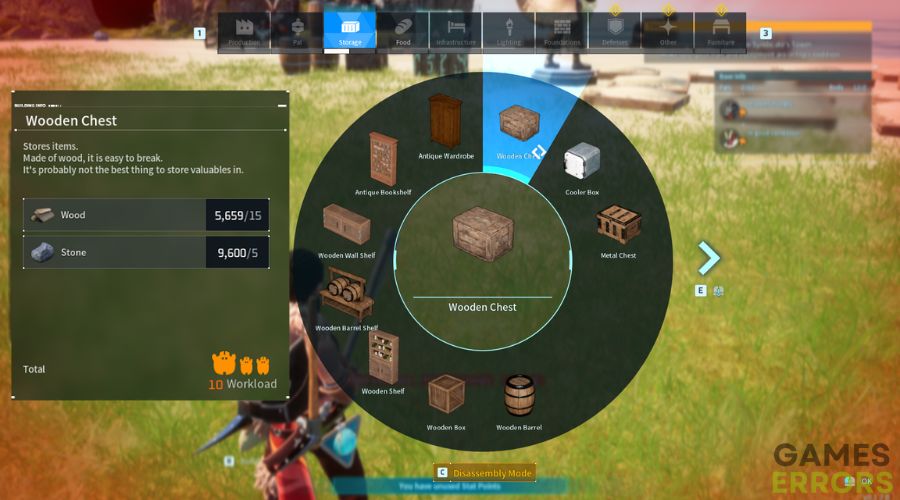
Pals who have the transporting trait will gather the resources and store them in the closest wooden chest. However, if you put 1 of each resource in a specific chest, your pals will stack them up there.
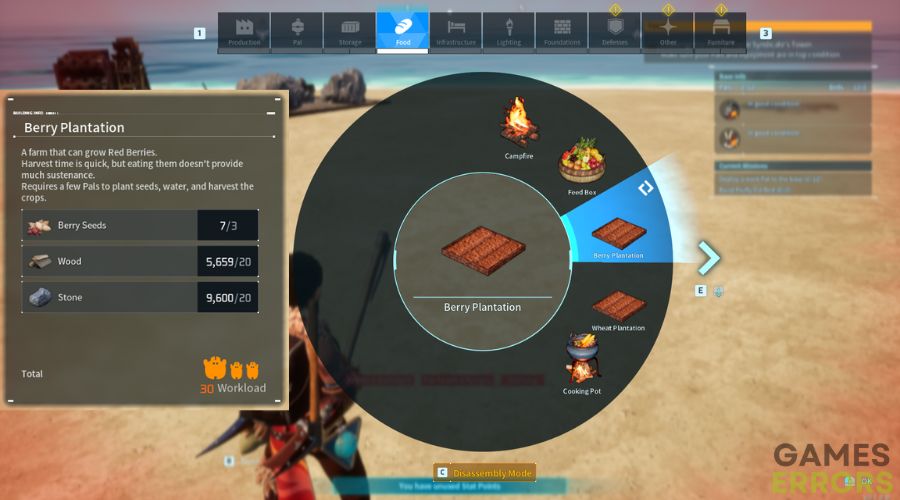
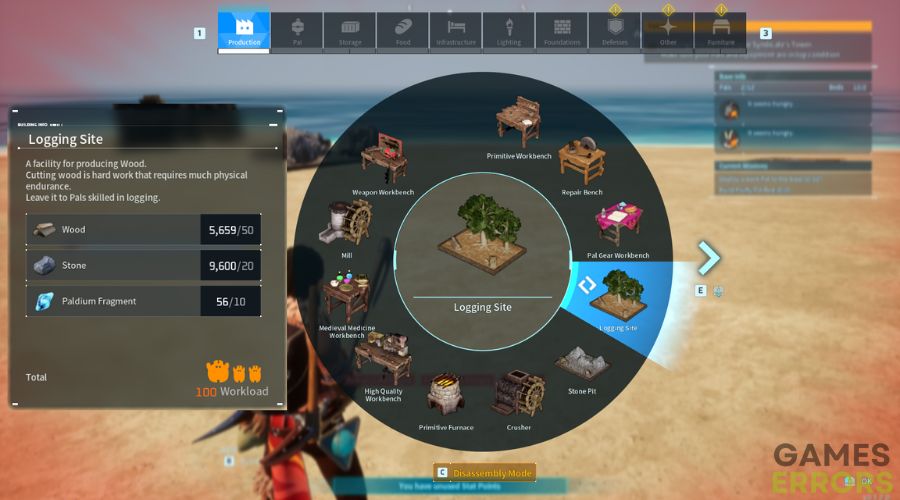
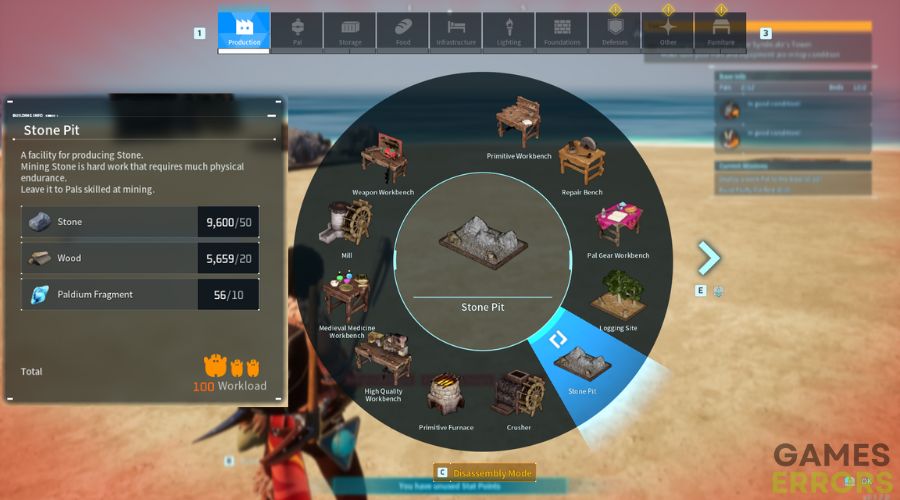
4. Resource Generators
There are a few resource generators you can build including the Ranch that was already covered above. I will list below the pals and materials needed for them.
- Berry Plantation: It will require a Pengullet and a Tanzee or Lifmunk, as one will plant the seeds and the other will water them. You can get berry seeds near the statue of Plateau of Beginnings by collecting bushes. With this generator you will never run out of berries.
- 3 Berry Seeds, 20 Wood, 20 Stone
- Logging Site: This generator is for Wood, and for it you will need Lifmunk or Tanzee as they have the lumbering trait.
- 50 Wood, 20 Stone, 10 Paldium Fragments
- Stone Pit: The name implies what it does, and you will need a Cattiva to operate it.
- 50 Stone, 20 Wood, 10 Paldium Fragments
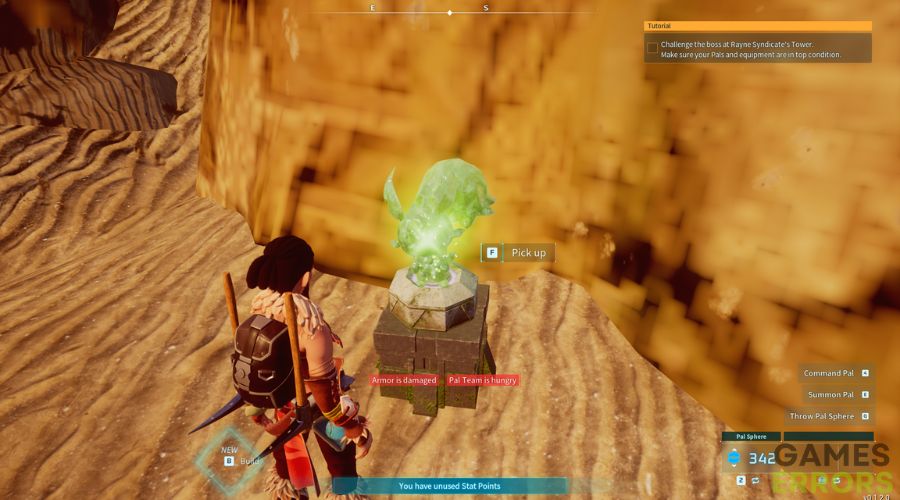
5. Collect Lifmunk Effigies
If you see green lights in your area, it is most probably one of the Lifmunk Effigies shining. It is important to collect them as soon as you see them, because you will need a bunch to upgrade your capture rate. Unfortunately, their placement is a disaster sometimes and you will have to glide, climb and swim to get to them.
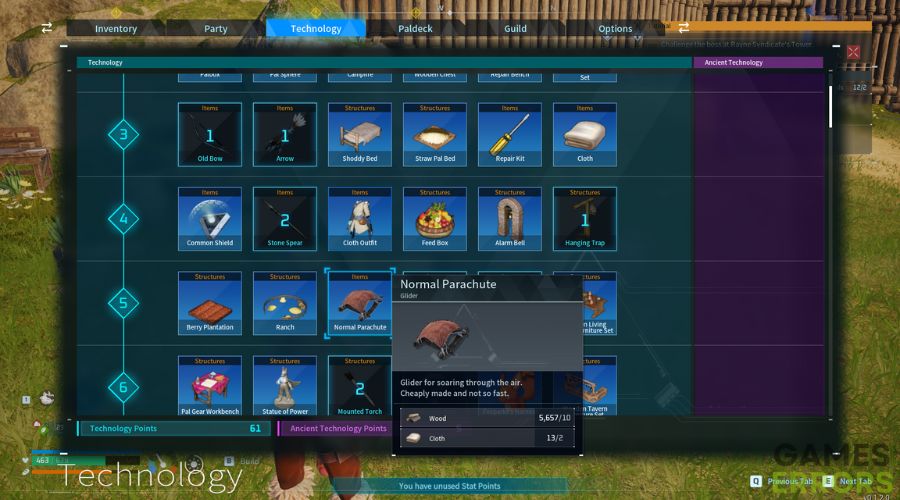
- Normal Parachute: Early on, at level 5, you can spend 1 Technical Point to create this modest parachute. With it, you can glide from place to place. Keep in mind that you will need a decent amount of stamina.
- 10 Wood, 2 Cloth
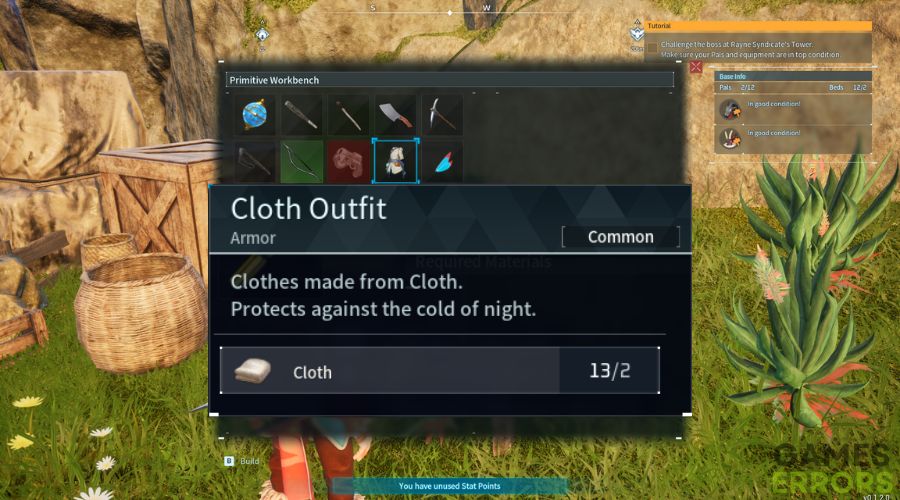
- Cloth outfit: This armor will protect you from cold environments, and you can learn how to craft it in no time from level 4 with 2 Tech Points.
- 2 Cloth
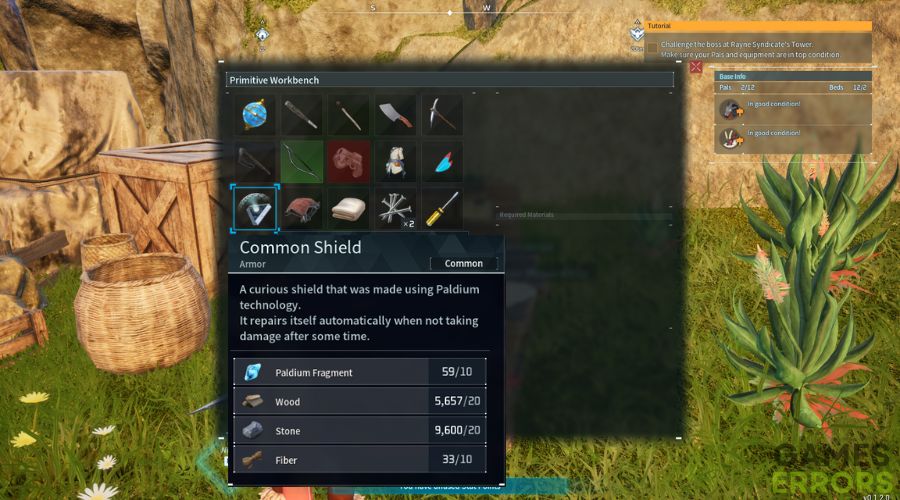
- Common Shield: One of my favorite items for exploration are shields because they can greatly improve your survival rate. You can learn how to make a shield at level 4 with 2 Tech Points.
- 10 Paldium Fragment, 20 Wood, 20 Stone, 10 Fiber
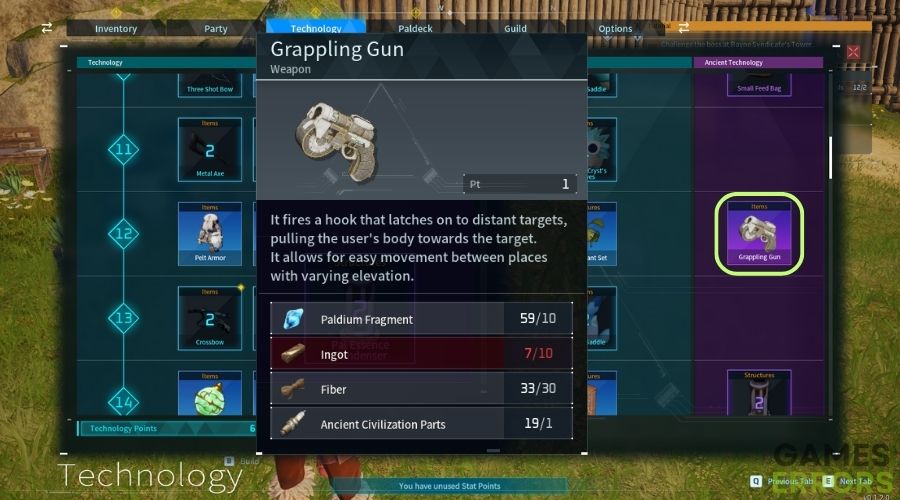
- Grappling Gun: At level 12 with 1 Ancient Technical Point, you will be able to get the Grappling Gun and it will make your overall climbing easier.
- 10 Paldium Fragment, 10 Ingot, 30 Fiber, 1 Ancient Civilization Parts (Boss Drops)
6. Get a Riding Pal
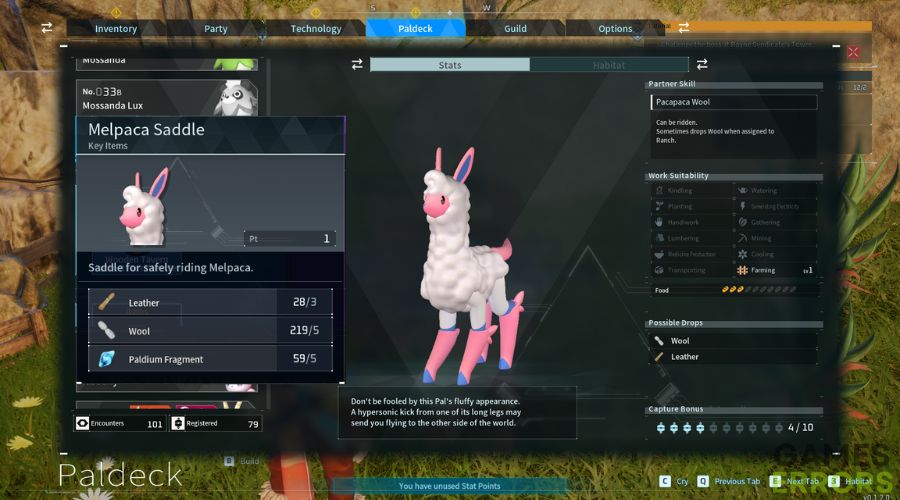
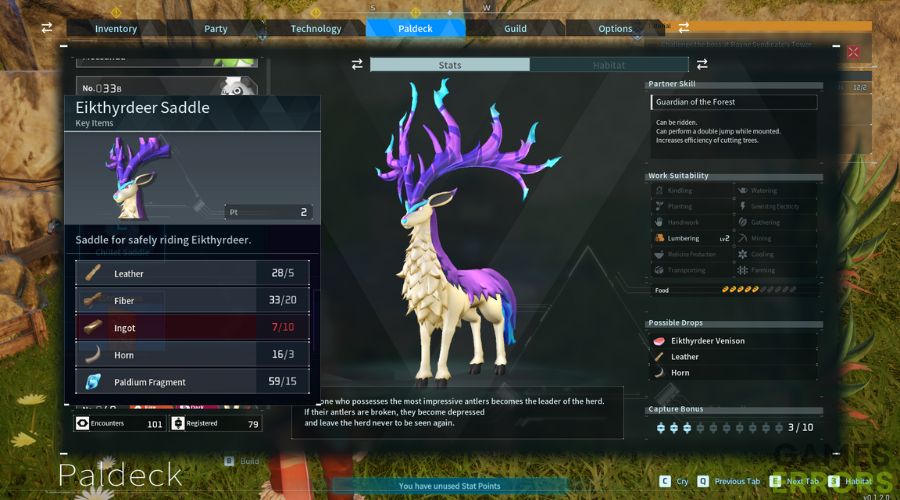
Palworld has a sizeable map, and it is time consuming to travel from a place to another by foot. Trust me on this one because I don’t have a riding saddle yet for any of my pals and it takes a while for me to get from a point to another. However, after travelling for a short while you will meet Eikthyrdeers and Melpacas.
- Melpaca Saddle: If you catch a Melpaca, you will get access to learn how to craft the Melpaca saddle at level 7 by spending 1 Tech Point.
- 3 Leather 5 Wool 5 Paldium Fragment
- Eikthyrdeer Saddle: This item will be available in your technology tree from level 12 if you catch an Eikthyrdeer. This recipe requires 2 Tech Points.
- 5 Leather, 20 Fiber, 10 Ingot, 3 Horn (Dropped by the Eikthyrdeer), 15 Paldium Fragment
Beginner Tips and Tricks
Palworld has a lot of systems, and it is important to get the hang of them as soon as possible. So, without further ado, I will list them based on how much they helped me.
- How to Revive Your Pals Fast ?
- Activate All of the Fast Travel Points
- Learn the Elemental Weakness Scheme
- Look for Golden Passives on Pals
- Learn About Pal Work Suitability
- Collect Every Pal Egg
- Open All Chests
1. How to Revive Your Pals Fast ?
If your main fighting pal is dead, you can put it to work in your base, and the other pals will take it and put it in a bed. This process will instantly resurrect your pal and you won’t need to wait 10 minutes for it.
2. Activate All of the Fast Travel Points
You can find fast travel points all across the map, and it is important to at least activate them. They will help you teleport to a desired area.

3. Learn the Elemental Weakness Scheme
Inside the Survival Guide that you can access by pressing ESC, you will find an image featuring the main weakness of every element, and this is an important technique, especially when you deal with higher-level enemies and boss monsters.

4. Look for Golden Passives on Pals
After you hatch or capture pals, some will have handy passives that might affect your gameplay in various ways. For example, there are friends that will help you move faster if they are on the team.
5. Learn About Pal Work Suitability
As I mentioned earlier, work suitability is a key mechanic for your base, and it is good to learn what each trait featured does early on.

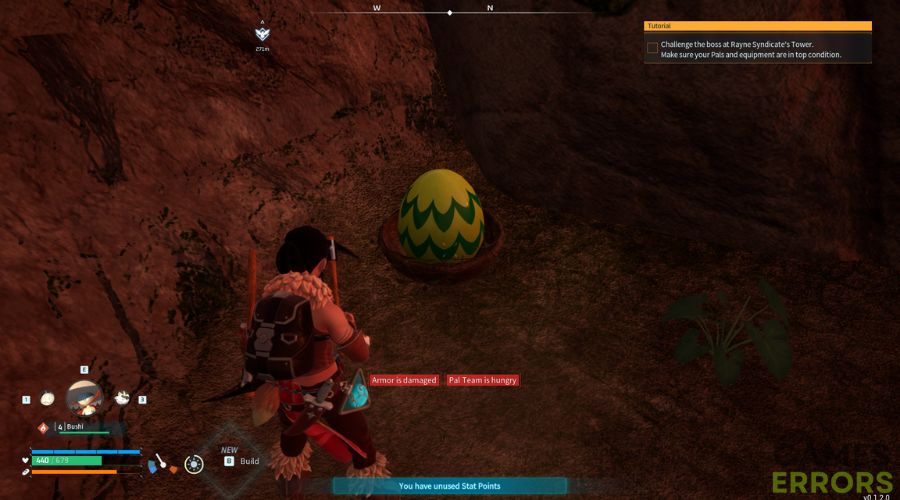
6. Collect Every Pal Egg
If you are looking to get free pals, collect the Pal Eggs, especially the large ones.
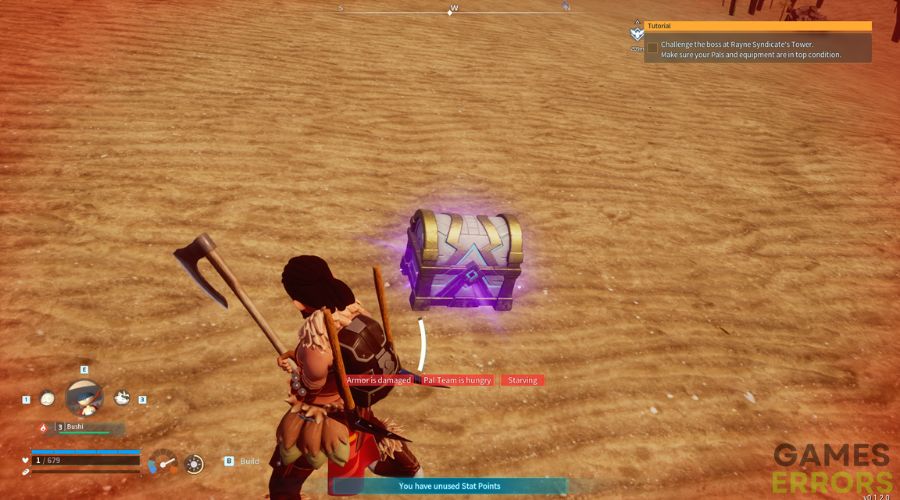
7. Open All Chests
Some chests will give you advanced Pal Spheres and crafting upgrades for your equipment and weapons. A very important spot for chests is found inside the ruins of the temple, near the place with many trees. In addition, you can mark the locations because chests respawn.
Final Thoughts
Now that you know everything I know, you should have an easy time conquering Palworld with your pals and friends. Also, I forgot to tell you about the hunger system which annoys me the most, and you should keep your character and pals well feed otherwise your stats and health bar will drop. If you feel like there is anything missing from this Palworld beginner’s guide, feel free to leave a message in the comments. Also, stay tuned because I will add some more tips and tricks.
Additional Articles: