
Some games take the player experience to a different level using zoom effects. In first person shooter games, camera zoom is implemented for aiming and in some games, it’s used for cutscenes. If you are looking for a tutorial to create a similar effect, then you are in the right place. In this tutorial, we will learn how to create a camera zoom using 3 different techniques.
Using Field of View for Perspective Camera mode
If you are using your camera in the perspective mode, then you will have an option to adjust the camera’s field of view (FOV). The lower the value of FOV, the more zoomed the camera will be.

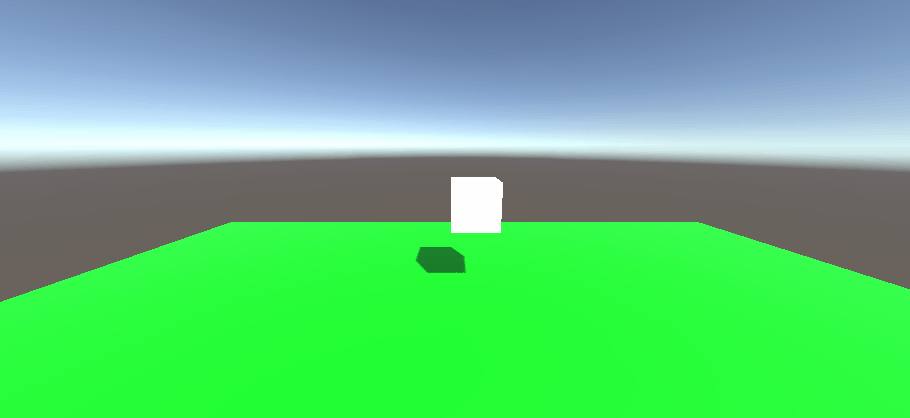
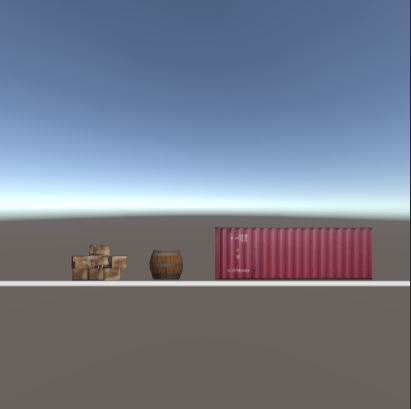
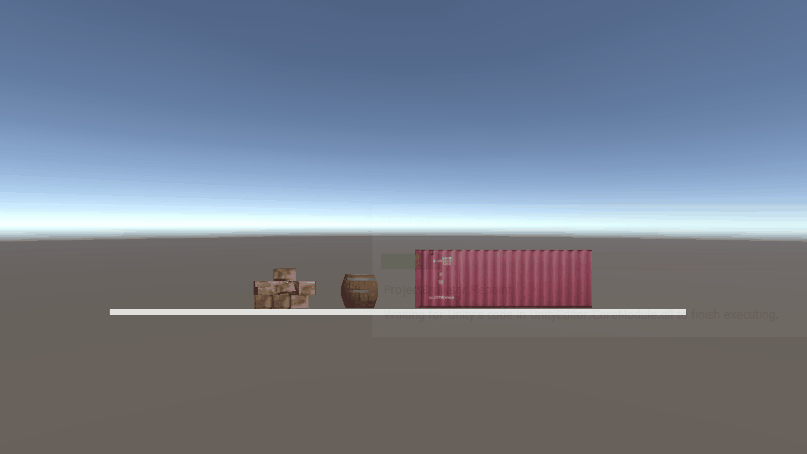
Here is how the same scene looks at FOV 33 and FOV 15.

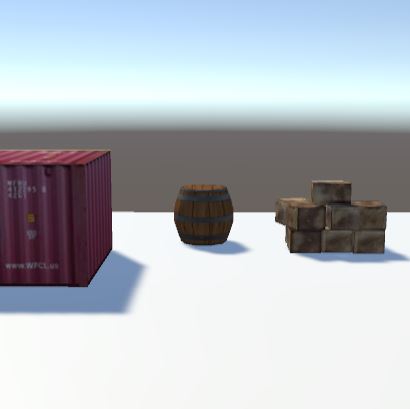
FOV 33

FOC 15
We can control the field of view value using a script to zoom the camera from 33 to 15. To instantly zoom to 15, we can set the value as shown below.
Camera.main.fieldOfView=15;In most cases, we want the camera to slowly zoom from one position to another, or at least have the effect of zoom. We can use Unity lerp function to zoom the camera over time.
The below script will zoom the camera from 33 to 15 FOV, in 5 seconds.
using UnityEngine;

public class UnityZoom: MonoBehaviour
{
  float start_value=33f;
  float end_value=15f;
  float timer=0;

  void Update()
  {

    timer+=Time.deltaTime;
    Camera.main.fieldOfView=Mathf.Lerp(start_value,end_value,timer/5);

  }

}
Using Cinemachine for Camera Zoom
Unity Cinemachine allows you to create multiple effect on the camera without code. If you don’t have the Cinemachine package installed, then to package manager and install it. Cinemachine, is best used when you are creating a cutscene using zoom effect.
We will try to recreate the same effect as above using Cinemachine.
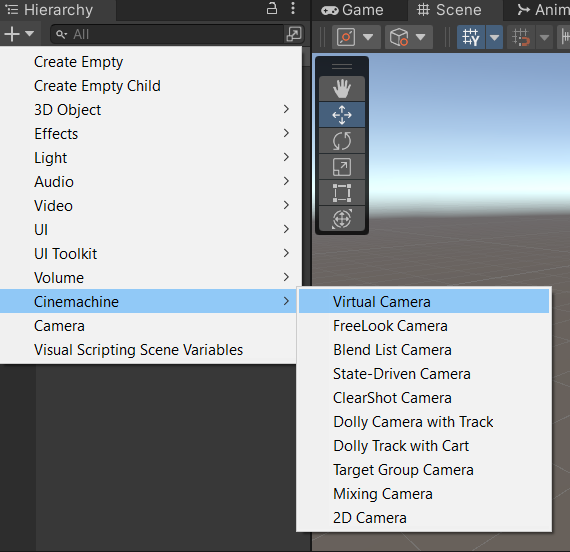
First, let’s add some virtual camera. By default, Unity adds the virtual camera at the point of your scene camera. So, adjust your scene view before adding the virtual camera.
To add a virtual camera, go to the hierarchy window and click on the + sign. Then navigate to Cinemachine>Virtual Camera.
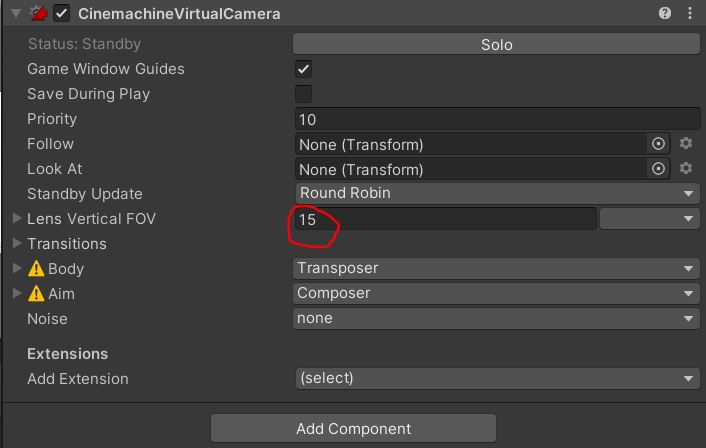
Set the Lens Vertical FOV parameter of the virtual camera to 33.
Add another virtual camera at the same position, but set the Lens Vertical FOV to 15.
To set up the transition from the first position to the next, we need to create a Timeline animation.
Go to Window>Sequencing>TImeline to open the Timeline window. Select the main camera and click create new Cinemachine timeline. Give it a name and save it.
Add the main camera to the Cinemachine Brain in the left tab of the Timeline window. Drag and drop both the virtual cameras to the timeline and overlap them as shown in the image below.
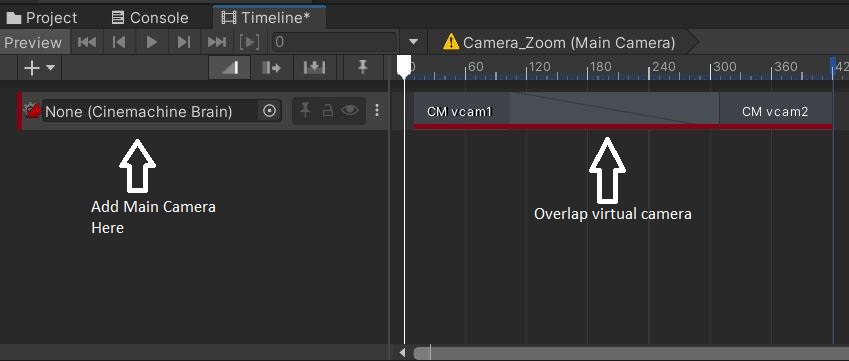
A component called playable director is added to the main camera. It is responsible for the timeline animation to play. You can uncheck Play on awake to not play the zoom effect at the beginning. You can use PlayableDirector.Play in your code, to play the zoom effect when you want.
Orthographic Camera zoom in 2D games
Most of the 2D games have the camera in Orthographic mode. In Orthographic mode, the camera game object does not have the FOV setting. The FOV property is replace by size of the camera. To zoom in, we need to reduce the size rather than FOV.
If you want to learn more about Unity camera properties, check out our beginner’s guide to Unity camera.

Here is how the camera view changes with size
Camera Size 4

Camera Size 1.5
To instantly zoom, you can set the orthographic size of the camera to the required values as shown below.
Camera.main.orthographicSize=1.5f;As in case of perspective view, we can slowly zoom the camera using Mathf.Lerp. Here is the code to do that.
using UnityEngine;

public class UnityZoom: MonoBehaviour
{
  float start_value=4f;
  float end_value=1.5f;
  float timer=0;

  void Update()
  {

    timer+=Time.deltaTime;
    Camera.main.orthographicSize=Mathf.Lerp(start_value,end_value,timer/5);

  }

}
That’s it, now you know how to zoom a camera in perspective mode, for creating cutscenes and in 2D orthographic mode. If you have any other questions, feel free to leave a comment below.