
This article is part of a two-part series by Kylin, the ecological director at Cocos.
In Cocos Creator version 3.8, several useful features have been added, and one of my favorites is that it comes with its own post-effects pipeline and a number of advanced effects built in.
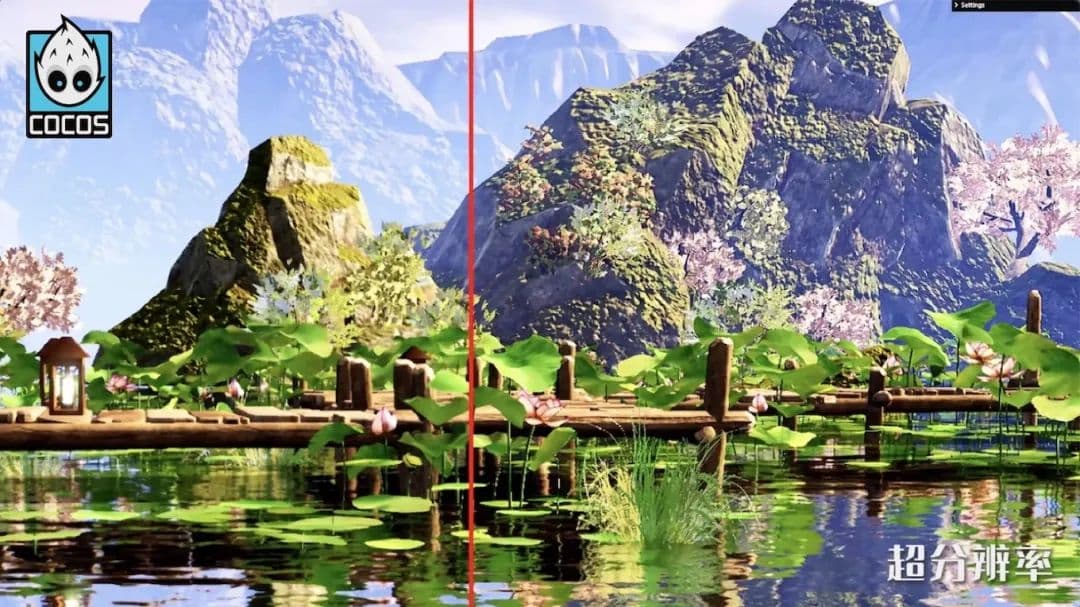
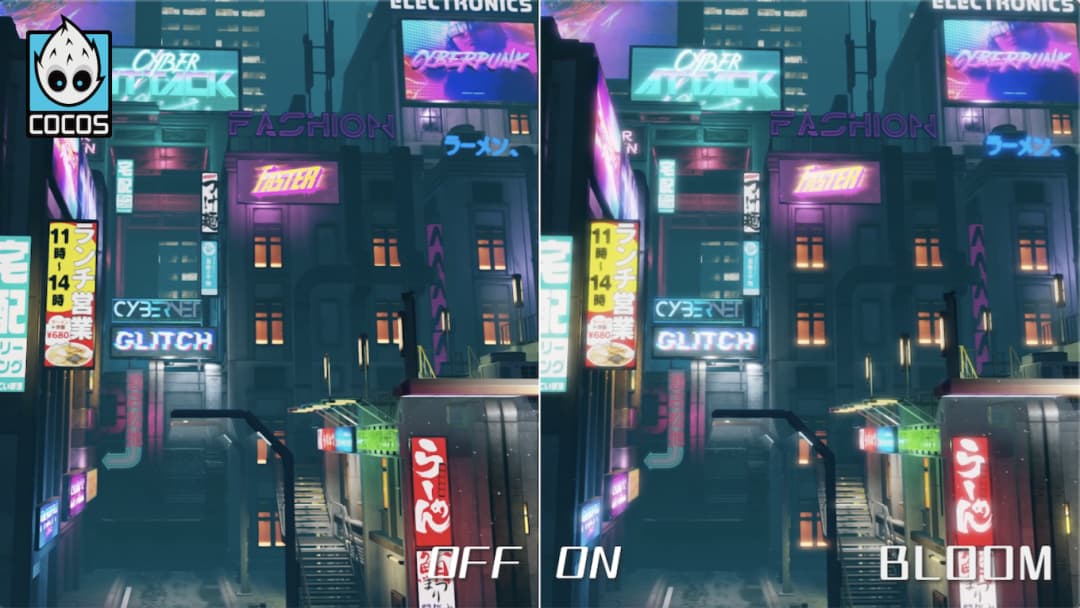
There’s FSR, ColorGrading, and Bloom for enhanced graphics.

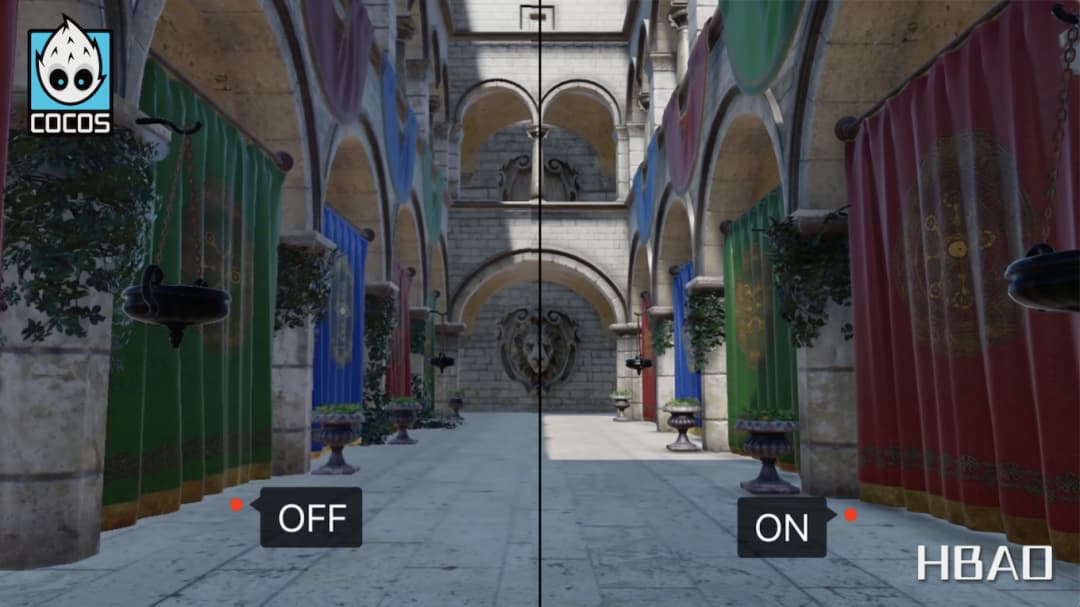
There’s also HBAO for enhanced 3D spatiality.
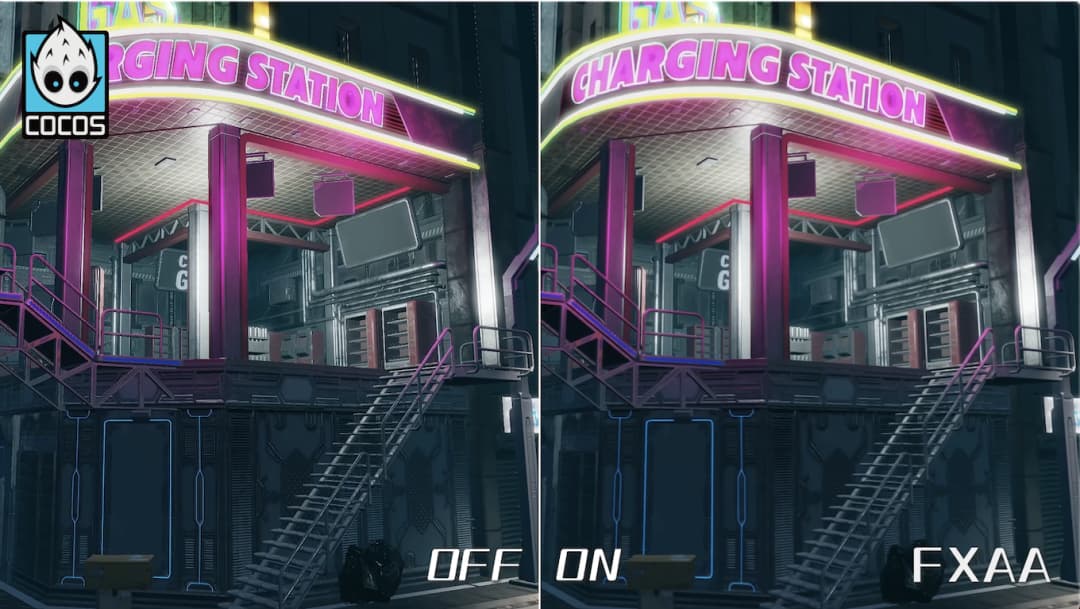
and TAA and FXAA for anti-aliasing.
With the post-effects pipeline, the whole effect of the picture has taken a qualitative leap forward.

How To Enable
Today’s content is relatively simple. It is to teach you how to write a new post effect of your own. Before we do that, let’s take a look at how to enable post-effects.
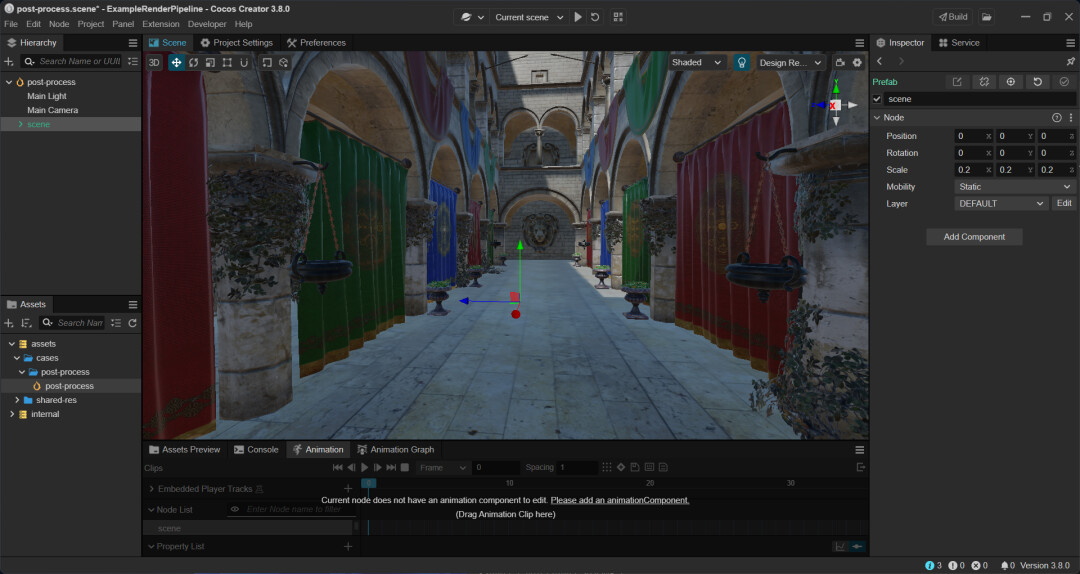
Let’s use this classic scene as a demonstration.
This scene is called Sponza, and it contains many complex architectural structures that are easy to observe and compare with some details. Therefore, many graphical rendering-related DEMOs use it as an example.
You can download it from various modeling websites or search for Sponza in the Cocos Store and download it.
You need three simple steps to turn on the post pipeline in Cocos Creator 3.8.
First, we need to create an empty node
Post effects in Cocos Creator are managed as components, so we need to create an empty node first.
We’ll name it PostProcess so that project management is more intuitive.
Select it, and in the Properties panel on the right, click the Add Component button, find PostProcess, and expand it.
All the post-processes built into the engine are listed here.
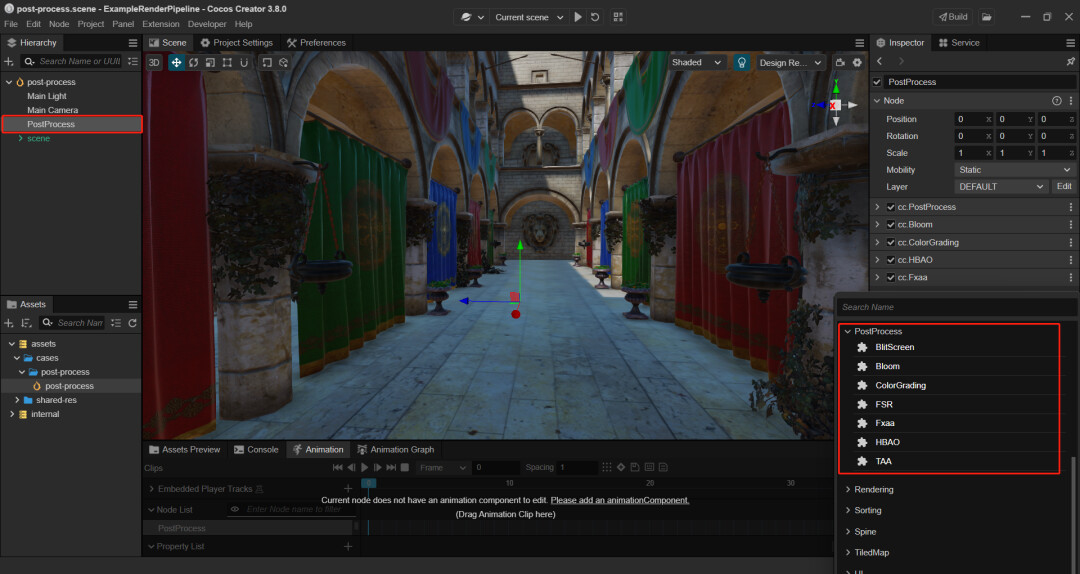
The usage of BlitScreen is quite special. We will use it later, so that we will skip it here. Let’s add all effects except BlitScreen to this node.
The order in which you add them can be arbitrary, as each effect has a priority, and the engine will sort them internally to ensure that the final synthesized effect is the right one.
We can see that the cc.PostProcess component is automatically added to this node, making this node a post-effects node.

Step 2: Turn on the switch on the camera
Let’s find the camera we need to turn on post-processing. In this scene, select the Main Camera node and check Use Post Process in the Properties panel to enable post-processing.
As you can see, another Post Process parameter is under Use Post Process.
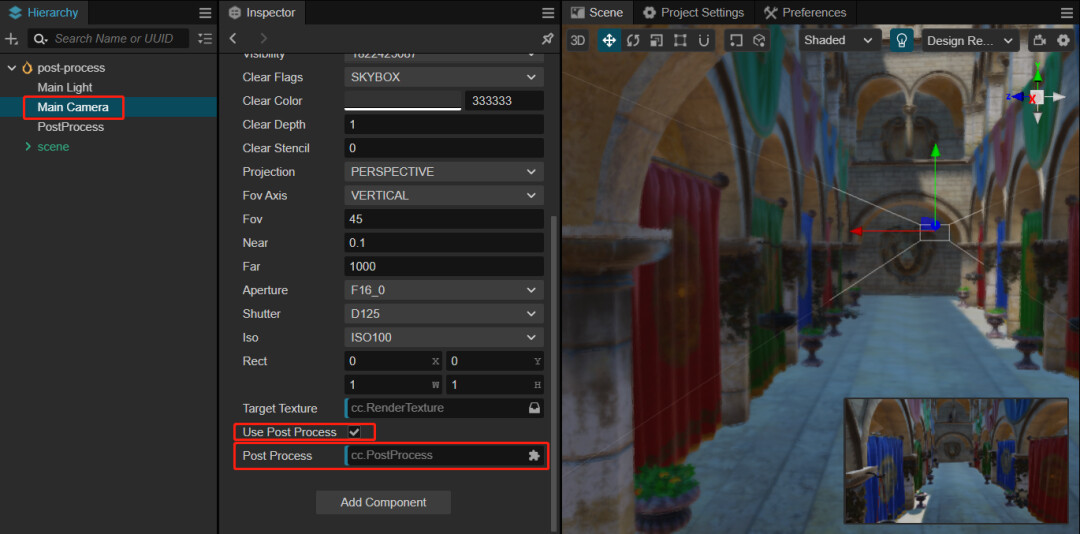
We can drag the after-effects node we want to use to this property. This feature is very useful for setting up specific after-effects processes for different cameras, depending on the project’s needs.
We can also leave it empty, and the engine will automatically use the global after-effects node.
What is a global post-effects node? Let’s take a look.
We select the PostProcess node and in the cc.PostProcess component, we can see that it has a Global property.
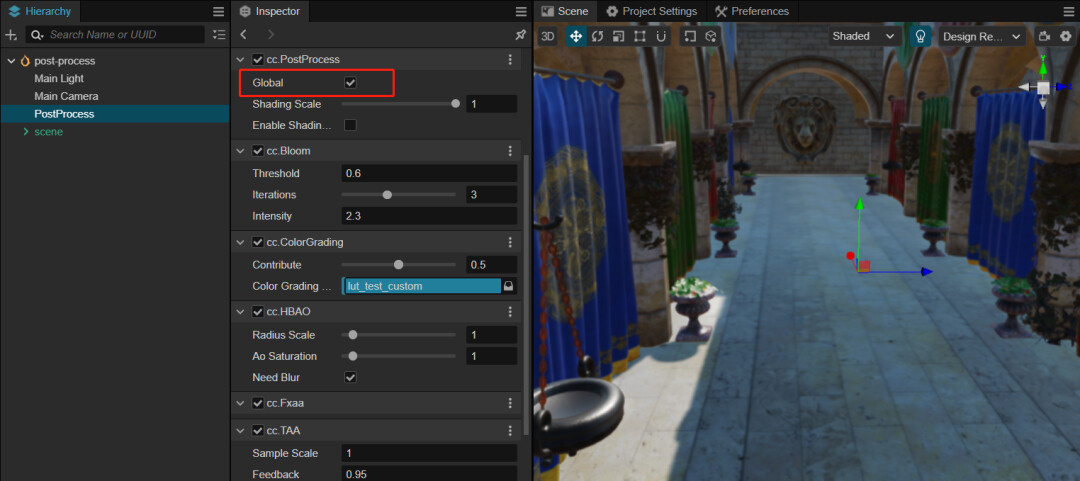
If it is checked, it means that it is a global post process. Cameras with Use Post Process turned on, but empty Post Process parameter will come to use it.
If unchecked, the post effect will only be used on the cameras that refer to it.
Note that a camera will only perform one post process in either case. If there is more than one global
after-effect node in a scene, the camera will use the first one it finds.
As we can see, there is still no effect. This is because in Cocos Creator 3.8, the built-in pipeline doesn’t yet support post-effects, and you need to switch to a custom pipeline.
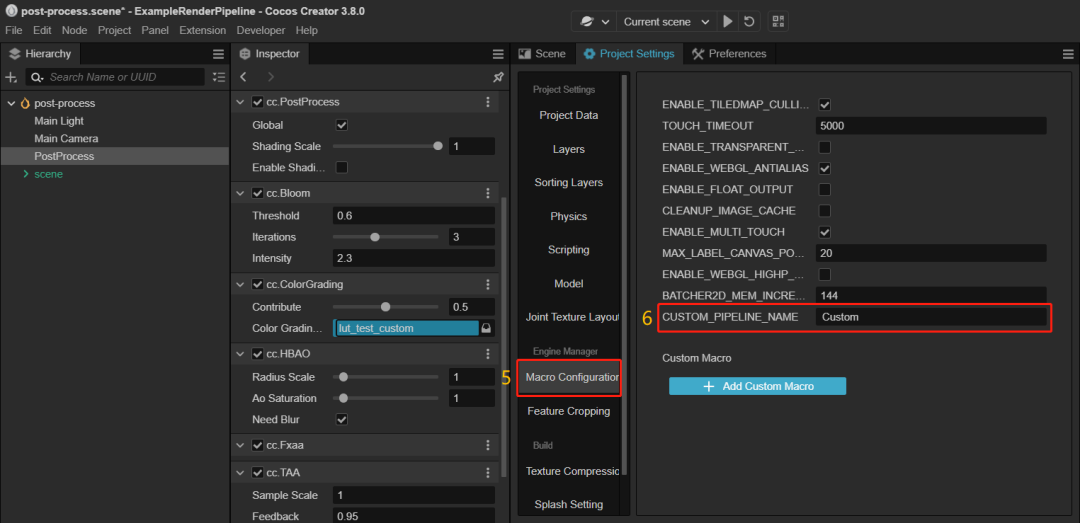
Step 3 Enable custom pipeline
Open the Project Settings panel, switch to the Feature Trimming tab, and launch Custom Pipelines.

Then select Macro Configuration and fill in the name of the custom pipeline. We’re using the default custom pipeline, so just fill in Custom.
Since we switched pipelines, we need to refresh Cocos Creator if we want to see the effect within the Cocos Creator scene editor.
You can close Cocos Creator and reopen it. You can also press the shortcut CTRL + R to refresh Cocos Creator.
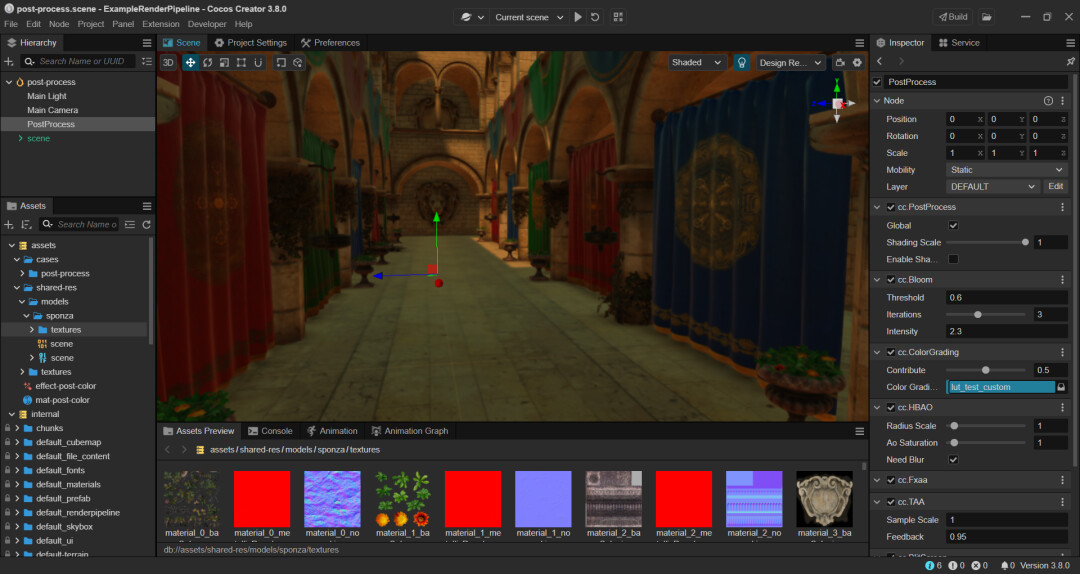
As you can see, the effect in the render window has changed. Let’s adjust some parameters to make the whole image look better.
As you can see, when we change the parameters in the Properties panel, we can see the corresponding changes in the editor in real-time, which is very convenient.

It’s worth clarifying that the third step is only required for the current version but not in later versions, such as 3.9.
The properties of each post-effect are described and used as explained in the official Cocos Engine documentation.
Let’s move on to today’s topic: writing your own post-effects shader.
After Effect Shader Writing
To write the after-effects shader, we need to use the BlitScreen component that we just mentioned, and the function of BlitScreen is to draw the screen content again.
Select the Post Process node, and in the Properties panel on the right, we’ll add a BlitScreen component to it.
As you can see, the BlitScreen component has a Material parameter.
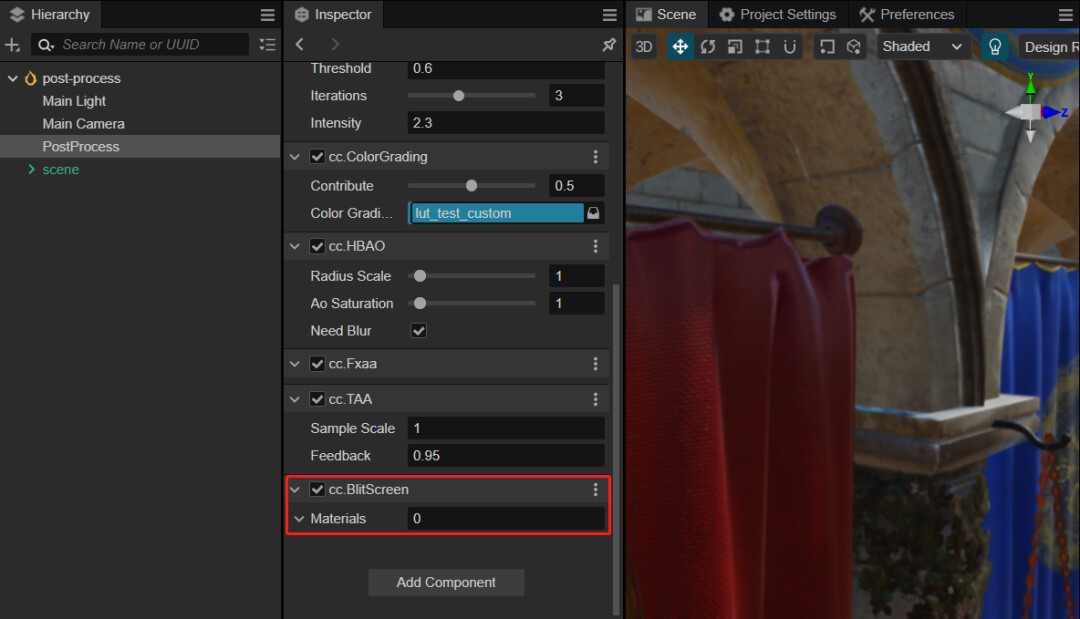
This material is what determines how well it is drawn.
Next, we just need to implement an after-effect Shader and create a material.
BlitScreen
The fastest way to write a Cocos Shader is to start with the templates provided by the engine.
We’ll start by finding the engine’s built-in after-effects shader.
We locate internal/effects/pipeline/post-process/ in the resources panel.
As you can see, the engine’s built-in post-process shaders are all here.
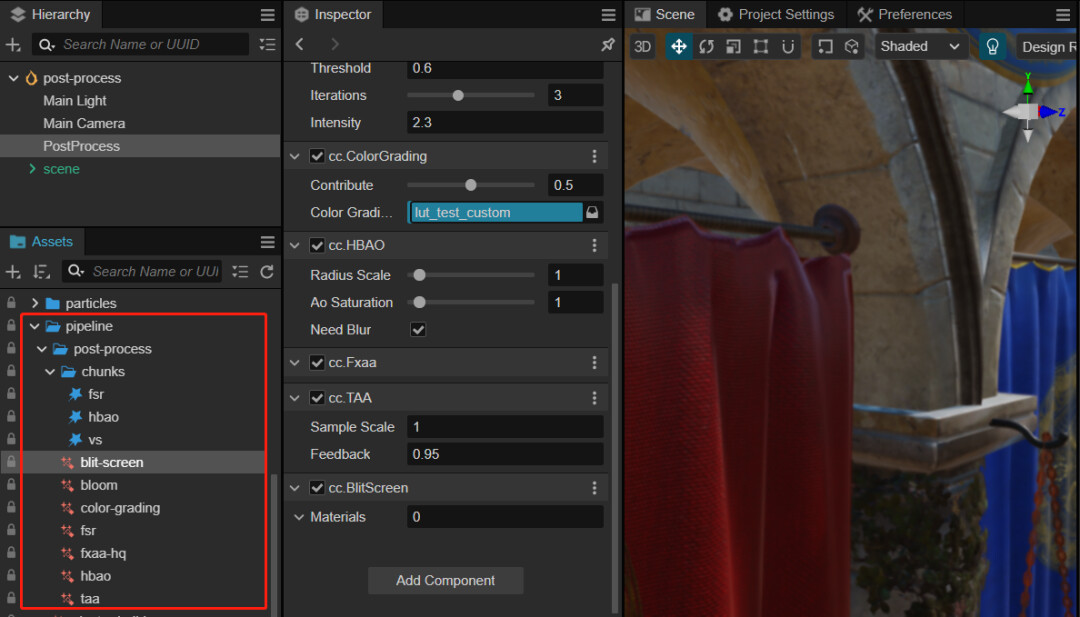
We double-click to open the BlitScreen Shader file we want to use.
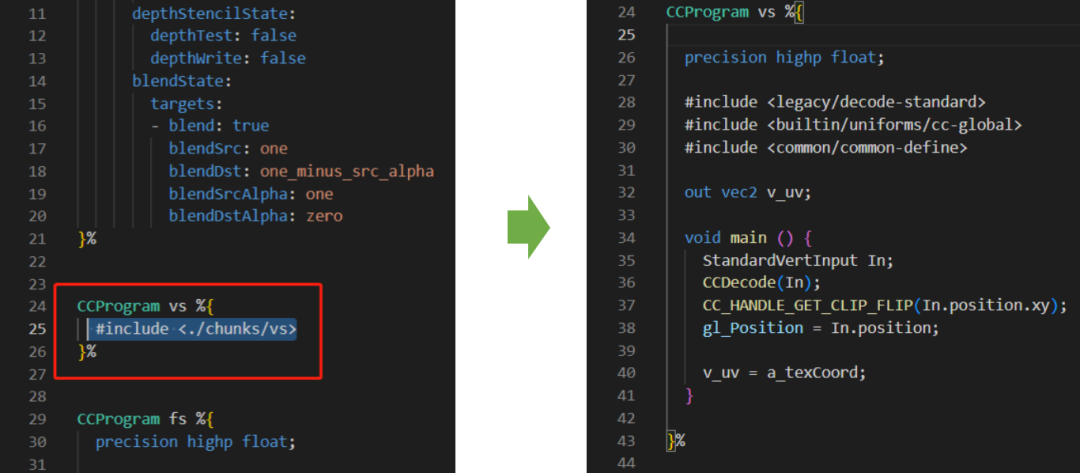
You can see that it is straightforward, its vs references a public header file. Let’s open it.
As you can see, it does almost nothing but output the positional information used to draw the contents of the screen and the coordinates of the textures we need to use in fs.
And in its fs, it just outputs the screen colors as they are.

Next, we’ll implement an after-effect based on it that can change the color of the screen.
Implementing the Shader
We select BlitScreen, right-click, and select Copy.
Then in the assets directory, right-click and select Paste. Rename it to effect-post-color and double click to open it.
The path to include is not working here. We need to change it. The easiest way to do this is to copy and paste the contents of vs.
Then, we add a color property to set the target color.
We also need to define a corresponding uniform.
Find the UBO in the CCProgram fs and add a vec4 color here.
Finally, we have the color compositing. We use the product of color.rgb and the original color as the target color.
Then we use color.a as the blending factor to interpolate with the original color.
Our after-effects shader is now ready. The full shader code is as follows,
CCEffect %{
  techniques:
  - passes:
    ...
      properties:
        color: { value: [1.0,1.0,1.0,0.5], editor: { type: color } }
}%

CCProgram vs %{
  ...
}%

CCProgram fs %{
  ...
  uniform UBO {
    ...
    vec4 color;
  };
  ...
  void main () {
    fragColor = texture(inputTexture, v_uv);
    vec3 destColor = fragColor.rgb * color.rgb;
    fragColor.rgb = mix(fragColor.rgb, destColor, color.a);
  }
}%
Now let’s see how it works.
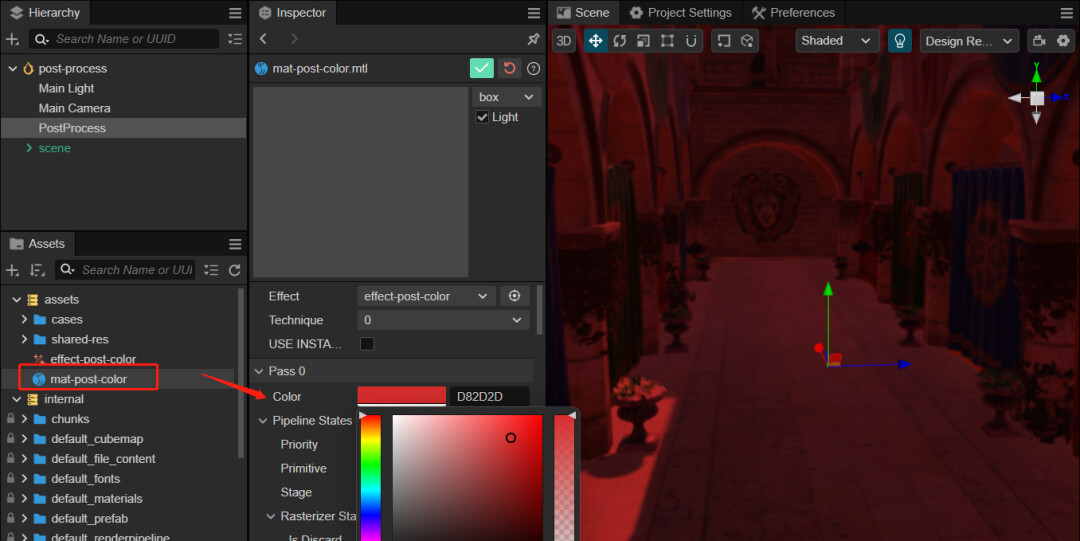
Return to Cocos Creator and create a new material named mat-post-color, then switch its effect to the effect-post-color you wrote.
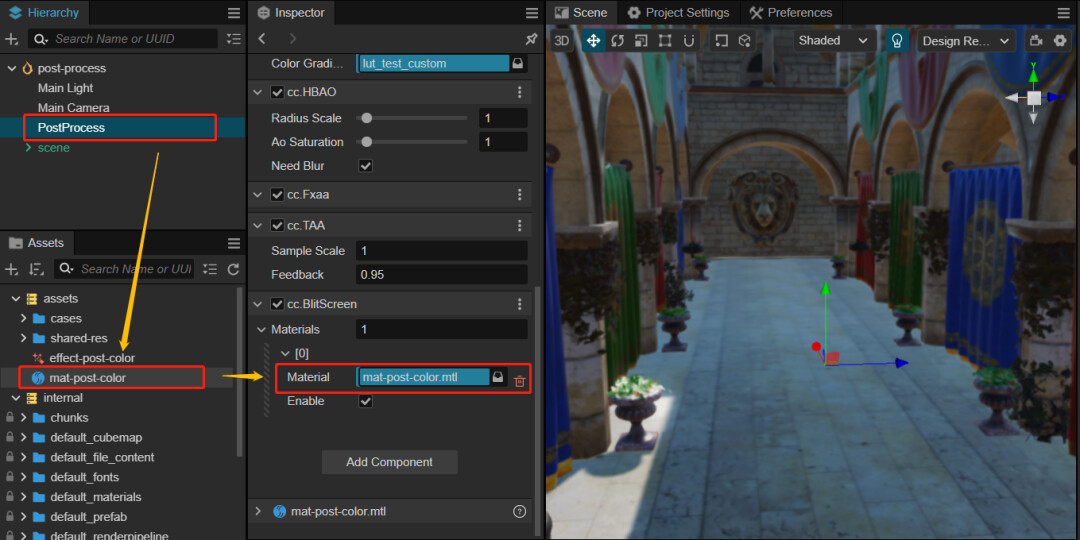
Select the Post-Process node and drag it to its Material property.
Adjust the parameters and you can see the rendering follows.
Our custom post-effects Shader is now complete.
Summary
It is important to note that you can only achieve single pass post-effects with today’s method.
If you want to realize some effects requiring multiple pass, such as motion blur, depth of field, etc., you must use code to match. I will share it in the following article.
Well, that’s all for today. I hope it can help you.