Game ready: Building the ‘Ōhi’a lehua tree with SpeedTree, part 2


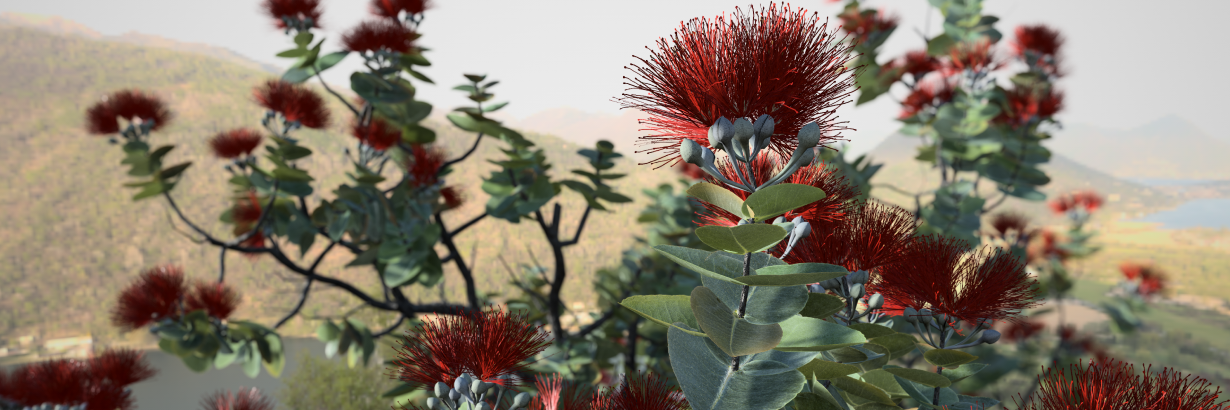


In this follow-up to part one, I’ll continue to break down how I, alongside fellow technical artists Mira Pichai and Geneviève Gagnon, recreated the ‘Ōhi’a lehua tree in SpeedTree, optimized for use in a game environment.
Read (and watch) on to learn how to add the final touches to the tree, including shaping its trunk, controlling branch shapes, and adding wind effects. The last half of this tutorial will teach you a lot of new features for SpeedTree 9 that you may not have seen before.
Shaping the trunk and branches
Take a moment to analyze your tree. For this first bit, I took some time to take polygons away where they weren’t needed and add them back where we had lost shape. Where the polygons matter are at the bottom of the tree, which would be player height when walking past the tree.
Feature vertices
Feature vertices can be used to add more detail to specific parts of the trunk with texture. By adding more polygons along the interest points of the height map, you can push out features while keeping the rest of the branch super optimized.
Displacement
As you start to polish and complete your tree, use displacement to control the branch shape via the height map or noise pattern. Take this time to add in variants, as well, which will help to punch up the flair and detail of your tree.
LODs
To set the LODs, you need to go back and reference your previously made textures. Next, make sure you have high, medium, and low settings on each cutout. From there, toggle your settings and variants so that each leaf references the level of detail that you’ve set from the mesh cutout.
Tune wind
Once you’re comfortable setting your LODs, you’re clear to turn the wind on. For this, you’ll run the wind wizard and adjust its properties. In this case, we reduced the weight of any wind on branches that shouldn’t be moving.
Global lighting
Another new feature, global lighting controls, allow you to set normal light directions based on a “puffy” look. In the past, this might have been something you would set individually, but with SpeedTree 9 you can create that “puffy lighting” look instantly across all leaf meshes.
File variations
Congrats, you now have a working, procedural file of your finished tree asset. When you get this far, the best thing to do for your game is to make a couple of file variations of the tree. You can use the node edits or freehand edits to create specific versions for distinct use cases, such as one that’s shrubby and another that has multiple trunks. With that, you’re ready to export to Unity or another engine.
Press play below for the abbreviated tutorial from GDC.
If you’re looking to create your own environment, check out the newly released Hawaiian asset collection. Not yet a SpeedTree user? Contact us for a free trial.
Is this article helpful for you?
Thank you for your feedback!
- Unity Labs
- Copyright © 2024 Unity Technologies